10
CORRECT PLACEMENT AND ADJUSTMENT OF THE MONITOR
CAN REDUCE EYE, SHOULDER AND NECK FATIGUE. CHECK THE
FOLLOWING WHEN YOU POSITION THE MONITOR:
Recommended Use
–continued
•
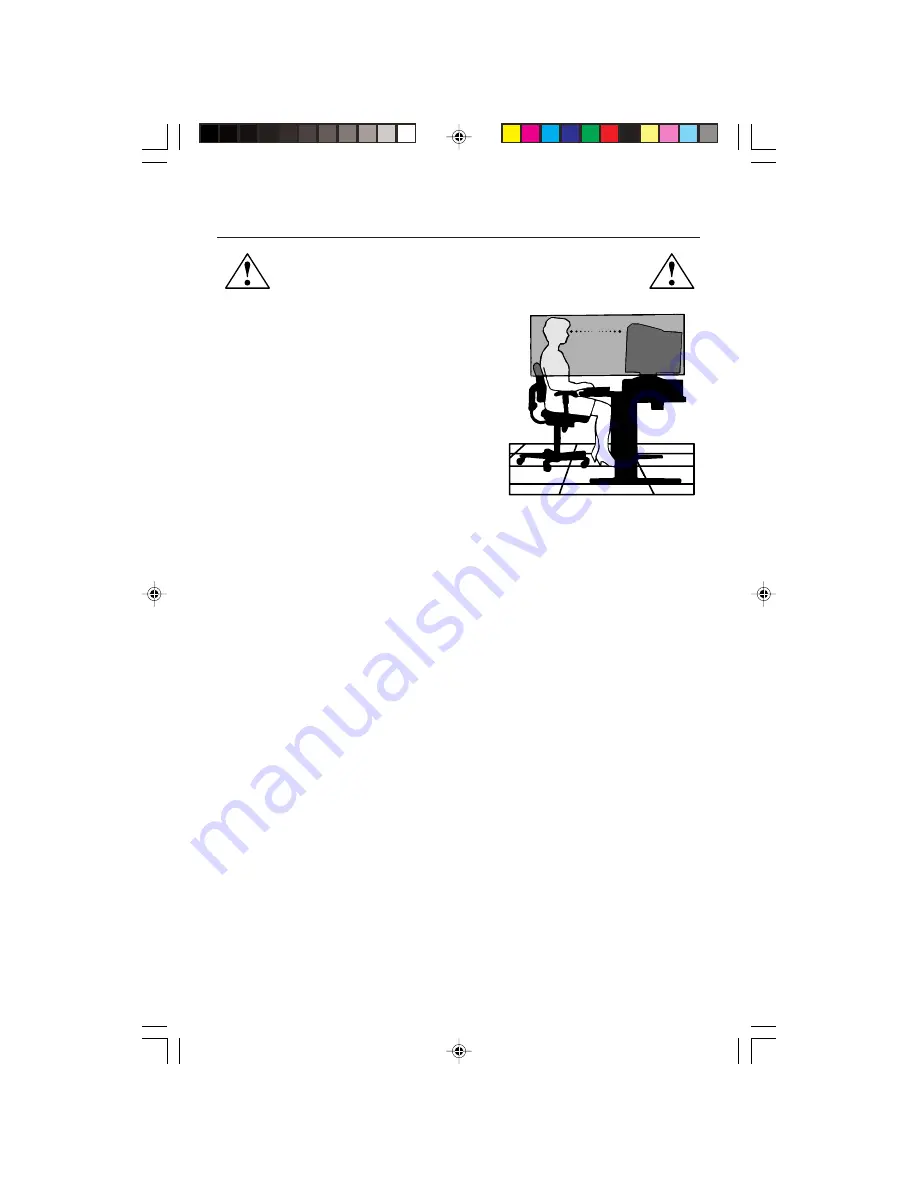
Adjust the monitor height so that the top of
the screen is at or slightly below eye level.
Your eyes should look slightly downward
when viewing the middle of the screen.
•
Position your monitor no closer than 12 inches
and no further away than 28 inches from your
eyes. The optimal distance is 24 inches.
•
Rest your eyes periodically by focusing on
an object at least 20 feet away. Blink often.
•
Position the monitor at a 90
°
angle to
windows and other light sources to minimize
glare and reflections. Adjust the monitor tilt so that ceiling lights do not reflect
on your screen.
•
If reflected light makes it hard for you to see your screen, use an antiglare filter.
•
Clean your monitor
A special coating is provided on the glass (CRT) surface of this monitor to
reduce a reflection and static electricity on the glass surface.
Due to the delicate coating on the glass surface, use a lint-free, nonabrasive
cloth (cotton or equivalent) and a non-alcohol, neutral, nonabrasive cleaning
solution to minimize dust. If the screen requires more than a light cleaning,
apply water or soften neutral detergent with much water directly to a soft cloth
and use it upon wringing water, to clean the glass surface.
CAUTION: The following agents will cause damage to the CRT when cleaning
the glass surface: Benzene, thinner, acid/alkaline detergent, alcohol deter-
gent, detergent with abrasive powder, detergent with antistatic agent, deter-
gent for cleaning.
•
Adjust the monitor’s brightness and contrast controls to enhance readability.
•
Use a document holder placed close to the screen.
•
Position whatever you are looking at most of the time (the screen or
reference material) directly in front of you to minimize turning your head
while you are typing.
•
Get regular eye checkups.
Ergonomics
To realize the maximum ergonomics benefits, we recommend the following:
• Adjust the Brightness until the background raster disappears
• Do not position the Contrast control to its maximum setting
• Use the preset Size and Position controls with standard signals
Содержание MultiSync FP2141SB
Страница 1: ......
Страница 6: ...4 Quick Start continued Figure D 1 Power Cord Figure C 1...
Страница 26: ...24 Notes...
Страница 50: ...48 Notes...
Страница 54: ...52 Quick Start fortsetzung Figure D 1 Netzkabel Figure C 1 Anschaltknopf Netzanzeige...
Страница 73: ...71 Notes...
Страница 74: ...72 Notes...


