9
Controls
–continued
AccuColor
®
Control Systems
Five color presets select the desired color setting. Each color setting is
adjusted at the factory.
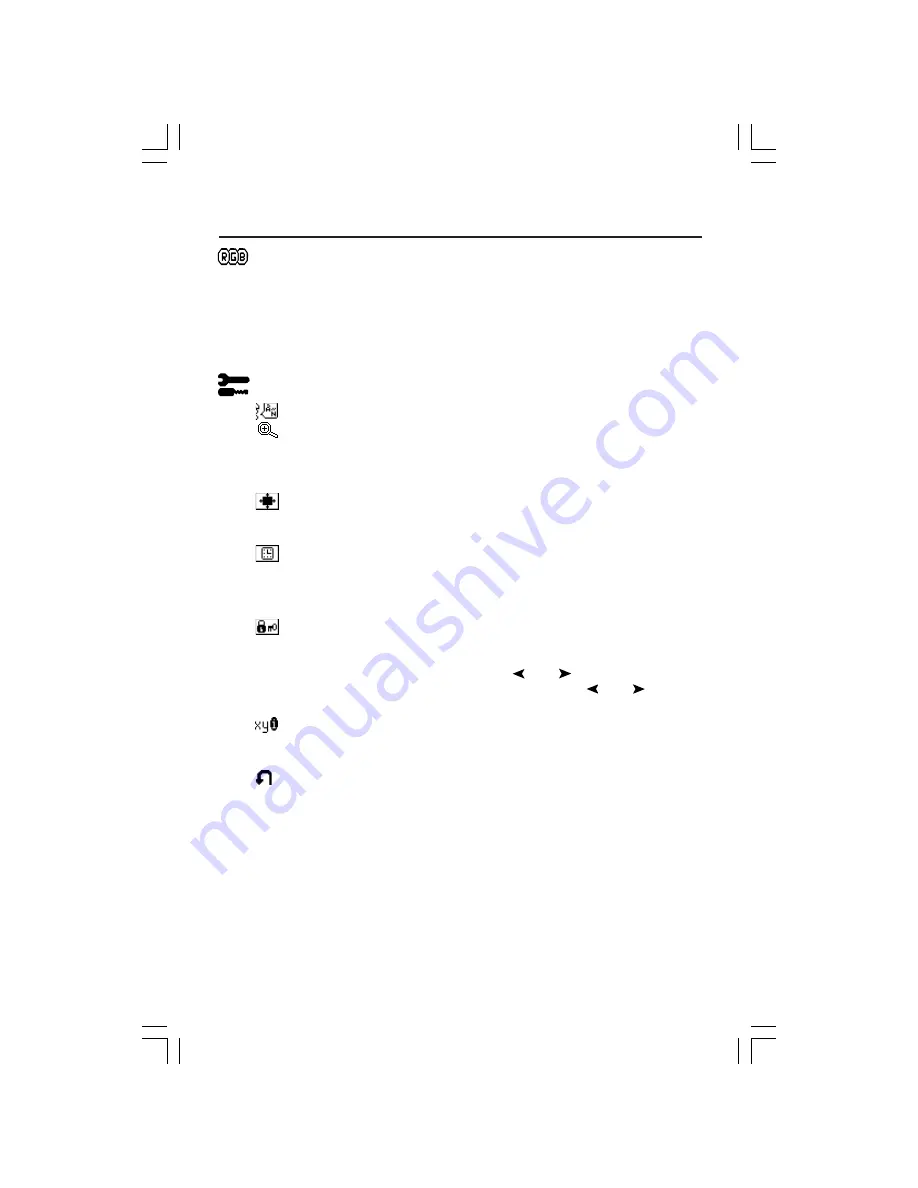
R,G,B :
Increases or decreases Red, Green or Blue color depending upon
which is selected. The change in color will appear on screen and the direction
(increase or decrease) will be shown by the bars.
Tools
LANGUAGE:
OSM
™
control menus are available in seven languages.
EXPANSION MODE:
Sets the zoom method.
FULL :
The image is expanded to 1280 x 1024, regardless of the resolution.
ASPECT:
The image is expanded without changing the aspect ratio.
OFF:
The image is not expanded.
OSM POSITION:
You can choose where you would like the OSM control
image to appear on your screen. Selecting OSM Location allows you to
manually adjust the position of the OSM control menu left, right, down or up.
OSM TURN OFF:
The OSM control menu will stay on as long as it is in use.
In the OSM Turn Off submenu, you can select how long the monitor waits after
the last touch of a button to shut off the OSM control menu. The preset choices
are 10, 20, 30, 45, 60 and 120 seconds.
OSM LOCK OUT:
This control completely locks out access to all OSM control
functions. When attempting to activate OSM controls while in the Lock Out
mode, a screen will appear indicating the OSM controls are locked out. To
activate the OSM Lock Out function, press , then and hold down
simultaneously. To de-activate the OSM Lock Out, press , then and hold
down simultaneously.
RESOLUTION NOTIFIER:
This optimal resolution is 1280 x 1024. If ON is
selected, a message will appear on the screen after 30 seconds, notifying you
that the resolution is not at 1280 x 1024.
FACTORY PRESET:
Selecting Factory Preset allows you to reset all OSM control
settings back to the factory settings. The RESET button will need to be held
down for several seconds to take effect. Individual settings can be reset by
highlighting the control to be reset and pressing the RESET button.
Содержание LCD1720M - MultiSync - 17" LCD Monitor
Страница 1: ......
Страница 7: ...5 Figure E 1 Figure F 1 Quick Start continued Power Switch ...
Страница 30: ...28 Mise en marche rapide suite Figure E 1 Figure F 1 Bouton d alimentation ...


