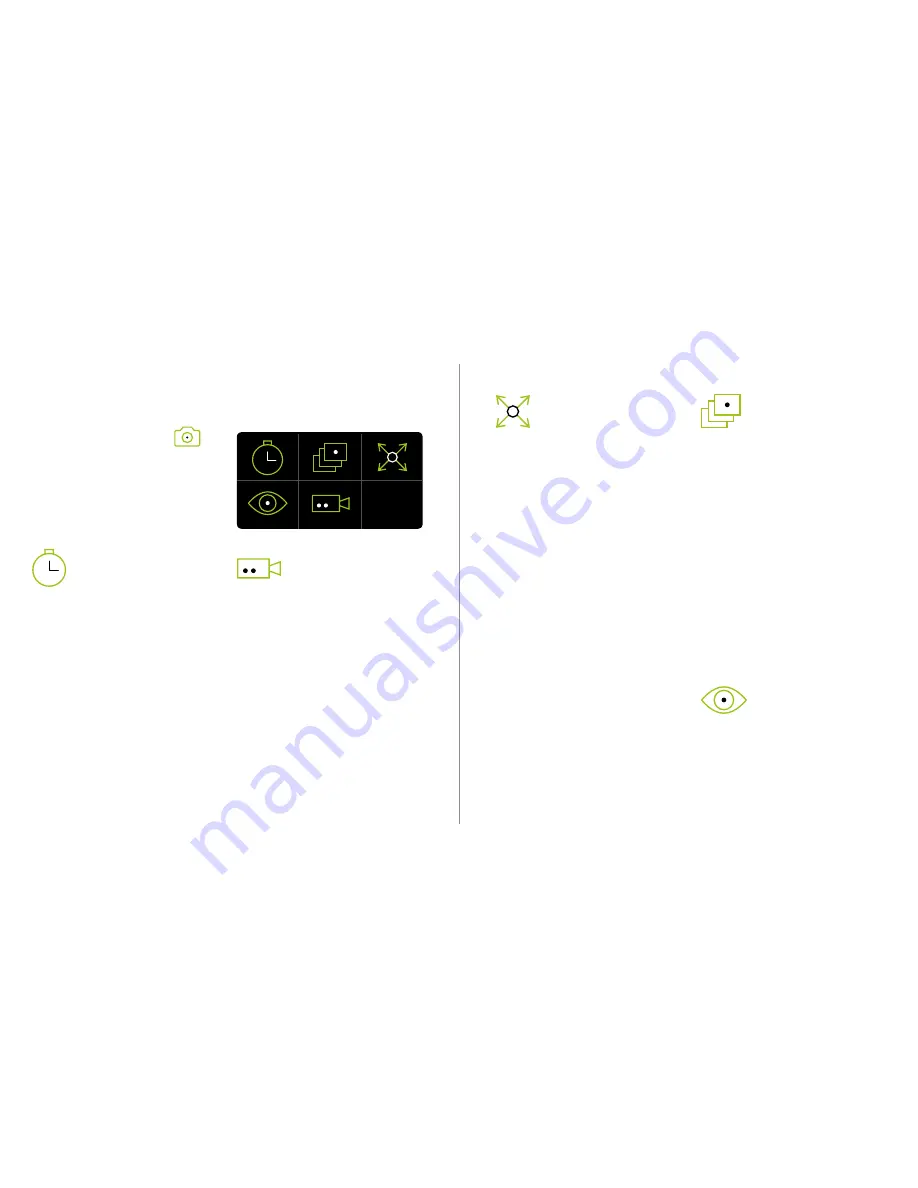
Time Lapse
This mode allows you to capture a series
of images at specified intervals.
You can set HDR, ISO and the Exposure
for the images before capture begins.
You can specify the interval between each
photo, for example setting the time delay
to 00:02:00 will capture an image every
two minutes.
Select the camera icon to begin and
images will be captured at the time
interval specified. To stop the capture
select ‘Abort’.
Live View
This mode provides a live immersive view
of the scene from the camera.
Delay capture
This mode allows you to remove yourself
from the scene and out of the image
before capture begins.
You can set your delay time and adjust
other settings (HDR, ISO, Exposure) as
required.
Select the camera icon to begin capture
and the delay countdown will start.
Video capture
This mode allows you to capture video.
You can set HDR, ISO and the Resolution
for the video before capture begins.
Select the camera icon to begin the video
capture.
Use the controls during capture to pause
or stop the video.
Walkaround capture
Capturing in this mode allows you to
remain with the camera whilst not
appearing in the captured image.
You can set HDR, ISO and the Exposure
for the image before capture begins.
To capture, touch one of the corner
arrows on the screen and stand
approximately 1ft back from the camera
at that corner.
Once the first capture is complete, move
around the camera, stand at the corner
with the arrow and press the arrow to
complete the full capture.
Once the image has been captured, iSTAR
will begin to process and at this point it
is safe to move the camera to the next
location or to remove it from the tripod.
05 / CAPTURING AN IMAGE
To capture an image, select the
icon from the main menu. You can then
select a capture mode and adjust the
settings before you begin capture.
Images can be captured to either the
provided USB stick or to an SD card.
Содержание ISTAR
Страница 1: ...iSTAR QUICK START GUIDE...


