100
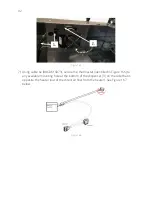
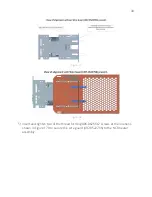
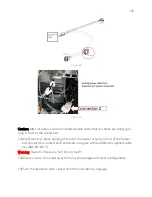
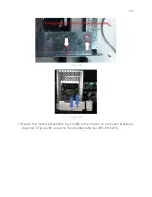
Figure 179
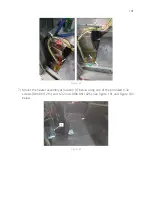
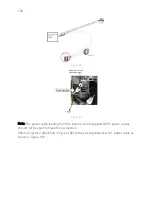
Note: All cables and cable bundles must be re-routed away from the front of the
heater exit.
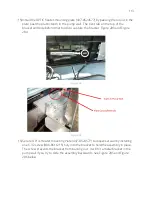
Note: In the example below, a cable bundle initially wraps around the side of the power
supply bracket plate (497-0517788), which could potentially lie in front of the heater.
This cable bundle must be re-routed to go underneath the power supply bracket plate.
6)
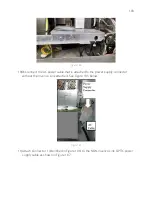
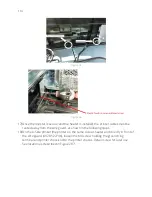
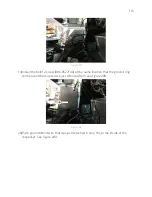
First cut the cable restraint to enable more cable slack, then tucking cable bundle
under the bracket and securing with supplied cable tie (006-8616073) through the
existing hole as shown in Figure 180 below.
Содержание 6003-K001-V002
Страница 2: ......
Страница 4: ......
Страница 18: ...4 RECOMMENDED MATERIALS N A...
Страница 36: ...22 Figure 33 Figure 34...
Страница 44: ...30 Figure 49...
Страница 67: ...53 Figure 92 47 Repeat steps 45 and 46 for the B side of the dispenser...
Страница 102: ...88 Figure 158 5 Replace Lower door using GCBO Lower Door Key See Figure 159 and Figure 160 Figure 159...
Страница 103: ...89 Figure 160...
Страница 110: ...96 Figure 173...
Страница 120: ...106 15 Use a 751 key to close the bottom printer door...
Страница 126: ...112 Figure 200 Figure 201 14 Position heater along bottom dispenser wall like shown See Figure 202 below Figure 202...
Страница 141: ...127 Figure 230 44 Repeat steps 32 43 for the opposite side of the dispenser...
Страница 162: ...148 Figure 270 41 Repeat steps 29 40 for the opposite side of the dispenser...
Страница 163: ...1 MERLIN REVISION B...


