


www.naxa.com
Page 31
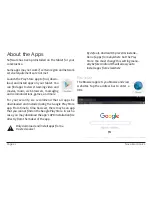
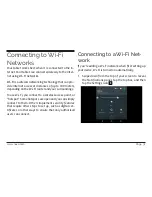
Connecting to Wi-Fi
Networks
Your tablet works best when it is connected to the In
-
ternet. Your tablet can connect wirelessly to the Inter
-
net using Wi-Fi networks.
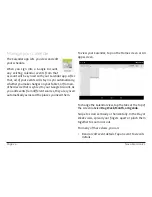
Wi-Fi is a wireless networking technology that can pro
-
vide Internet access at distances of up to 100 meters,
depending on the Wi-Fi router and your surroundings.
To use Wi-Fi, you connect to a wireless access point, or
“hotspot.” Some hotspots are open and you can simply
connect to them. Others implement security features
that require other steps to set up, such as digital cer
-
tificates or other ways to ensure that only authorized
users can connect.
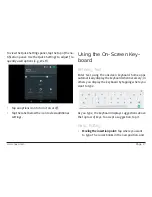
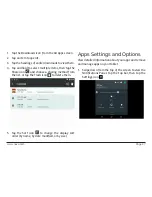
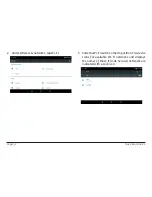
Connecting to a Wi-Fi Net-
work
If you’re adding a Wi-Fi network when first setting up
your device, Wi-Fi is turned on automatically.
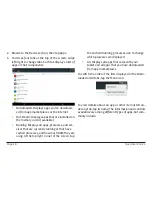
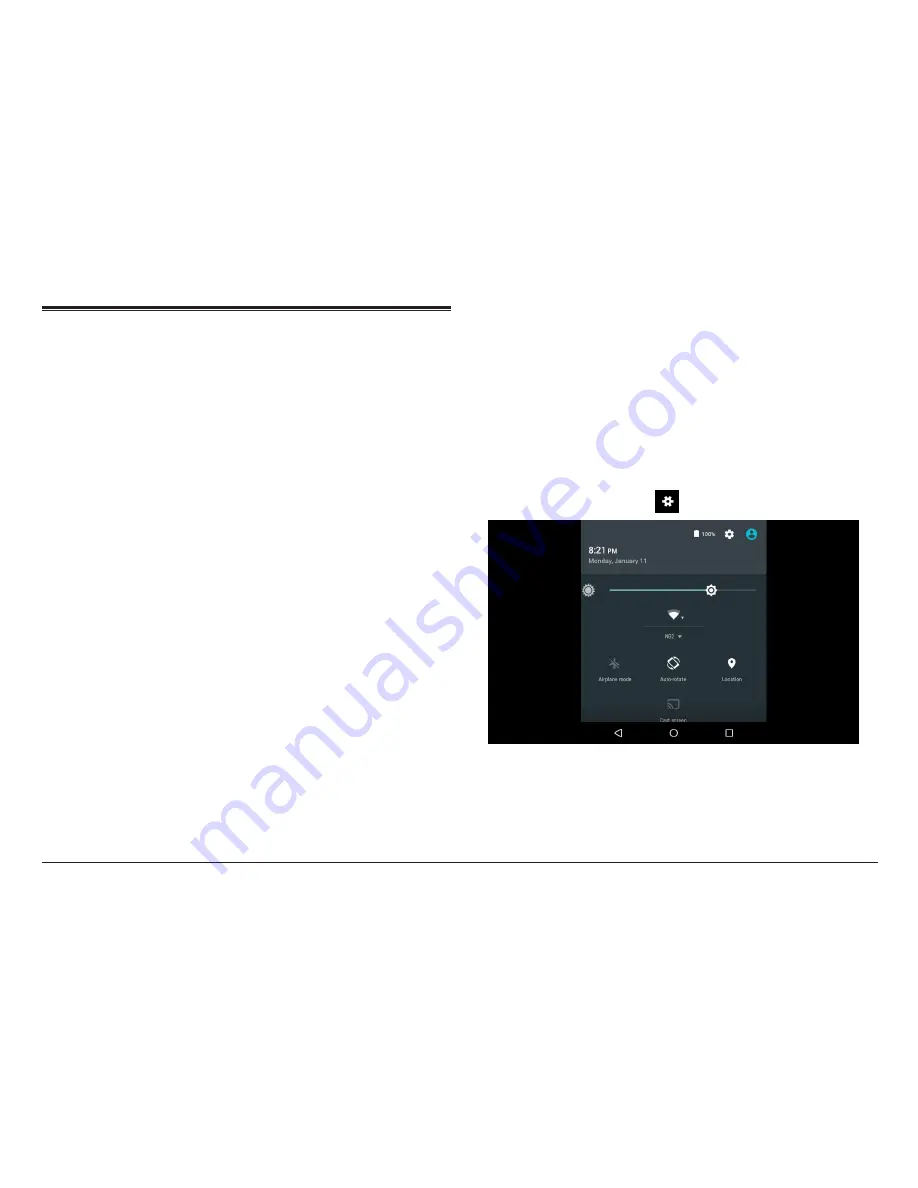
1.
Swipe down from the top of your screen to reveal
the Notifications panel, tap the top bar, and then
tap the Settings icon
.
Содержание NID-9004
Страница 52: ...Page 52 Naxa Electronics...
Страница 55: ...www naxa com Page 55...
Страница 56: ...NID 9004 rev 1 0...


