NI WSN-9791 User Guide and Specifications
12
ni.com
Setting Up the NI WSN-9791 Device
Complete the following steps to prepare the NI WSN-9791 device for use:
1.
Before connecting the hardware, install NI LabVIEW and the NI-WSN driver software. You must
be an Administrator to install NI software and devices on your computer. The NI-WSN driver
software is on the software installation disc included with your device and is available for download
at
ni.com/support
. You must have NI LabVIEW version 8.6.1 or later installed to use NI WSN
devices. Refer to the instructions included with your NI LabVIEW software to install
NI LabVIEW. Once NI LabVIEW is installed, complete the following steps:
2.
Close all other applications.
3.
Insert the NI-WSN software installation disc into the drive on your computer.
4.
Follow the onscreen instructions to install the NI-WSN software and NI MAX.
Note
The
NI Wireless Sensor Network Getting Started Guide
is available after installation
from
Start»All Programs»National Instruments»NI-WSN
.
5.
Make sure the NI WSN-9791 device power is disconnected.
Powering the NI WSN-9791 Device
Caution
You must use a UL Listed ITE power supply marked LPS with the NI 9791. The power
supply must also meet any safety and compliance requirements for the country of use.
To connect an external power supply to the NI WSN-9791, complete the following steps:
1.
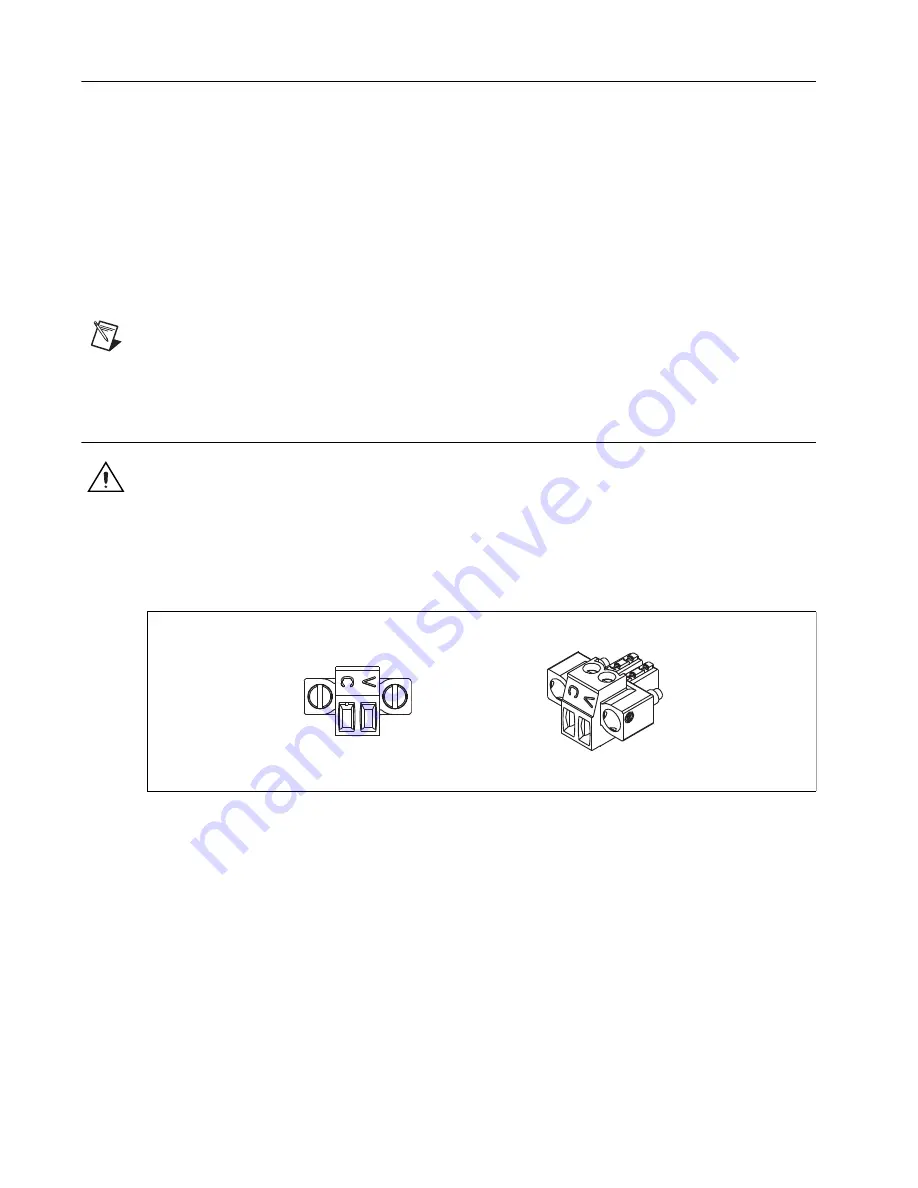
Remove the 2-position mini-combicon plug from the device, loosening the retaining screws
if necessary.
Figure 10.
2 Mini-Combicon Connector
2.
Connect the positive lead of the external power supply to the V terminal.
3.
Connect the negative (common) lead to the C terminal.
4.
Reinstall the 2-position mini-combicon plug in the device and tighten the retaining screws.
10/100BaseT(X) Ethernet Port Connection
Use a standard Category 5 (CAT-5) Ethernet cable (a shielded cable is recommended) to connect the
NI WSN-9791 device to an Ethernet hub or to a computer.


