SCXI Quick Start Guide
6
ni.com
Add a Module to an Existing SCXI System
You also can add a module to an existing SCXI system in multiplexed mode. If your system already has
a controller established, install additional SCXI modules in any available chassis slots. Refer to
to determine which module to connect to the cable adapter, if applicable.
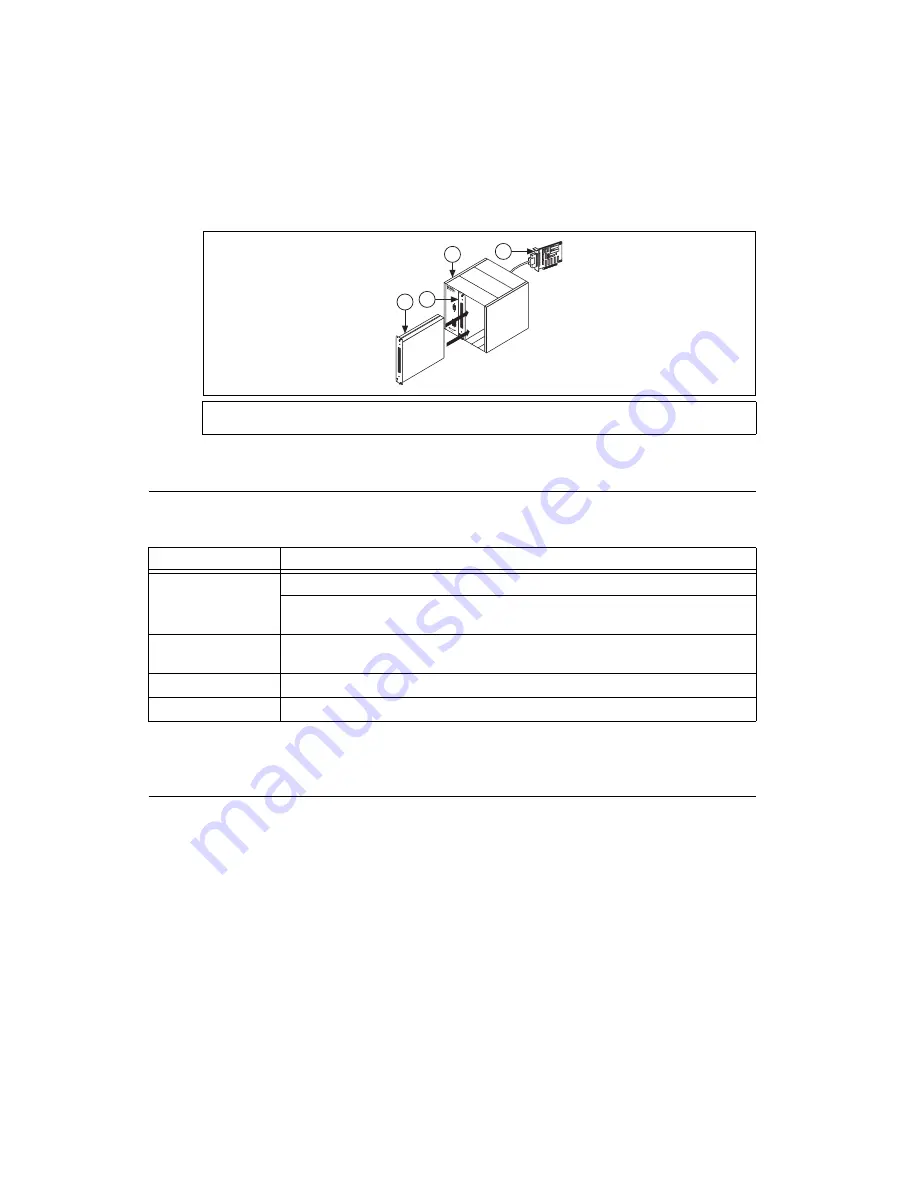
Figure 8.
Installing the SCXI Module in an Existing System
Step 5. Attach Sensors and Signal Lines
Attach sensors and signal lines to the terminal block, accessory, or module terminals for each installed
device. The following table lists device terminal/pinout locations.
For information about sensors, refer to
ni.com/sensors
. For information about IEEE 1451.4 TEDS
smart sensors, refer to
ni.com/teds
.
Step 6. Attach the Terminal Blocks
SCXI Chassis or PXI/SCXI Combination Chassis
If you installed direct-connect modules, skip to
Step 7. Install the Cable Adapter
Attach the terminal blocks to the front of the modules. Refer to
ni.com/products
to determine valid
terminal block and module combinations. If you are using a TBX terminal block, refer to its guide.
1
New SCXI Module
2
Existing SCXI Module
3
SCXI Chassis
4
Existing DAQ Device
Location
How to Access Pinout
MAX
Right-click the device name under
Devices and Interfaces
, and select
Device Pinouts
.
Select
Help»Online Device Documentation
. A browser window opens to
ni.com/manuals
with the results of a search for relevant device documents.
DAQ Assistant
Select the task or virtual channel, and click the
Connection Diagram
tab. Select each virtual
channel in the task.
NI-DAQmx
Refer to the
NI-DAQmx Help
that installs with NI-DAQmx.
ni.com/manuals
Refer to the device documentation.
O
N
8
1
2
3
4
5
6
7
12
9
10
11
ADDRE
SS
BA
UD
1
3
2
4


