©
National Instruments Corp.
7
Getting Started with the NI 17xx
4. Connect the COM signal from the cable or terminal block to
the corresponding signal on the power supply.
5. Connect any additional I/O signals necessary for your
application to the appropriate signal on the cable or terminal
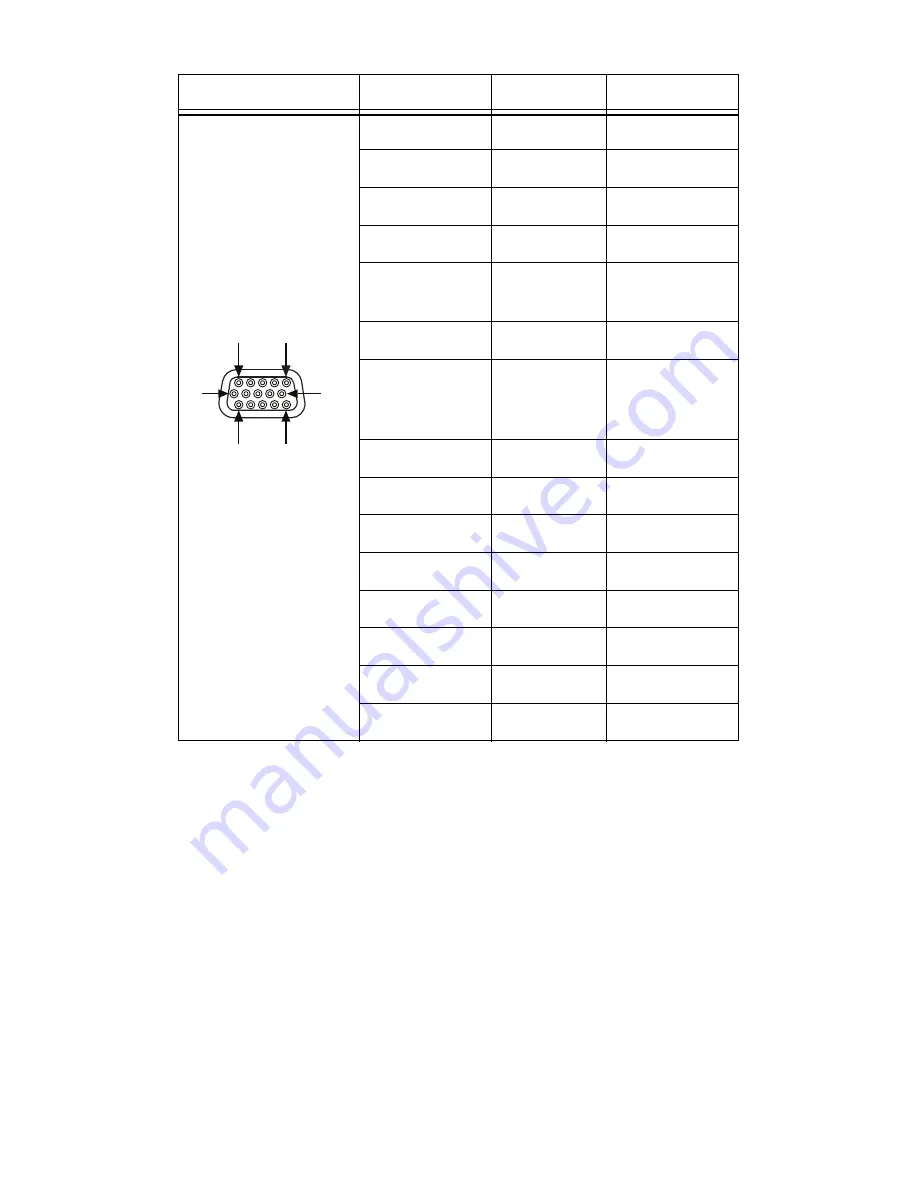
block. Refer to Table 3 for pin information.
6. If necessary, connect the power cord to the power supply.
7. Plug the power supply into an outlet.
When power is first applied to the smart camera, the POWER LED
flashes red for one second while internal systems power up. The
POWER LED then lights green when power is correctly wired to
the smart camera.
Table 3.
NI Smart Camera POWER-I/O Connector Signal Descriptions
Connector Diagram
Signal Name
Pin Number
Wire Color
+24 V
5
Red
COM
15
Black
RS_232TXD
10
Pink
RS_232RXD
14
Black/White
IsoIn(0)+
2
Brown
IsoIn(1)+
8
Orange
TrigIn–
IsoIn(0)–
IsoIn(1)–
12
Light Green
IsoOut(0)+
6
Yellow
IsoOut(0)–
1
Green
IsoOut(1)+
11
Light Blue
IsoOut(1)–
7
Gray
3
Blue
PhaseA–
13
Brown/White
9
Purple
PhaseB–
4
White
1
6
11
5 (+24 V)
10
15 (COM)


