background image


Note

Please backup your data of old HDD firstly. Because all the data in used HDD 

would lost after set-up. 

Step 2:

 Keep press 

“1”, “3” button at the same time, then plug the 

USB cable into the host of computer, and wait for 10 seconds until 

blue and red LED light keep continuous bright.   

Step 3:

 Keep press "Lock" button wait for 10 seconds until the 

Orange LED light keep continuous bright. 

Step 4:

 Enter your password (1~12 digits), then press "Unlock" 

button to confirm it. 

Step 5: 

Enter the password (the same as first time) again, then 

press "Unlock" button to confirm it. 

At this time the red LED light go to be off, then green LED light 

bright, it mea

successfully set up password. 

Step 6: 

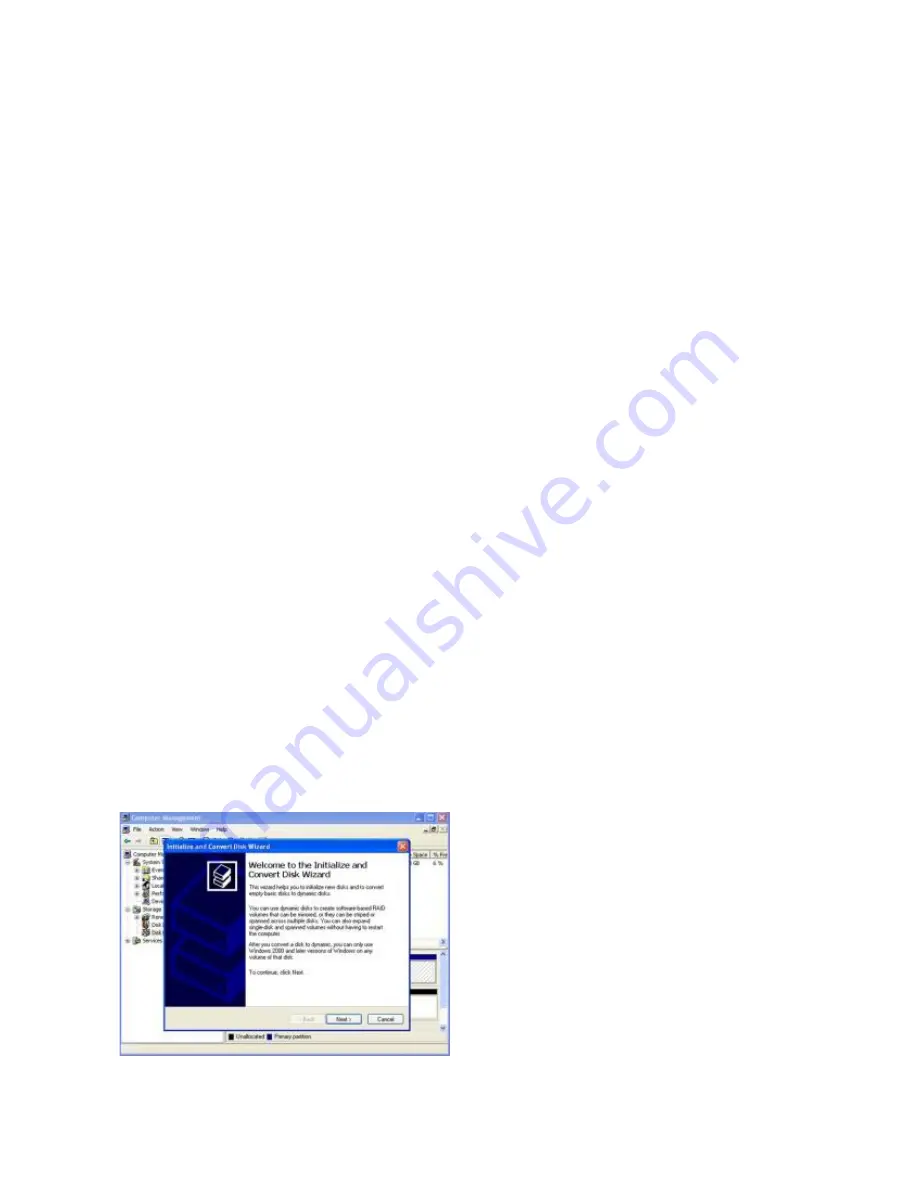
Opens the computer disk management tool, and the disk 

convert wizard will pop

up automatically


Disk 1 is automatically been sele

cted, and just click “Next” button,


Содержание NKZ-0808

Страница 1: ...User Manual USB 3 0 Keypad Encrypted HDD Enclosure ...

Страница 2: ...assword input LED power encrypted status indicators Less screw for setup HDD Simple setup and installation 2 Specifications Interfaces USB 3 0 2 0 1 1 Supports USB Super speed 5Gbps operation Case material Plastic Aluminum LED indicator Power HDD activity and encrypted status Environmental Power Requirements DC5V supplied by the Computer Operating Temperature 5 o C to 50 o C Storage Temperature 40...

Страница 3: ... Active USB port 4 Package contents USB 3 0 Keypad Encrypted HDD Enclosure User manual USB 3 0 cable 5 Hard disk installation Step 1 Push shown in the location and direction of picture to open the bottom cover Step 2 The SATA hard disk connect to the seat on PCBA well ...

Страница 4: ...Step 3 Close the bottom cover push as shown the direction of picture 6 Hardware Setup 6 1 The LED behaviors ...

Страница 5: ...3 Orange LED continuous brightens when user mode for password creating or password changing and turns off when the new password is complete to create or the old password pressed is correct 4 Red LED blinks when the password or operation is incorrectly It s continuous brighten for lock mode and turn off after unlock 6 2 Set up password operation Step 1 Install a new HDD or used HDD without data ...

Страница 6: ... for 10 seconds until the Orange LED light keep continuous bright Step 4 Enter your password 1 12 digits then press Unlock button to confirm it Step 5 Enter the password the same as first time again then press Unlock button to confirm it At this time the red LED light go to be off then green LED light bright it mean successfully set up password Step 6 Opens the computer disk management tool and th...

Страница 7: ...ard Click the right button of mouse and select new simple volume the new simple volume wizard is running Following the wizard instructions to partition and format your HDD The disk will disappear in my computer window and then you can use it ...

Страница 8: ... connect Encrypted HDD enclosure to computer by USB cable Step 2 Keep press Lock button wait for 10 seconds until the red LED and orange LED bright at the same time then loosen Lock button Step 3 Enter existing password then press Unlock button to confirm it at this time the orange LED go to be off Step 4 Enter NEW password then press Unlock button to confirm it Step 5 Enter NEW password again the...

Страница 9: ...ase a same enclosure and press the same password then allows accessing the data 3 What s the situation if changing password is failure ANS It s only need to enter the original password and it s still allow to access the data in HDD 4 If the HDD removes from enclosure then put it into the other enclosure If the HDD is still allow to access ANS No it s not allow to access data if the HDD leave this ...

Страница 10: ...Instrukcja obsługi OBUDOWA ZEWNĘTRZNA SATA NATEC RHINO CODE 2 5 USB 3 0 ...

Страница 11: ...ksymalnie 4 TB Pasuje do wszystkich dysków twardych 2 5 cala grubość 7 9 5mm Obsługa silnego AES 256 bitowego szyfrowania sprzętowego bezproblemowo szyfruje wszystkie dane na dysku w czasie rzeczywistym Wbudowana niezależna klawiatura do wprowadzania hasła Wskaźniki LED stanu zasilania zaszyfrowania Beznarzędziowy montaż Prosta konfiguracja i instalacja ...

Страница 12: ...V dostarczane przez komputer Temperatura pracy 5 C do 50 C Temperatura przechowywania od 40 C do 70 C Wilgotność pracy 5 do 90 bez kondensacji 3 Wymagania systemowe Wymagania PC Minimum procesor Intel Pentium II 50MHz 64MB RAM Windows 2000 XP Vista 7 8 10 Aktywny port USB Wymagania MAC Minimum procesor Apple G 64MB RAM Mac OS 9 1 9 2 10 1 5 10 2 10 3 Aktywny port USB ...

Страница 13: ...wartość opakowania Kieszeń na dysk Instrukcja obsługi Kabel USB 3 0 5 Instalacja dysku twardego Krok 1 By otworzyć kieszeń postępuj zgodnie z poniższym schematem Krok 2 Dysk twardy SATA podłączyć do gniazda ...

Страница 14: ...ona jeżeli mruga oznacza to że na dysk pracuje 2 Zielona dioda LED miga raz podczas wciśnięcia przycisku a światłem ciągłym gdy dysk jest odblokowany 3 Pomarańczowy LED rozjaśnia się podczas ciągłego trybu użytkownika do tworzenia haseł lub zmiany hasła a wyłącza się gdy nowe hasło jest dodane 4 Czerwona dioda miga gdy hasło lub operacja jest nieprawidłowe Światło ciągłe oznacza że kieszeń jest ...

Страница 15: ...zablokowana po odblokowaniu dioda gaśnie ...

Страница 16: ... 1 i 3 w tym samym czasie a następnie podłącz kabel USB do komputera i odczekaj 10 sekund aż niebieska i czerwona dioda LED będą świecić Krok 3 Przytrzymaj przycisk Lock przez 10 sekund aż pomarańczowa lampka LED będzie świecić światłem ciągłym Krok 4 Wprowadź swoje hasło 1 12 cyfr a następnie naciśnij przycisk Unlock aby je potwierdzić Krok 5 Wprowadź hasło takie samo jak po raz pierwszy ponownie...

Страница 17: ...ona dioda LED zgaśnie i zaświeci się zielona to znaczy że operacja przebiegła pomyślnie Krok 6 Otwórz narzędzie do zarządzania dyskami Dysk zostanie automatycznie wybrany następnie kliknij przycisk dalej i zakończ ...

Страница 18: ...olumin i postępuj zgodnie z instrukcją Dysk zniknie z okna Mój komputer następnie odłącz go i podłącz ponownie Następnie za każdym podłączeniem należy wprowadzić prawidłowe hasło dostępu do HDD SSD i przycisnąć przycisk Unlock aby potwierdzić hasło ...

Страница 19: ...k 3 Wprowadź istniejące hasło a następnie naciśnij przycisk Unlock aby potwierdzić w tej chwili pomarańczowa dioda powinna się wyłączyć Krok 4 Wpisz nowe hasło a następnie naciśnij przycisk Unlock aby je potwierdzić Krok 5 Wprowadź ponownie nowe hasło a następnie naciśnij przycisk Unlock aby je potwierdzić Krok 5 W tym czasie czerwona dioda powinna się wyłączyć a zielona dioda zaświecić co będzie ...

Страница 20: ...arczy zakup tej samej obudowy 3 Co jeżeli zmiana hasła się nie uda ODP To wystarczy wprowadzić oryginalne hasło 4 Jeśli dysk twardy umieścimy w innej obudowie to nadal będziemy mieć do niego dostęp ODP Niestety ale nie będziemy mieć dostępu do danych ze względu na to że będą zakodowane 5 Jakie jest prawdopodobieństwo że nasze hasło zostanie złamane ODP Szansa jest niska ze względu na używany specj...

Отзывы: