www.napoleongrills.com
37
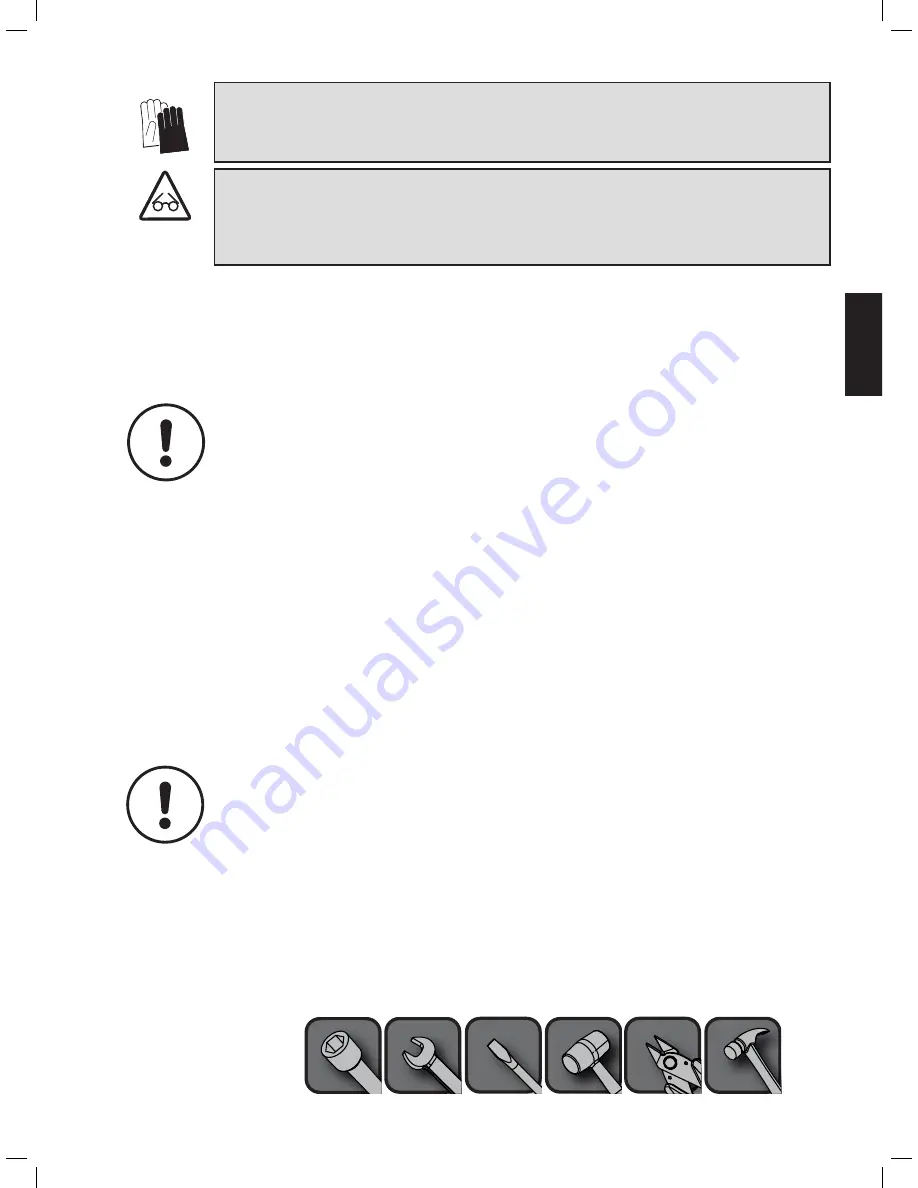
ATTENTION!
Lors du déballage et de l’assemblage, nous vous conseillons de porter des gants
de travail et des lunettes de sécurité pour votre protection. Malgré tous nos efforts pour assurer que
l’assemblage soit aussi sécuritaire et sans problème que possible, il se peut que les bords et les coins
des pièces usinées en acier soient coupants et qu’ils causent des coupures si les pièces ne sont pas
manipulées correctement.
CAUTION!
During unpacking and assembly we recommended you wear work gloves and safety
glasses for your protection. Although we make every effort to make the assembly process as problem
free and safe as possible, it is characteristic of fabricated steel parts that the edges and corners might
be sharp and could cause cuts if handled incorrectly.
Getting Started
1.
Remove all cart panels, hardware, and grill head from carton. Raise lid and remove any components
packed inside. Use the parts list to ensure all necessary parts are included.
2.
Do not destroy packaging until the grill has been fully assembled and operates to your satisfaction.
3. Assemble the grill where it is to be used, lay down cardboard or a towel to protect parts from being
lost or damaged while assembling.
4.
Most stainless steel parts are supplied with a protective plastic coating that must be removed
prior to using the grill. The protective coating has been removed from some of the parts during the
manufacturing process and may have left behind a residue that can be perceived as scratches or
blemishes. To remove the residue, vigorously wipe the stainless steel in the same direction as the
grain.
5.
Follow all instructions in the order that they are laid out in this manual.
6.
Two people are required to lift the grill head onto the assembled cart.
If you have any questions about assembly or grill operation, or if there are damaged or missing parts
please call our Customer Solutions Department at 1-866-820-8686 between 9 AM and 5 PM (Eastern
Standard Time).
Pour Commencer
1.
Retirez tous les panneaux, le matériel et le gril du carton d’emballage. Soulevez le couvercle et
enlevez les composants qui se trouvent à l’intérieur. Servez-vous de la liste de pièces pour vous
assurer que toutes les pièces nécessaires sont incluses.
2.
Ne détruisez pas l’emballage jusqu’à ce que le gril ait été complètement assemblé et qu’il fonctionne à
votre satisfaction.
3.
Assemblez le gril là où il sera utilisé et posez un carton ou une serviette afin d’éviter de perdre ou
d’endommager les pièces lors de l’assemblage.
4.
La plupart des pièces en acier inoxydable comportent un revêtement de protection en plastique qui
doit être retiré avant d’utiliser le gril. Le revêtement de protection a déjà été retiré de certaines
pièces lors du processus de fabrication, ce qui a pu laisser un résidu pouvant être perçu comme des
égratignures ou des marques. Pour enlever ce résidu, frottez l’acier inoxydable vigoureusement
dans le sens du grain.
5.
Suivez toutes les instructions dans l’ordre donné dans ce manuel.
6.
Deux personnes sont requises pour soulever la cuve de gril et la placer sur le chariot assemblé.
Si vous avez des questions à propos de l’assemblage ou du fonctionnement du gril, ou si des pièces sont
manquantes ou endommagées, veuillez appeler notre département du Service aux Consommateurs au
1-866-820-8686 entre 9 h et 17 h (heure normale de l’Est).
OUTILS REQUIS POUR L’ASSEMBLAGE (outils non inclus)
TOOLS REQUIRED FOR ASSEMBLY (tools not included)
3/8” (10 mm)
7/8” (22 mm)
Содержание P500RSIBNSS
Страница 6: ...www napoleongrills com 40 N570 0024 1 4 20 x 1 2 x1 1 2 3...
Страница 8: ...www napoleongrills com 42 N570 0082 1 4 20 x 5 8 x4 N340 0007 x4 x4 2 1 N485 0028 1 1 4 3 4 1 1 4...
Страница 12: ...www napoleongrills com 46 1 2 N570 0087 1 4 20 x 7 8 4 P500RB x2 P500 x2 P500RSIB x1 OPTIONAL OPTIONNELLE 3 x2...
Страница 13: ...www napoleongrills com 47 N570 0099 14 x 3 4 x4 1 P500RB P500 P500RSIB X 3 4 x4 2 x...
Страница 15: ...www napoleongrills com 49 P500RB P500 P500RSIB N710 0093 x1 N185 0001 x1 N710 0062 x1...
Страница 16: ...www napoleongrills com 50...


