7
8
INSTALLATION
Page 9 of 17
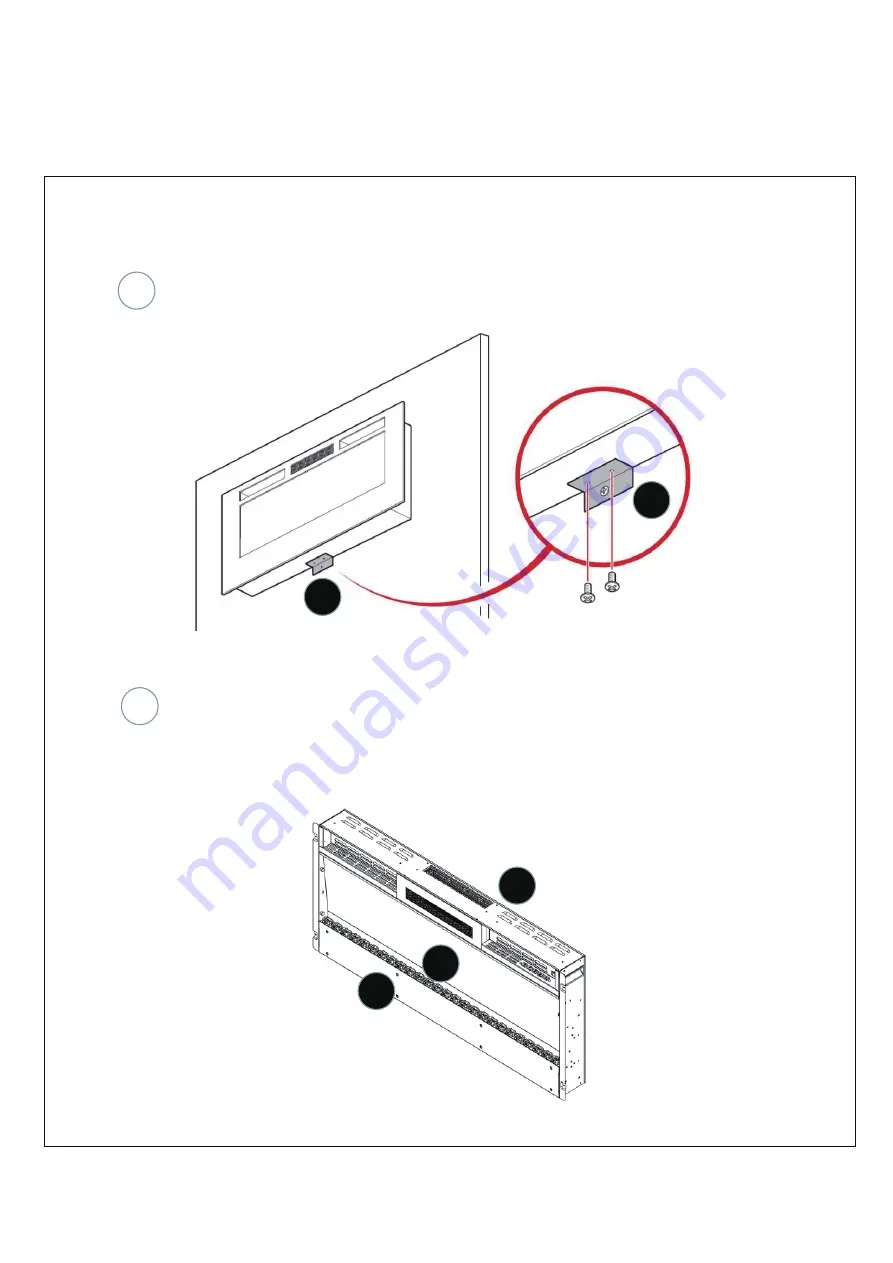
RECESSED WALL INSTALLATION CONTINUED
4
4
6
2
1
Attach the bottom bracket 4 to the part 1 with two 4×30mm screws.
Put the crystal stones 6 to enber bed.First, take off glass (part 2) from appliance(part 1).
Then put crystal stones 6 on ember bed.


