background image

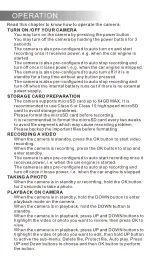
OPERATION

Read this chapter to know how to operate the camera.

TURN ON /OFF YOUR CAMERA

You may turn on the camera by pressing the power button.
You may turn off the camera by holding the power button for 3 
seconds.
The camera is also pre-configured to auto turn on and start 
recording once it receives power, e.g. when the car engine is 
started.
The camera is also pre-configured to auto stop recording and 
turn off once it loses power, e.g. when the car engine is stopped.
The camera is also pre-configured to auto turn off if it is in 
standby for a long time without any button pressed.
The camera is also pre-configured to auto stop recording and 
turn off when the internal battery runs out if there is no external 
power supply.

STORAGE CARD PREPARATION

The camera supports microSD card up to 64GB MAX. It is 
recommended to use Class 6 or Class 10 high speed microSD 
card to avoid storage problems.
Please format the microSD card before recording.
It is recommended to format the microSD card every two weeks 
to avoid file segments which may cause recording problem. 
Please backup the important files before formatting.

RECORDING A VIDEO

When the camera is standby, press the OK button to start video 
recording.
When the camera is recording, press the OK button to stop and 
enter standby.
The camera is also pre-configured to auto start recording once it 
receives power, i.e. when the car engine is started.
The camera is also pre-configured to auto stop recording and 
turn off once it loose power, i.e. when the car engine is stopped.

TAKING A PHOTO

When the camera is in standby or recording, hold the OK button 
for 2 seconds to take a photo.

PLAYBACK ON CAMERA

When the camera is in standby, hold the DOWN button to enter 
playback mode on the camera.
When the camera is in playback, hold the DOWN button to 
standby.
When the camera is in playback, press UP and DOWN buttons to 
highlight the video or photo you want to review, then press OK to 
view.
When the camera is in playback, press UP and DOWN buttons to 
highlight the video or photo you want to edit, then hold UP button 
to active the sub-menu: Delete file, Protect file, Auto play. Press 
UP and Down buttons to choose and then OK button to perform 
the action.

Содержание Q

Страница 1: ...re using This manual should be kept for future reference WARNING The dash camera should be set up before driving Concentration should always be maintained on the task of driving let the dash camera re...

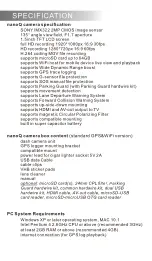
Страница 2: ...9 60fps H 264 coding MOV le recording supports microSD card up to 64GB supports WiFi host for mobile device live view and playback supports Wide Dynamic Range boost supports GPS trace logging support...

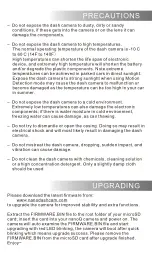
Страница 3: ...the electronic components if there is water moisture in cold environment freezing water can cause damage as can thawing Do not try to dismantle or open the casing Doing so may result in electrical sh...

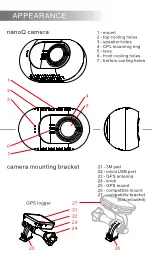
Страница 4: ...3 speaker holes 4 CPL mounting ring 5 lens 6 front cooling holes 7 bottom cooling holes APPEARANCE 2 3 4 5 6 7 1 GPS logger 23 26 27 21 3M pad 22 microUSB port 23 GPS antenna 24 knob 25 GPS mount 26 c...

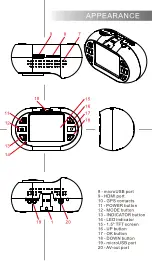
Страница 5: ...9 HDMI port 10 GPS contacts 11 POWER button 12 MODE button 13 INDICATOR button 14 LED indicator 15 1 5 TFT screen 16 UP button 17 OK button 18 DOWN button 19 microUSB port 20 AV out port APPEARANCE 1...

Страница 6: ...two weeks to avoid le segments which may cause recording problem Please backup the important les before formatting RECORDING A VIDEO When the camera is standby press the OK button to start video reco...

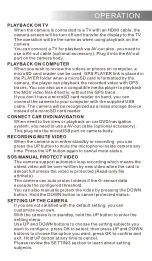
Страница 7: ...ard is formatted by the camera the player can playback the recorded video with GPS traces You can also use a compatible media player to playback the MOV video les directly without the GPS trace If you...

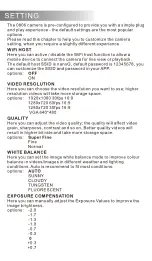
Страница 8: ...trast and so on Better quality videos will result in higher bit rate and take more storage space options Super Fine Fine Normal WiFi HOST Here you can active disable the WiFi host function to allow a...

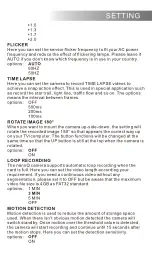
Страница 9: ...eo length according your requirement If you need a continuous video without any segmentation please set it to OFF but be aware that the maximum video le size is 4GB as FAT32 standard options 1 MIN 3 M...

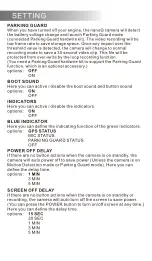
Страница 10: ...tive disable the boot sound and button sound options ON OFF INDICATORS Here you can active disable the indicators options ON OFF BLUE INDICATOR Here you can de ne the indicating function of the green...

Страница 11: ...impacting forces If any impact over the threshold value is detected the current recording le will be locked protected to avoid being over writen Here you can de ne the sensitivity threshold value DRIV...

Страница 12: ...ime from GPS satellites You may need to manually add or minus time zone value f daylight saving time before the GPS signal can correct the time RESTORE DEFAULTS Here you can restore all the settings t...

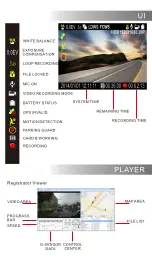
Страница 13: ...LOCKED MIC ON VIDEO RECORDING MODE BATTERY STATUS GPS INVALID MOTION DETECTION PARKING GUARD CARD B WORKING RECORDING SYSTEM TIME REMAINING TIME RECORDING TIME VIDEO AREA PROGRASS BAR CONTROL CENTER...

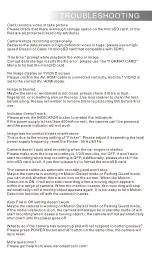
Страница 14: ...ural color come through at the same time Some of the light coming from the sky is also polarized to give a more dramatic sky and high contrast clouds rendering outdoor scenes crisper with deeper color...

Страница 15: ...adjust it depending the local power supply frequency reset the Flicker 50 Hz 60 Hz Camera doesn t auto start recording when the car engine is started Please make sure the loop recording is 1 3 5 minut...

Страница 16: ...MORE THAN A DASH CAMERA nanoq...

Отзывы: