


E9
and
ok/list
keys to select a language. Exit setup mode by
pressing the handset
exit
key.
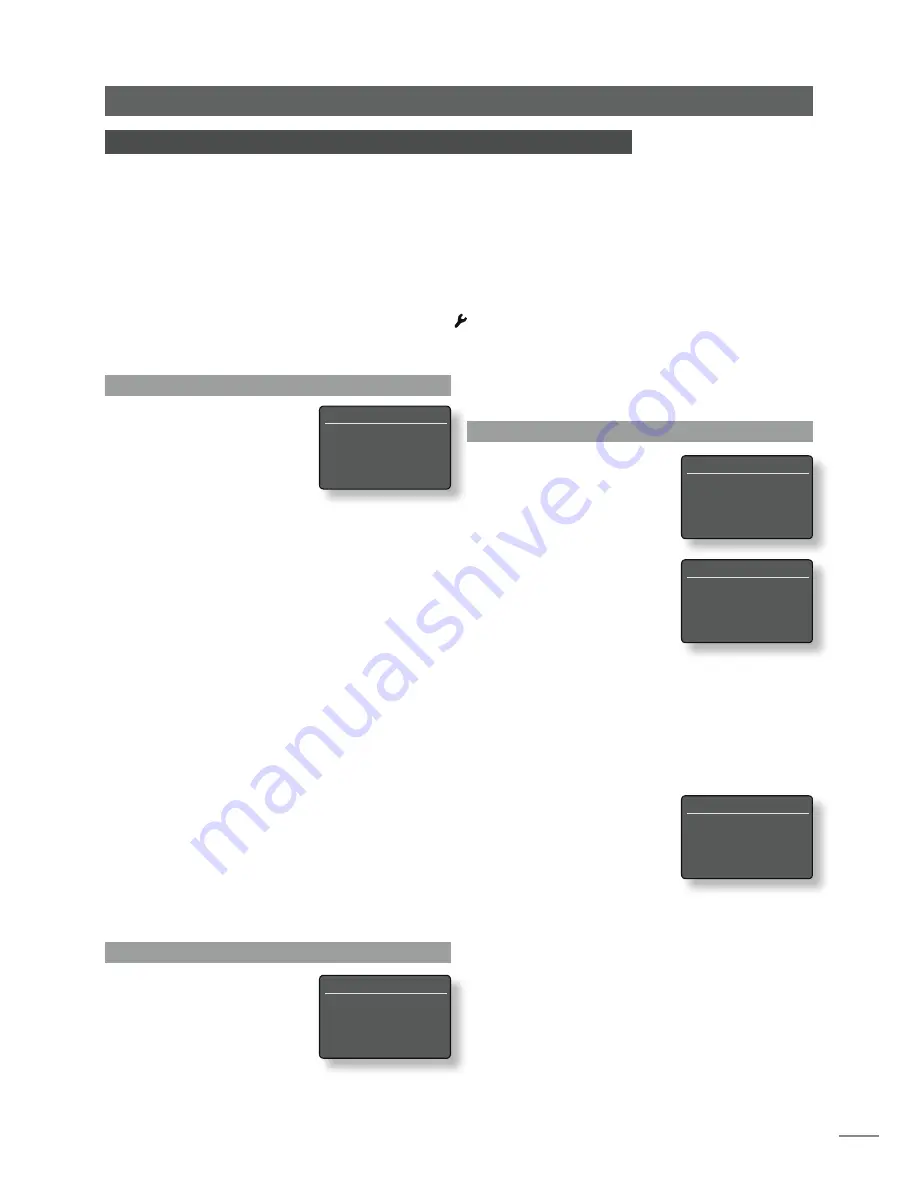
4.3 The Inputs Menu
The Inputs setup menu enables
a variety of parameters to be
specified for each NaimUniti
internal source and external
input. These parameters define
how control of NaimUniti inputs
behaves. The options available
for each are described in
the following sections. Three
parameters are common to all
inputs:
Enabled:
Switches the input on or
off and displays or hides any associated menus.
Name:
Enables user specified names to be attached to
inputs. Use the handset to enter text.
Input Trim
: Enables the relative level of each input to
be adjusted so that each is of an approximately equal
volume. Adjust using using handset
6
or
5
key.
4.3.1 CD Input
Parameter
Options
Enabled:
Yes / No
Name:
User definable
Input Trim:
±4dB
Auto Select:
Yes / No. If
Yes
is specified the internal CD input will be
selected automatically when the drawer
is closed and a disc loaded.
Auto Play:
Yes / No. If
Yes
is specified play will start
automatically when a disc is loaded.
Naim
Uniti
Setup
4 NaimUniti Setup
Once NaimUniti is installed with mains power, speakers, a radio aerial and any external
input connections made, it can be switched on and set up for use.
The degree to which you modify NaimUniti’s default settings will depend upon the uses
to which you put it and the extent to which you use its capabilities. It may be that you
have no need to modify the default settings at all, however we would encourage you to
read this section of the manual in order that you gain a full understanding of NaimUniti’s
abilities. The following paragraphs describe each NaimUniti setup menu in turn starting
with the setup home menu.
Enter NaimUniti setup mode by pressing the handset setup ( ) key. Navigate around the
setup menus using the handset arrow keys and make selections using the ok/list key. Exit
setup by pressing the exit key.
4.1 The Setup Home Menu
The NaimUniti setup home menu
provides access to eight setup
menus. The function of each
menu is as follows:
Language:
Enables the
NaimUniti user
interface language to be changed.
Inputs:
Enables various parameters for each
internal and external input to be
configured.
Speakers:
Configures NaimUniti speaker output
options.
Headphones:
Configures NaimUniti headphone output
options.
Network:
Configures NaimUniti network connection
settings.
Front Display:
Configures NaimUniti display features.
Handset Keys:
Enables NaimUniti inputs to be assigned to
specific handset keys. Also enables
configuration of the handset navigation
(
3456
) keys.
Factory Settings:
Enables interrogation of NaimUniti status,
deletion of all user presets and return to
factory default settings.
Each of the eight setup menus is described in detail in the
following sections. Use the handset
up
(
5
) and
down
(
6
)
and
ok/list
keys to select a setup menu.
4.2 The Language Menu
The Language setup menu
enables the NaimUniti user
interface language to be
changed. Enter setup mode
and use the handset
ok/list
key
to select
Language
. Use the
handset
up
(
5
) and
down
(
6
)
Uniti Setup
1/8
4
Language
Inputs
Speakers
Headphones
Select Input
1/16
4
CD
FM
DAB
iRadio
CD
1/5
4
Enabled:
Yes
Name:
CD
Input Trim:
0
Auto Select:
Yes
CD
5/5
Name:
CD
Input Trim:
0
Auto Select:
Yes
4
Auto Play:
Yes
Language
1/5
4
English
Français
Deutsch
Italiano


