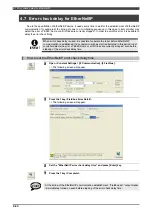
4.4 Change of the Network Environment
4-24
4
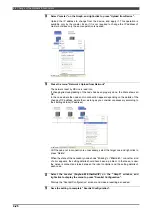
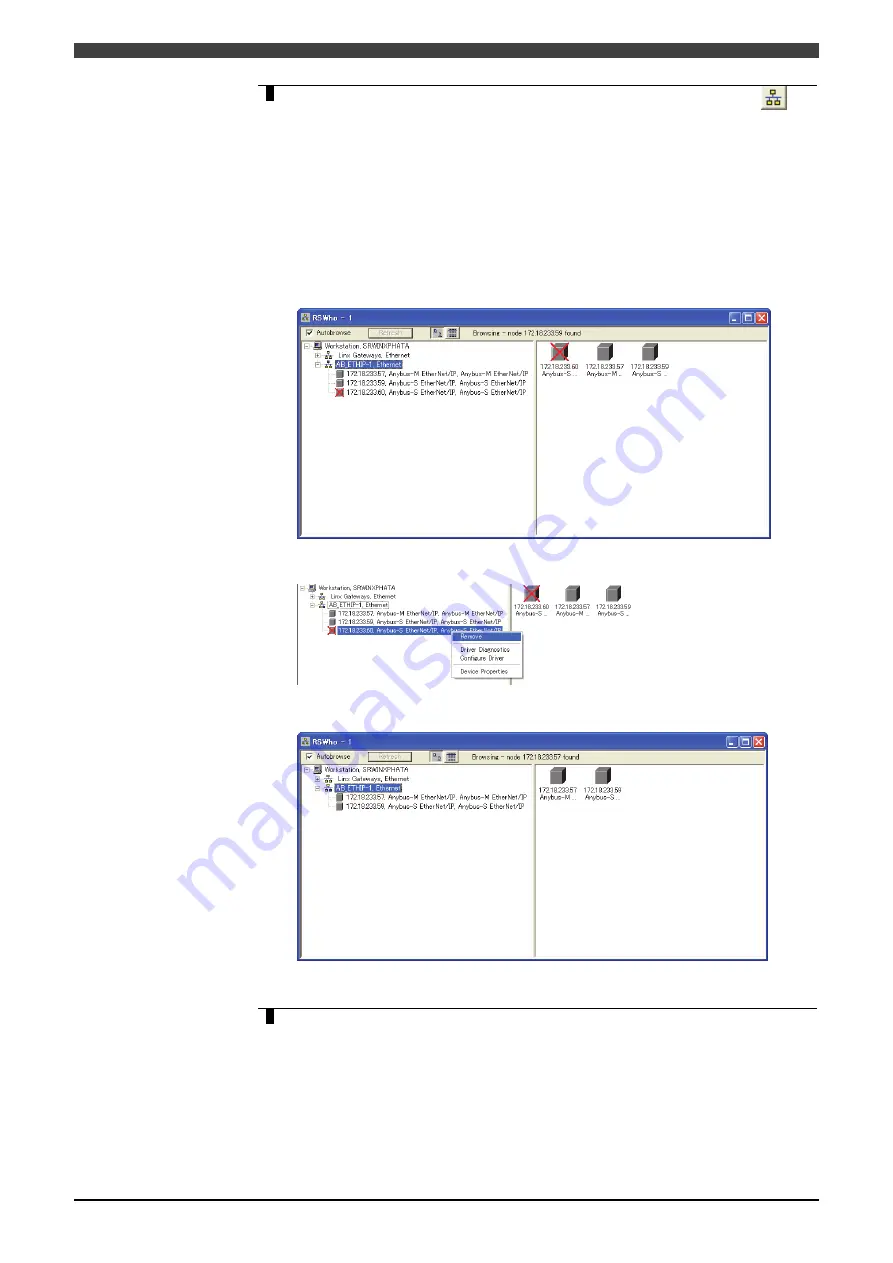
Click “Communications->RSWho” in the menu, or the icon “RSWho”
on
the upper left of the screen.
When the RSWho window starts up, the node already changed appears as the
“EtherNet/IP Driver” has been set by “Configure Drivers”. At this time, remove the
display of node indicated by a “
×
” sign. Select a target node and right-click to press
“Remove”. Although it depends on the details of resetting for the network
configuration, there may be no node with “
×
” sign even if changing the IP address.
<
Example of change
>
Master
:
Change from 172.18.233.59
→
172.18.233.
57
Slave
:
Change from 172.18.233.60
→
172.18.233.
59
(1)
The setting on the robot controller side is completed, and RSLinx is started
up.
(2)
Remove the node indicated by a “
×
” sign. Select “YES” on the dialog
appeared.
(3)
Status when the change is completed.
5
Finish the setting for RSLinx Classic.
Make sure that all the nodes are valid, and then finish the RSLinx Classic.
Thus, the resetting of the network by RSLinx Classic is completed.
Continue to make a resetting of the Scanlist by RSNetWorx for EtherNet/IP.
Содержание FD
Страница 2: ......
Страница 4: ...Table of Contents 2 ...
Страница 10: ...2 1 Needed Parts 2 2 NOTE ...
Страница 47: ......


