MySN XMG7 Скачать руководство пользователя страница 6

Introduction

System Specifications 1 - 3

1.

Int
roduc

tion

Video Card 
Options

NVIDIA


GeForce 8800M GTX PCI-E Video Card

MXM-III
512MB GDDR3 Video RAM On Board
MS DirectX® 10.0 Compatible
Supports HDCP

NVIDIA


GeForce 9800M GTX PCI-E Video Card

MXM-III
512MB GDDR3 Video RAM On Board
MS DirectX® 10.0 Compatible
Supports HDCP

Audio

Intel High Definition Audio Compliant Interface
3D Stereo Enhanced Sound System

 SRS 

WOW

 Surround Sound Technology Inside

Sound-Blaster PRO™ Compatible

S/PDIF Digital Output 
Built-In Microphone
2 * Built-In Speakers (1.5W, 8

)

One Sub Woofer (2W, 8

Ω)

5.1 channel supported

Keyboard & 
Pointing Device

Full Size Winkey Keyboard with Numeric Keypad

Built-In TouchPad (Scroll Functionality Included)

ExpressCard Slot

ExpressCard/54(34) Slot

Interface

Four USB 2.0 Ports
One eSATA Port (eSATA/USB Port Combined)
eSATA supported in 

Windows Vista

 only:

     AHCI mode supports hot swapping
     IDE mode does not support hot swapping

One HDMI (High-Definition Multimedia Interface) Port 
(supports 5.1 channel) with audio output
One DVI-Out Port (Supports Dual Link)
One Headphone/Speaker-Out Jack
One Microphone-In Jack
One S/PDIF Out Jack

One Line-In Jack for Audio Input
One Mini-IEEE1394 Port
One RJ-11 Modem Jack
One RJ-45 Giga LAN Jack
One DC-In Jack

One Cable (CATV) Antenna (Analog/Digital) Jack 
(Functions with 

Optional

 USB TV Tuner Module)

One Consumer Infrared Transceiver 
(Functions with 

Optional

 USB TV Tuner Module)

Feature

Specification

Video Card Options

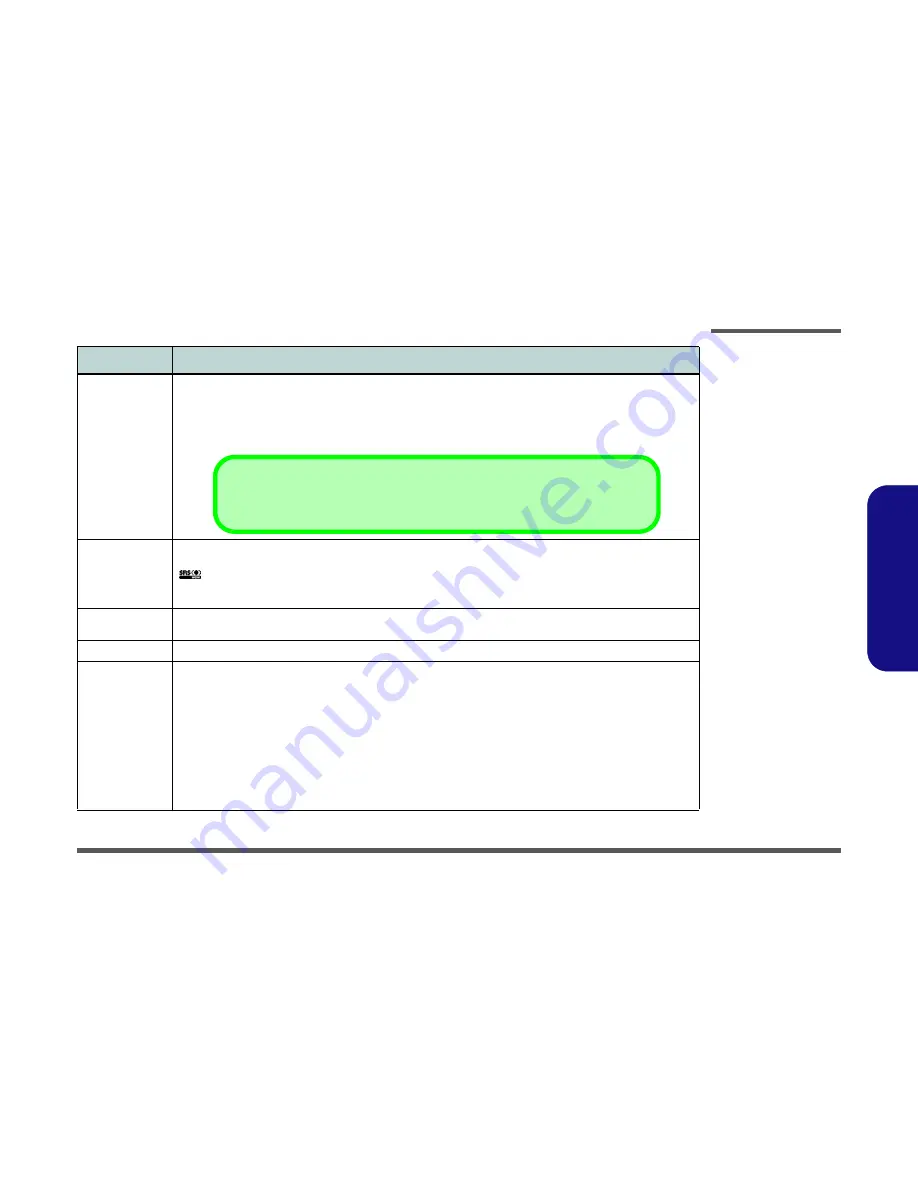
Note that card types, specifications and drivers are subject to continual updates and changes. Check with your service
center for the latest details on video cards supported.

Содержание XMG7

Страница 1: ......

Страница 2: ...down properly and don t forget to save your work Remember to periodically save your data as data may be lost if the battery is depleted Do not expose the computer to any shock or vibration Do not pla...

Страница 3: ...you do not have access to a compatible outlet have a qualified electrician install one When you want to unplug the power cord be sure to disconnect it by the plug head not by its wire Make sure the so...

Страница 4: ...ay from and promptly dispose of a damaged battery Always dispose of batteries carefully Batteries may explode or leak if exposed to fire or improperly handled or discarded Keep the battery away from m...

Страница 5: ...age 44W X9100 45nm 45 Nanometer Process Technology 6MB On die L2 Cache 1066MHz FSB 3 06GHz Core Logic Intel R PM45 ICH9M Chipset Memory Two 204 Pin SO DIMM Sockets Supporting DDRIII DDR3 800 MHz 1066...

Страница 6: ...essCard Slot ExpressCard 54 34 Slot Interface Four USB 2 0 Ports One eSATA Port eSATA USB Port Combined eSATA supported in Windows Vista only AHCI mode supports hot swapping IDE mode does not support...

Страница 7: ...uction External Locator Top View with LCD Panel Open Figure 1 Top View 1 Optional Built In PC Camera 2 LCD 3 Hot Key Buttons 4 Power Button 5 Keyboard 6 TouchPad and Buttons 7 Fingerprint Reader Modul...

Страница 8: ...ack 4 Microphone In Jack 5 S PDIF Out Jack 6 LED Indicators 7 Infrared Consumer Infrared Transceiver 8 Vent 9 HDMI Out Port 10 DVI Out Port 11 Combined eSATA USB Port 12 USB 2 0 Port 13 DC In Jack Ove...

Страница 9: ...6 7 3 8 Right Figure 3 Right Left Side View 1 ExpressCard 54 34 Slot 2 7 in 1 Card Reader 3 2 USB 2 0 Ports 4 Mini IEEE 1394 Port 5 RJ 11 Phone Jack 6 RJ 45 LAN Jack 7 Cable CATV Antenna Jack Enabled...

Страница 10: ...View 1 Vent 2 Battery 3 Battery Release Latch 4 Optical Device Release Latches 5 Component Bay Cover 6 Consumer Infrared Transceiver 7 Sub Woofer Overheating To prevent your com puter from overheating...

Страница 11: ...ing the connection make sure the connector is oriented in the same way The pin1 side is usually not indicated Pressure sockets for multi wire connectors To release this connector type grasp it at its...

Страница 12: ...Do not pull on the wire 6 Peripherals Turn off and detach any peripherals 7 Beware of static discharge ICs such as the CPU and main support chips are vulnerable to static electricity Before handling a...

Страница 13: ...mputer off and turn it over 2 Slide latch towards the unlock symbol and hold it in place and lift the battery up and out of the battery bay 2 Battery 1 2 Figure 1 Battery Removal a Slide latch at poin...

Страница 14: ...cessary drivers and utilities as outlined in Chapter 4 of the User s Manual when setting up a new hard disk Hard Disk Upgrade Process 1 Turn off the computer and turn it over and remove the battery pa...

Страница 15: ...igure 3d 8 Remove screws and lift the HDD shielding plate up from the hard disk 9 Reverse the process to install a new hard disk s 14 17 18 19 20 23 24 25 20 21 23 c e 24 d 25 22 14 15 17 16 18 19 Fig...

Страница 16: ...place 3 Slide latch while still holding latch in place in the direction indicated by the arrow in order to push the opti cal device out of the computer 4 Restart the computer to allow it to automatica...

Страница 17: ...ll pop up Figure 5c and you can then remove it 5 Pull the latches to release the second module if necessary 6 Insert a new module holding it at about a 30 angle and fit the connectors firmly into the...

Страница 18: ...ble at point on the mainboard 3 Carefully disconnect cables and then remove screw 4 The Wireless LAN module Figure 10c will pop up and you can remove it Figure 10 Wireless LAN Module Removal a Locate...

Страница 19: ...2 The TV Tuner card will be visible at point on the mainboard 3 Carefully disconnect cables and then remove screw 4 The TV Tuner card Figure 11c will pop up and you can remove it Figure 11 TV Tuner Ca...

Страница 20: ...over page 2 7 2 The turbo memory card will be visible at point on the mainboard 3 Remove screw from the module 4 The turbo memory card Figure 12c will pop up and you can remove it Figure 12 Turbo Memo...

Страница 21: ...module will be visible at point on the mainboard 3 Disconnect the cable and carefully separate the Bluetooth Module from the connector Figure 13b 4 Lift the Bluetooth Module Figure 13c up and off the...

Страница 22: ...rd ribbon cable Figure 14b 4 Disconnect the keyboard ribbon cable from the locking collar socket 5 Carefully lift up the keyboard Figure 14c off the computer Figure 14 Keyboard Removal a Press the fiv...

Отзывы: