background image

System Setting

- 12 -

FACTORY RESET

UP / DN          SELECT  

shifting       option setting

5

 * The orange wire needs to be connected with the vehicle’s tacho signal and via

    MENU the SPEED SWITCH needs to be selected ON.

 * Adjust FREQUENCY into 67Hz. At this setting (and most common used tacho 

    signal), the selected camera will be displayed during a speed of 0~33km/h.

 * Select the concerning camera via “UNDER FREQUENCY CH;” (At different type

    tacho signals, the FREQUENCY needs to be adjusted into higher or lower value

    than this example)

 * Over 33km/h (72Hz), the selected camera will be switched OFF automatically.

    When the speed slows down, then the selected camera will be switched ON

    automatically again at 30km/h. Instead of automatic switch OFF at a speed over

    33km/h it is also possible to activate another video source, such as 

the image of a second 

    camera or a navigation picture from an optional navigation computer. In this case, 

    user needs to select “OVER FREQUENCY DISPLAY: ON” and user needs to select 

    “OVER FREQUENCY CH”

 * In case of TRIGGER activation during “SPEED SWITCH ON” mode, than 

    TRIGGER 1,2 will overrule “SPEED SWITCH” function.     

EXAMPLE OF SPEED SWITCH FUNCTION:

LOCK ON/FF FUNCTION

LOCK ON/FF FUNCTION
The set up menu can be prevention against unauthorized users.

LOCK ON mode
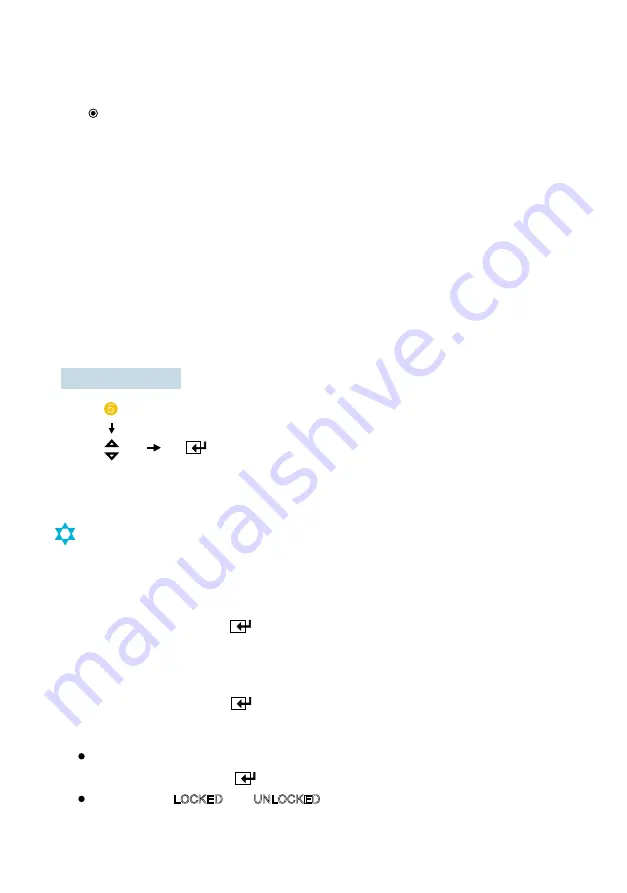
At Power-ON mode, hold             icon pressed for 10 seconds to set up LOCK ON Function.
When [ LOCKED ] is displayed on the screen, user can use [ POWER, SELECT, VOLUME ]

buttons only and use can do setting for PICTURE menu.(Short key)

LOCK OFF mode
At Power-ON mode, hold              icon pressed for 10 seconds to set up LOCK OFF Function.
When [ UNLOCKED ] is displayed on the screen, user can use all functions of the set up menu.

When [ LOCKED ] or [ UNLOCKED ] is displayed on the screen, user can select [ LOCKED ] or 

After selection [ LOCKED ] or [ UNLOCKED ] , press POWER button.
Then, press POWER button again to activate the proper LOCK ON/OFF function.

[UNLOCKED] by pressing            icon.

Содержание MXN-7DM

Страница 1: ...OWNER S MANUAL Model MXN 7DM 7 Digital LCD monitor for allround vision Design and Specifications are subject to change without notice MXN 7DM...

Страница 2: ...fety Instructions Package Contents Operation System Setting Camera setting Trigger setting Auto Scan setting Day Night setting Advanced menu Installation Connection Specifications 03 04 05 07 12 07 08...

Страница 3: ...d in direct sun light resulting in a considerable rise in temperature inside the vehicle allow the unit to cool off before operating Clean the unit with a slightly damp soft cloth Use a mild household...

Страница 4: ...ITOR CAMERA INPUT CABLE RAIL TYPE FIXING BRACKET USERS MANUAL SUNVISOR SCREW KIT OWNER S MANUAL Model MXN 7DM 7 Digital LCD monitor for allround vision Design and Specifications are subject to chage w...

Страница 5: ...ng POWER 1 SELECT 2 MENU 3 Touch icon to turn the monitor on Touch icon to turn the monitor off Touch icon to enter Display Menu Short key and Main Menu Long key Touch once to enter menu mode Touch ag...

Страница 6: ...IGHT SHARPNESS CONTRAST COLOR TINT NTSC MODE DISPLAY MENU 1 BRIGHT 2 CONTRAST 3 COLOR 4 SHARPNESS 30 5 TINT 30 30 30 MENU MENU Shortkey Menu can control Bright Contrast Color and Sharpness Tint for in...

Страница 7: ...MENU NOR MIR MENU MENU UP DN SELECT long key more than 2 sec up down shifting option setting shifting option setting shifting option setting shifting exit UP DOWN UP DOWN SORT NORMAL SHUTTER CAMERA N...

Страница 8: ...n setting exit 2 Trigger1 2 UP DN DELAY UP DOWN SOURCE selecting shifting option srtting 2 Source select Delay time setting and MARKER ON OFF are only available with SELECT key If one trigger is actvi...

Страница 9: ...R SETTING MARKER SETTING UP DN SELECT UP DN SELECT UP DN shifting selecting shifting option setting selecting exit LEFT RIGHT UP DOWN LEFT RIGHT UP DOWN UP DOWN WIDTH NARROW WIDE Trigger1 2 UP DN MARK...

Страница 10: ...0 60 UP DN SELECT UP DN SELECT MENU shifting option setting shifting option setting exit UP DN SELECT MENU shifting option setting exit 3 3 3 AUTO SCAN SETTING AUTO SCAN CAM1 SCAN TIME CAM2 SCAN TIME...

Страница 11: ...ivates selected channel when input is lower frequency than frequency setting NOTE UNDER FREQ CH CAM1 CAM2 Select ON for displaying image when input is higher frequency than frequency setting NOTE OVER...

Страница 12: ...ion picture from an optional navigation computer In this case user needs to select OVER FREQUENCY DISPLAY ON and user needs to select OVER FREQUENCY CH In case of TRIGGER activation during SPEED SWITC...

Страница 13: ...Installation 13 1 Monitor Fixing Method 2 Sunvisor Mounting Method 1 STAND BRACKET RAILS TYPE INCLUDED 2 ROOF MOUNT BRACKET OPTION 3 WINDOW BRACKET OPTION...

Страница 14: ...RIGGER2 12 TO 30V 3 GREEN TRIGGER1 12 TO 30V highest priority 4 ORANGE SPEED SWITCH TACHO SIGNAL 5 BLACK GROUND WHITE TRIGGER 2 12 TO 30V ORANGE SPEED SWITCH TACHO SIGANL BLACK GROUND RED POWER 12 TO...

Страница 15: ...y DC 12V 30V Max 12Watt NTSC PAL compatible 7 Digital 800 H x 480 V x 3 RGB 16 9 wide Mini DIN 4P 1Vp p 75 MXN configuration 30 80 40 90 6G Day Night Sensor Sharpness Bright Contrast Color Tint Mirro...

Страница 16: ...L WASTE RE USE OR RECYCLE WHEREVER POSSIBLE ELECTRICAL ELECTRONIC COMPONENTS MAY CONTAIN SUBSTANCES WHICH ARE HARMFUL TO THE ENVIRONMENT FOR ENVIRONMENTALLY SOUND METHODS OF DISPOSAL PLEASE CONTACT YO...

Отзывы: