background image

18

19

MXL USB.006

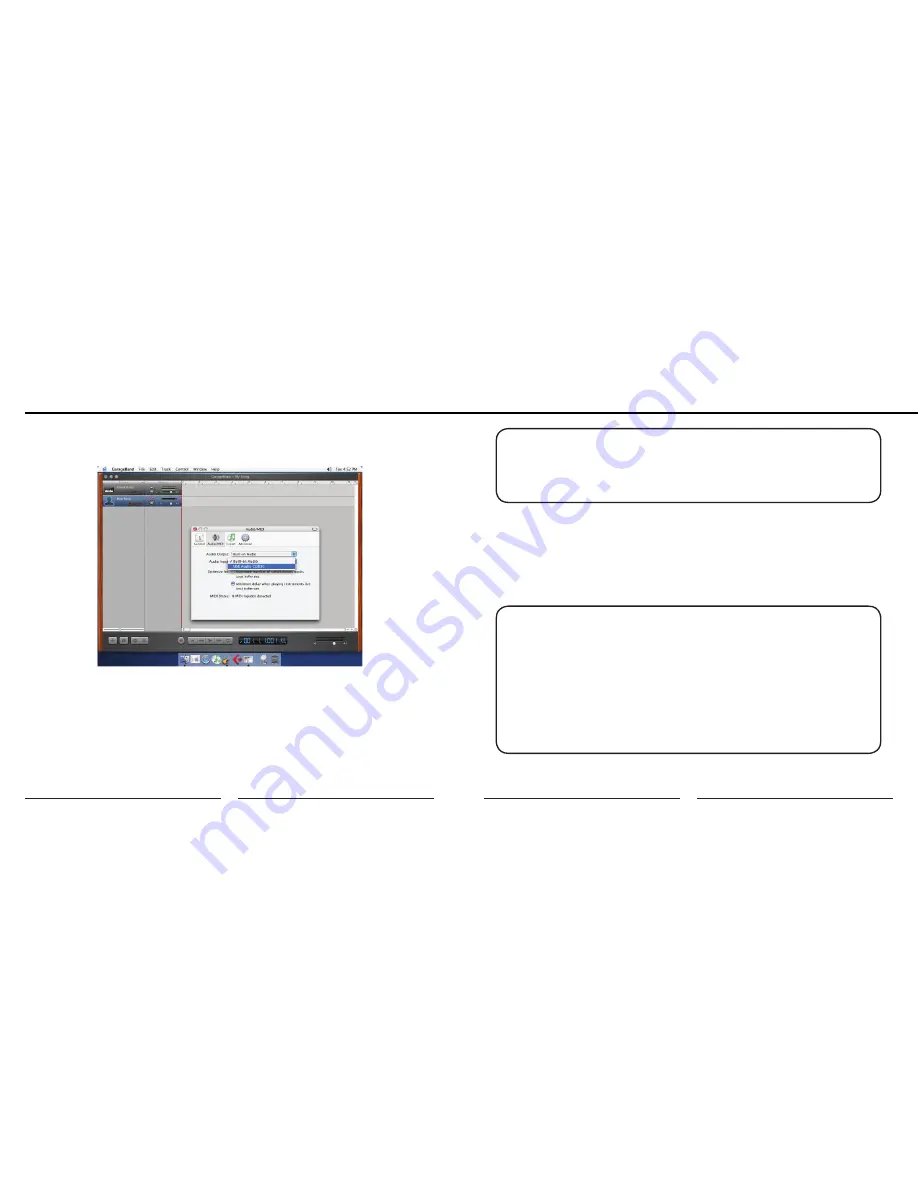
7.  Then select the Audio/MIDI icon in the top row. From the drop down menu 

under Audio Input, select the 

USB Audio Codec

 as shown in the figure below.

8.  You will then be asked if you really want to change the driver. Select Yes. The 

computer will then say it is initializing the audio driver. Wait until this is done, 
then close the window.

9.  At this point, you should see the meter move when you speak into the micro-

phone. You can now click on the Record button and record your vocal or 
dialog using your microphone.

Warranty

PLEASE NOTE: As long as the microphone is plugged in when Garage 
Band is started, the audio input source settings in Garage Band will be 
saved until you change them again, even if you close the program or start 
a new project.

For More Information:

For additional information about your MXL USB microphone, how to contact techni-
cal support, as well as information on other products manufactured by MXL, please 
visit us online at www.mxlmics.com.

Windows is a registered trademark of Microsoft Corporation in the United States and other countries.

WARRANTY: Marshall Microphones are guaranteed against defects in 
material and workmanship for one year from date of purchase. Should you 
encounter any problem with this unit, promptly contact the company you 
purchased it from for assistance. The original dated sales receipt will be 
necessary for any warranty claim. Do not send any unit directly to us with-
out prior authorization from our service department! Warranty coverage 
is limited to repair or replacement (at our option) of the microphone, and 
does not cover incidental damages due to use of this unit, nor damage 
caused by accidental misuse of this product.

Содержание USB.006

Страница 1: ...User Manual USB 006 Studio Quality USB Microphone...

Страница 2: ...use a pop filter for added protection of the sensitive capsule and to shield the instrument from saliva and sudden bursts of air NEVER Tap the microphone to check if it s working The RED LED behind th...

Страница 3: ...possible that a loud boomy voice or a vocalist who is really belting out those notes may exceed normal recording levels In this case you will want to reduce the signal strength by using the microphone...

Страница 4: ...resources For this reason you should close any and all running applications that are non essential Please take the following steps to get connected 1 If open close your audio recording application You...

Страница 5: ...Click Apply for these changes to take effect IMPORTANT NOTE ABOUT SOUND PLAYBACK Some computer systems may change the default sound playback device to be the USB Audio Codec when your MXL Microphone...

Страница 6: ...ol Panel Your Windows XP computer is now set up to use the MXL USB 006 Some recording applications will require additional settings to be changed within the program Please see your recording software...

Страница 7: ...audio input for audio click on the 4 To make further adjustments to the recording settings double click on the microphone icon labeled USB Audio Device Click on the tab labeled Advanced From the drop...

Страница 8: ...ing the Sound dialog screen there will be three tabs at the top of the window select the Input tab by clicking on it 6 Then select the USB Audio Codec as the device for sound input as shown in 7 By wa...

Страница 9: ...y Song opens with one software instrument track To record through the USB microphone click on Track on the top of the window bar and select New Track as shown in the figure below 4 Select the tab in t...

Страница 10: ...rt a new project For More Information For additional information about your MXL USB microphone how to contact techni cal support as well as information on other products manufactured by MXL please vis...

Страница 11: ...20 MXL USB 006 MXL Microphones The Professional Audio Division of Marshall Electronics El Segundo CA Phone 310 333 0606 800 800 0688 www mxlmics com sales mxlmics com 10 2010...

Отзывы: