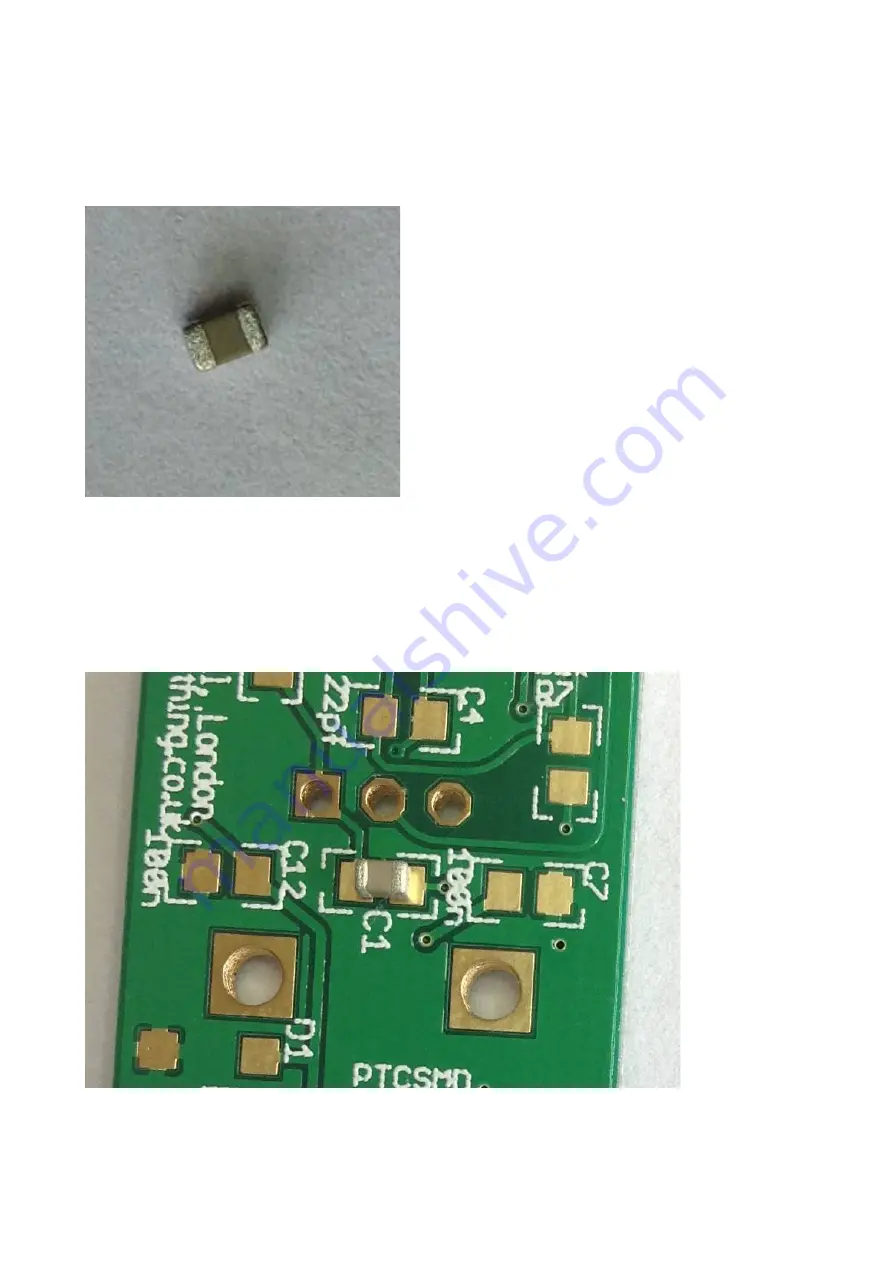
Once you're happy with the placement of the resistors, it's time to progress on to the ceramic
capacitors. As with the resistors, these are non-polarised, meaning they can be oriented in either
direction on the PCB. Unlike the resistors, you'll notice that these are not flat, but have a square
profile. With these it doesn't matter which face is pointing upwards, as you'll see they don't have a
value printed on any face.
Start with the 5 x 100nF capacitors designated C1, C7, C8, C11, C12. Use exactly the same
procedure to solder these capacitors as you used for the resistors. Again, you might want to do a dry
run & offer one of the capacitors up to it's pads before you start to solder, so you get an idea of how
the capacitor should be located on the pads.
MTM SimpleEQ 0805 build doc v1.1
Page 12
Illustration 10: surface mount ceramic
capacitor
Illustration 11: ceramic capacitor aligned on PCB pads


