4-4
Network Interface
50%, 64% and 70% are not available in 200dpi.
– or –
Press [Advanced Functions] repeatedly until “Zoom” appears, then
press [Enter]. Press [ ] or [ ] to adjust the zoom ratio.
– or –
Enter your desired ratio (50 to 200 %) using the numeric keys.
NOTE:
• Enlargement scanning can only be performed using the docu-
ment glass.
• The minimum reduction ratio is 75 % at 200 dpi.
• To reset the settings to the default, press [Reset].
•
Document type
— Press [Doc. Resolution] then press [ ] or [ ] to
select the document type:
Text
— Select this mode when scanning text.
Photo&Text
— Select this mode when scanning documents containing
photographs or drawings and text.
Photo
— Select this mode when scanning photographs or drawings.
•
Contrast
— Press [Contrast] to set how light or dark you want the
documents to be. To avoid confusing the Light and Dark settings,
just remember — “Light lightens” and “Dark darkens” — to keep it
straight.
4
Press [Start].
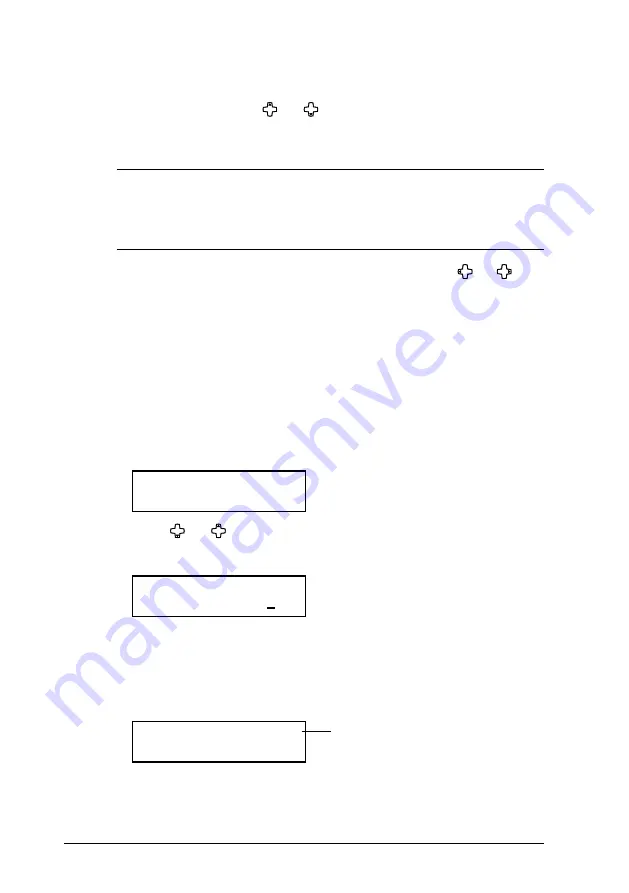
Select Scan Box
01:01
5
Press [ ] or [ ] to select the scan box, then press [Enter].
If the scan box has an I.D. code other than 0000, the following display
will appear, and go to step 6. Otherwise, skip to step 7.
01:Store Document
Enter I.D. Code:****
6
Use the numeric keys to enter the scan box’s four-digit I D. code, then
press [Enter].
If you enter an invaild I.D. code the machine will return to the Standby
mode.
7
The machine will start scanning.
01:Store Doc.File: 1
A4 Mem100%
A file number is assigned to every document scanned into the scan box
(1 to 10).
File number
Содержание MFX-1930
Страница 1: ...Network Interface User Manual ...
Страница 6: ...1 2 Network Interface ...
Страница 11: ...2 5 Network Interface 7 Restart the PC to finish installation ...
Страница 14: ...3 2 Network Interface ...
Страница 44: ...5 18 Network Interface ...
Страница 50: ...7 4 Network Interface ...


