


RASFinder User Guide
MTASR3-200
28
Introduction
This chapter describes the RASFinder’s MultiRouter software from an applications standpoint,
showing how to make changes in the configuration with recommendations on the impact of any such
changes. The major configuration parameters were set when the software was loaded into your PC
and the setup configuration was downloaded to the RASFinder at the conclusion of the software
installation. The MultiRouter software is designed for the Microsoft ® Windows ® environment.
Recommendations are provided to explain that changing parameters may affect your unit
in a certain way. Our intent is not to cover every dialog box and every option because the
Router Setup Help system provides that information. The Help menus define each button,
option, field, and provide recommend values where applicable. This constitutes a dynamic
help system in that the information presented always relates to the dialog box or window
that is currently open.
Before You Begin
To view or change your MultiRouter configuration in Windows 95, click on the Start button, point to
Programs, then MultiRouter, and click on Router Configuration. You can also start the Router
Configuration from My Computer by selecting the following folders, in turn (Windows\Start
Menu\Programs\MultiRouter), and finally double-clicking on the Router Configuration icon.
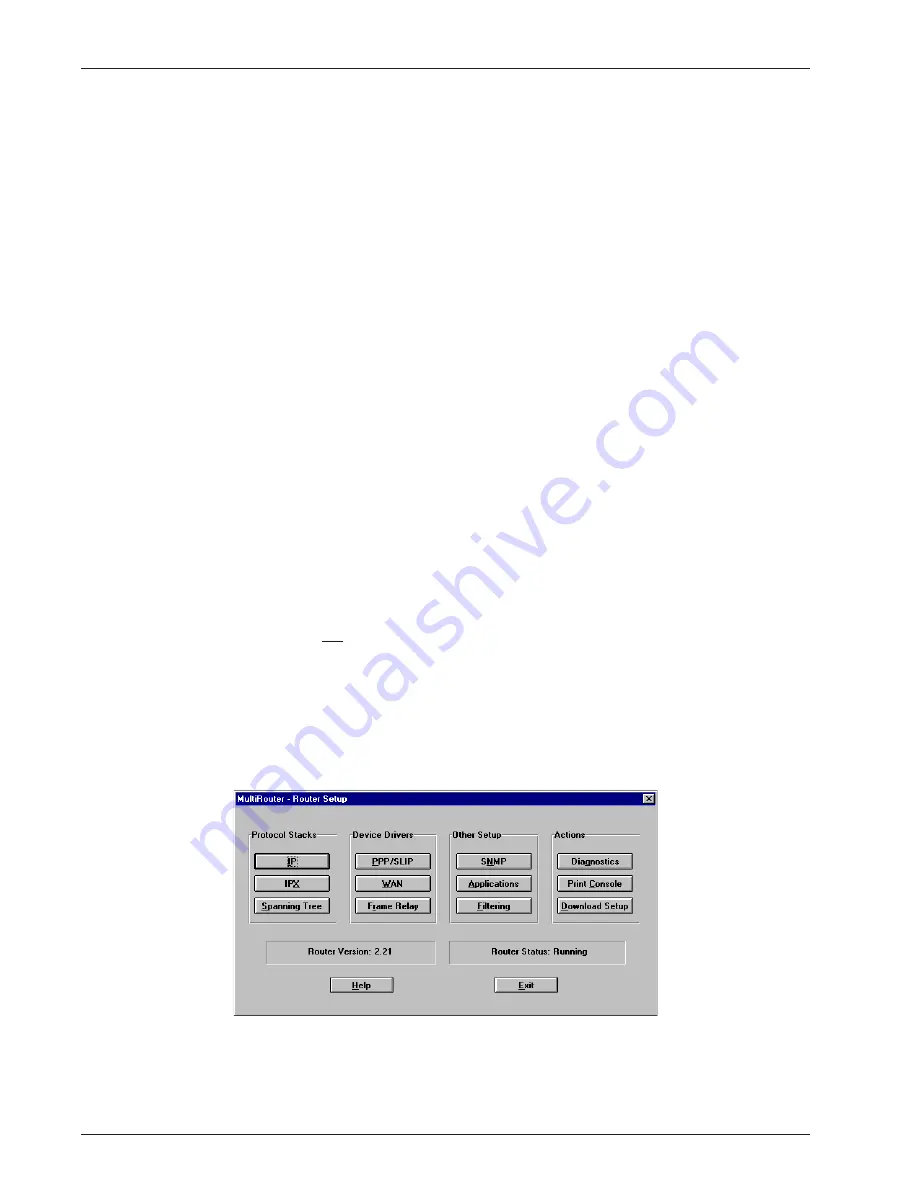
Setup Menu
The Router Setup menu consists of 14 buttons in which you can point and click, and two status fields.
The 12 buttons (four columns of three buttons each) in the upper part of the Router Setup window
allow you to display and change the protocol stacks, define the output of the RASFinder, perform
network management functions, test the communications link, print messages received from the
target RASFinder, and download setup information to the RASFinder.
Note: The RASFinder does not support the Frame Relay function; however, the Frame Relay button
is not dimmed. If at any time the PPP/SLIP button becomes dimmed, click on the Frame Relay
button, then click on the check mark in front of the word, Enable, in the upper left corner of the Frame
Relay Setup screen to disable the Frame Relay function and re-enable PPP/SLIP.
At the bottom of the screen are two buttons to open the on-line Help system (MultiRouter Setup Help)
and end (Exit) a Router Setup session. Just above these buttons are two fields that display the
current version number of the software (Router Version) and the Router Status, which is usually
“Running.”
Содержание MTASR3-200
Страница 5: ...Remote Access Device 200 Series Chapter 1 Introduction and Description ...
Страница 15: ...Remote Access Device 200 Series Chapter 2 Installation ...
Страница 19: ...Remote Access Device 200 Series Chapter 3 Software Loading and Configuration ...
Страница 26: ...RASFinder User Guide MTASR3 200 26 ...
Страница 27: ...Remote Access Device 200 Series Chapter 4 MultiRouter Software ...
Страница 35: ...Remote Access Device 200 Series Chapter 5 Remote Configuration ...
Страница 40: ...RASFinder User Guide MTASR3 200 40 ...
Страница 41: ...Remote Access Device 200 Series Chapter 6 Router Management ...
Страница 47: ...Remote Access Device 200 Series Chapter 7 Service Warranty and Tech Support ...
Страница 53: ...Remote Access Device 200 Series Appendices ...
Страница 68: ...RASFinder User Guide MTASR3 200 68 ...
Страница 69: ...Remote Access Device 200 Series Glossary of Terms ...


