CallFinder Configuration Guide: AltiGen IP Phone System
4
Setting Up CallFinder Hardware
Please follow the steps documented in Multi-Tech’s CallFinder Quick Start Guide or CallFinder User Guide to
connect the following:
1. SIM Card, if using GSM service
2. Antenna
3. Power
4. FXS port using RJ11 cable to FXS port and AltiServ analog trunk port
If you are using CDMA service, you need to set the VOICE/DATA switch to the DATA position (for activation)
before connecting the power cord. In DATA mode, the CDMA CallFinder can respond to generic AT commands
needed for activation with your service provider. It must later (after activation) be switched to VOICE mode for
configuration with Multi-Tech specific AT commands and for general operation.
To Configure CallFinder
1. Connect the DB9 cable between the CallFinder and a computer. If your computer has no serial ports but
has only USB ports, you must obtain a USB2.0-to-Serial adapter (“dongle”) for use between the serial cable
and your computer’s USB port. This USB2.0-to-Serial adapter must have a male end to attach to the DB9
cable.
2. Establish a HyperTerminal “connection” to the CallFinder by following the steps in the CallFinder User
Guide.
3. To activate CDMA service, enter the required AT commands for different service providers. (Follow the
steps in the CallFinder User Guide.)
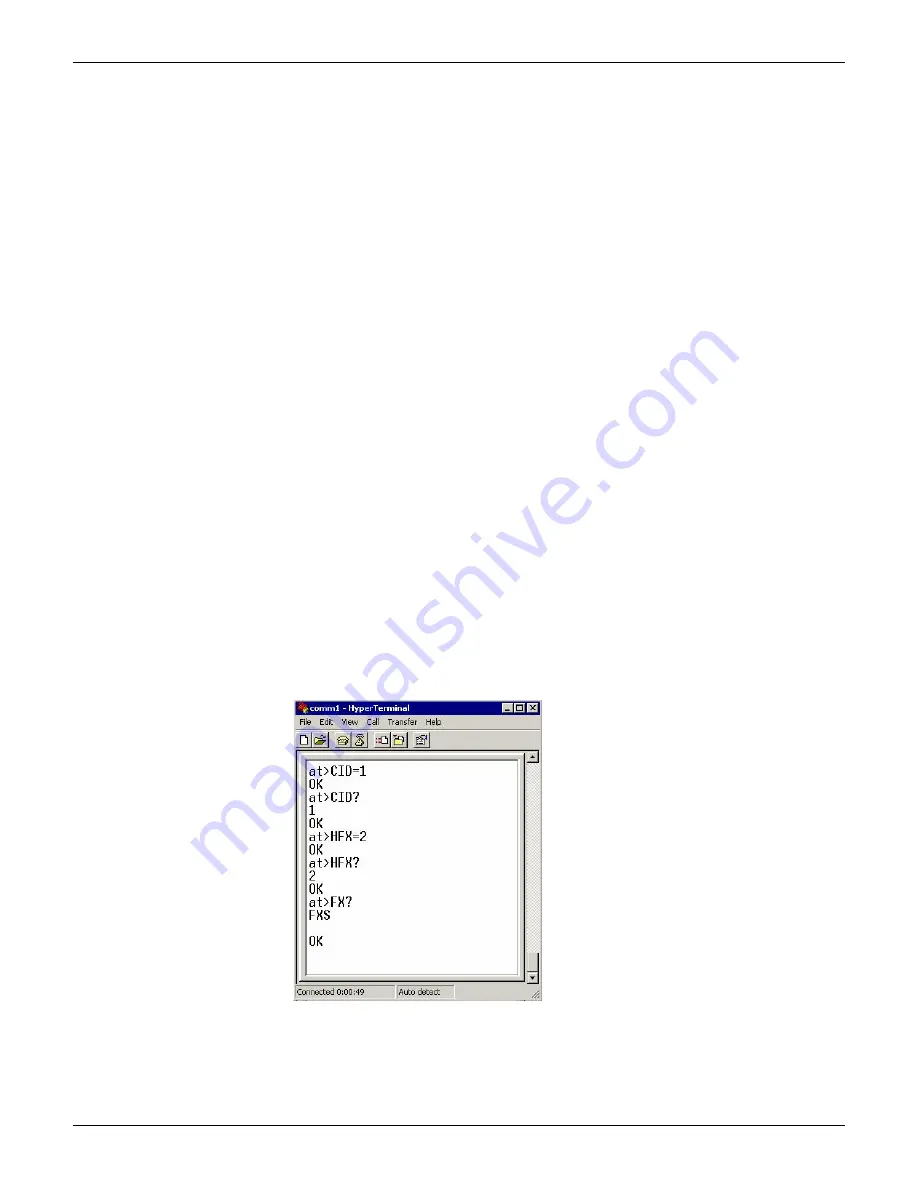
4. To prepare the CF100FX2 for AltiGen analog trunk port, enter the following AT commands:
AT>CID=1 (enable Caller-ID)
AT>CID? (query the parameter and confirm CID is set accordingly)
AT>HFX=2 (enable FXS loop-break disconnect when Cellular side hangs up)
AT>HFX? (query the disconnect setting and confirm it is set accordingly)
AT>FX? (query the Port parameter and confirm it is set to FXS port, default setting)


