Multicom MUL-HDENC-C-100-NA User Manual
(800) 423-2594
All Rights Reserved © 2019 Multicom, Inc.
(407) 331-7779
8
3.3 Using the HD Encoder Web Interface:
3.3.1 Overview of the Process
Product Factory Default IP: 192.168.1.9 and with DHCP - Disabled
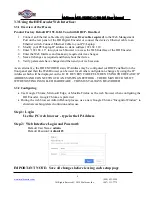
1.
Connect an Ethernet cable directly (
no Cross Over cable required
) to the Web Management
Port on the rear panel of the HD Digital Encoder or connect the device’s Ethernet cable to an
Ethernet switch. Connect Ethernet Cable to your PC/Laptop.
2.
Modify your PC/Laptop IP address to static address 192.168.1.10
3.
Enter ‘192.168.1.9’ into your web browser to access the Web Interface of the HD Encoder.
4.
Enter the Web Interface and make any required device changes.
5.
Save all changes as required and then reboot the device.
6.
Verify parameters have changed and then end your web session.
As an alternative, the HD ENCODER static IP Address may be configured (or DHCP enabled) on the
front panel and then the Web Browser can be used for all other configuration changes by using the IP
Address which will be displayed on the LCD. BE VERY CAREFUL WHEN USING THE DEFAULT IP
ADDRESS AND CONNECTING TO AN EXISTING NETWORK – THERE MAY BE CONFLICT
WITH EXISTING INSTALLED HARDWARE – THIS MUST ALWAYS BE AVOIDED.
3.3.2 Configuring
Use Google Chrome, Microsoft Edge, or Mozilla Firefox as the web browser when configuring the
HD Encoder. Google Chrome is preferred.
During the web browser Admin Reboot process, use a new Google Chrome “Incognito Window” to
eliminate caching-related confusion and issues.
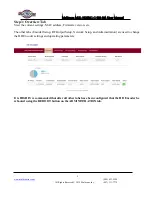
Step 1: Login
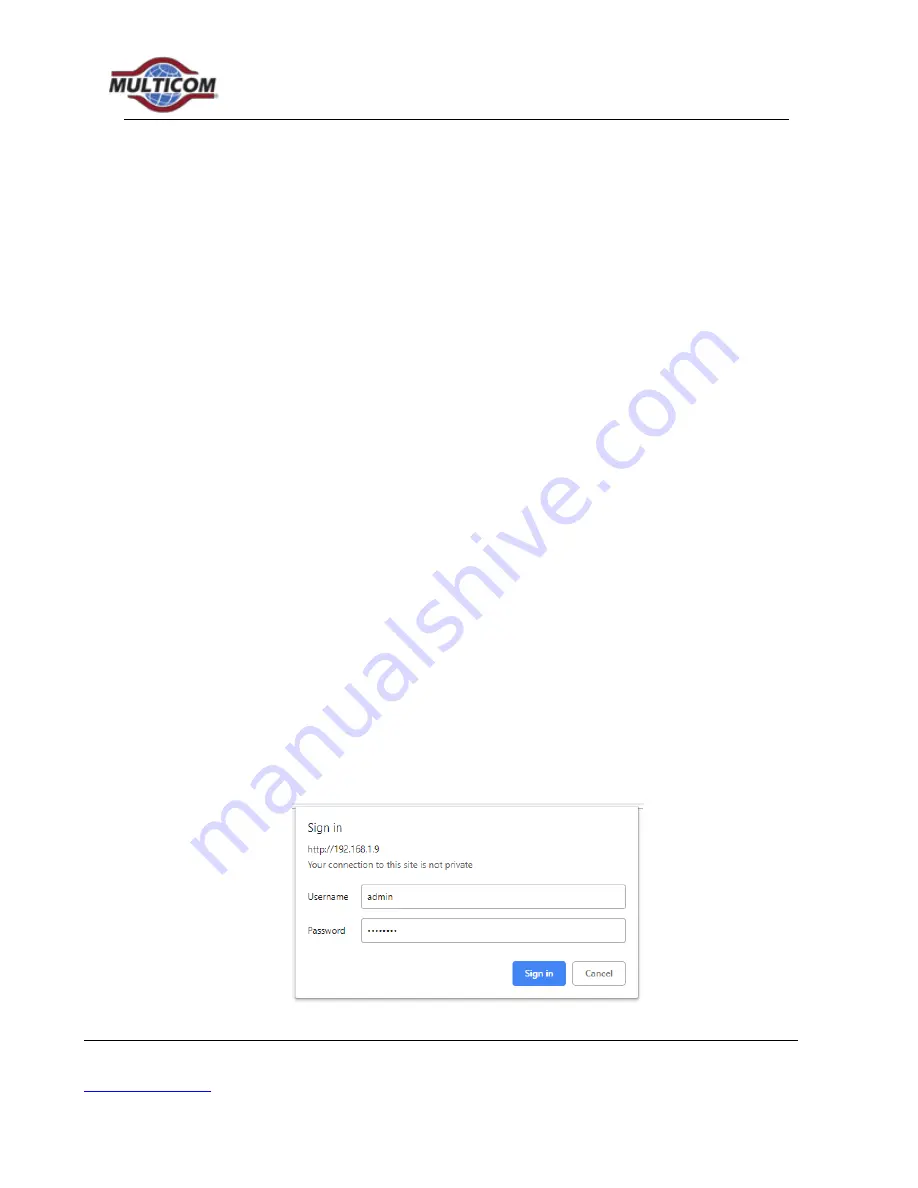
Use the PC web browser - type in the IP Address
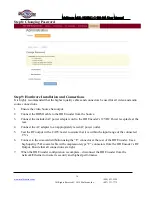
Step 2: Web Interface Login and Password:
Default User Name:
admin
Default Password:
Admin123
IMPORTANT NOTE: Save all changes before leaving each setup page


