


8
9
connectIng to a WIred netWork
to connect to a wired network:
1. Ensure you have:
• An Ethernet cable long enough to reach your TV
• A router or modem with an available Ethernet port
• A high-speed internet connection
2. Connect your Ethernet cable to the router and to the LAN port on the left of the TV.
3. Usage of DHCP is recommended to configure the TV.
connectIng to a WIreless netWork
to connect to a wireless network:
1. Ensure you have:
• A router broadcasting a high-speed wireless signal (54mbps recommended)
• A high-speed internet connection
2. Usage of DHCP is recommended to configure the TV.
descrIptIon of operatIon
The first time you turn on the TV, the Setup App will guide you through each of the steps necessary to get your TV ready for use.
before you begin the first-time setup:
• Your TV should be installed and the power cord should be connected to an electrical outlet.
• Your devices should be connected.
• If you have a wireless network, have the network key ready.
• If you are connecting to your network with an ethernet cable, connect it to the LAN port on the TV.
operatIon menu
This TV set allows you to adjust any settings by selecting from the menu screens.
1. Press the Power/Standby button on the remote. The TV powers on.
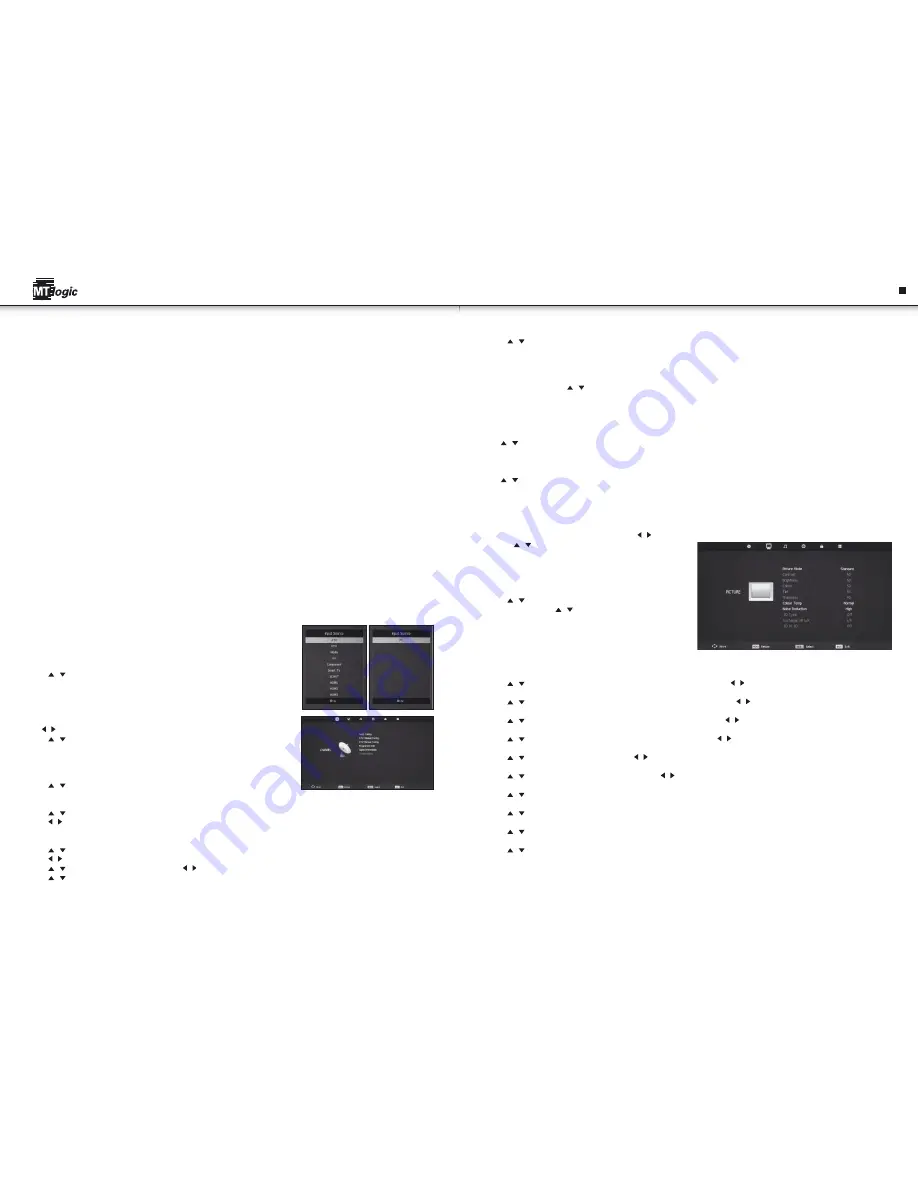
2. Select input source:
• Press SOURCE button to display the input source list;
• Press / or “SOURCE” button to select the input source you want;
• Press OK button to enter the input source;
• Press EXIT button to quit.
dtV channel menu
Press MENU button to display the main menu.
Press / button to select CHANNEL in the main menu, it will highlight the first option.
1. Press / button to select the option that you want to adjust in the CHANNEL menu.
2. Press OK button to adjust.
3. After finishing your adjustment, Press MENU button to save and return back to the previous menu.
auto tuning
• Press / button to select Auto Tuning, then press OK button to start auto search.
dtV manual tuning
• Press / button to select DTV Manual Tuning, then press OK button to input password to enter sub-menu. (Default password is '0000')
• Press / button to select channel, then press OK button to search program.
atV manual tuning
• Press / button to select ATV Manual Tuning, then press OK button to input password to enter sub-menu. (Default password is '0000')
• Press / button to select channel number you want to store.
• Press / button to select the second option. Press / button to select audio system.
• Press / button to select search, then press OK button to start tuning. Press red button on your remote control to save the settings and
menu button to go back to the previous menu.
program edit
• Press / button to select Program Edit, then press OK button to enter sub-menu.
This option has five functions.
• Use Red button to delete the current channel.
• Use Green button to set the current channel to lock. if the current channel is already locked, pressing the green button again will unlock.
• Use Yellow button and the / arrow button to move the current channel.
• Use Dard Blue button to skip the current channel.
• Use Blue button set the current channel to your favorite channel.
• If the current channel already be one of your favorite channel, press Blue button again will set it to a normal channel.
signal Information
Press / button to select Signal Information, then press OK button to display the signal details, including Channel Number, Frequency, Quality
and Strength.
cI Information
Press / button to select CI Information, then press OK button to display the details if you have inserted the CI/CI+ card.
pIcture menu
picture menu
• Press MENU button to display the main menu. Press / button to select PICTURE in the main menu, it will highlight the first option.
1. Press / button to select the option that you want to adjust in the
PICTURE menu.
2. Press OK button to adjust.
3. After finishing your adjustment, Press MENU button to save and
return back to the previous menu.
picture mode
• Press / button to select Picture Mode, then press OK button to
enter sub-menu. Press / button to select.
• (Available Picture mode: Personal, Dynamic, Standard, Mild).
• You can change the value of contrast, brightness, colour and sharpness
when the picture is in Personal mode.
• TIPS: You can press P.MODE button on the remote control to change the
Picture Mode directly.
contrast
• Press / button to select Contrast, then press OK button to enter sub-menu. Press / button to adjust.
brightness
• Press / button to select Brightness, then press OK button to enter sub-menu. Press / button to adjust.
colour
• Press / button to select Colour, then press OK button to enter sub-menu. Press / button to adjust.
tint
• Press / button to select Tint, then press OK button to enter sub-menu. Press / button to adjust. (Not available in DTV)
sharpness
• Press / button to select Sharpness, then press / button to adjust.
colour temperature
• Press / button to select Colour Temperature, then press / button to select. (Available Colour Temperature: Normal, Cold, Warm).
noise reduction
• Press / button to select Noise Reduction, then press OK button to select. (Available Noise Reduction: Off, Low, Middle, High, Default)
3d type
• Press / button to select 3D Type, then press OK button to select. (Side By Side ,Top Bottom, Frame Packing)
exchange 3d l/r
• Press / button to select Exchange 3D L/R, then press OK button to adjust.
2d to 3d
• Press / button to select 2D to 3D, then press OK button to select.
en
Instruction Manual
Instruction Manual
Содержание LE-427118MT
Страница 1: ...en Instruction manual LE 427118MT ...
Страница 13: ...LE 427118MT http mtlogic com le 427118mt ...


