


18
MSSC, LLC Collinsville, IL USA
Tel: 618-343-1006
Fax: 618-343-1016
55899
Rev 18210
www.msscllc.com
Maintenance
The QM2 was designed to be easy to maintain for the user. However there are a few precautions:
1.
Always turn off the QM2 before installing or removing an ink cartridge.
2.
Never connect or disconnect the print head data cable with the power on. Doing so may damage
the printer and void the warranty
3.
Never disassemble the QM2. There are no user serviceable parts inside.
4.
Never drop or spray the QM2 with water or any other liquid.
Installing Ink Cartridges
1.
Power off the QM2.
2.
Flip the blue locking lever down.
3.
Remove old ink cartridge
4.
Remove the tape on the front of the nozzle by pulling on the loose end on the bottom.
5.
With blue locking lever in the downward position, insert the ink cartridge as horizontal as
possible to avoid damaging the contacts inside the cartridge stall.
6.
With the cartridge all the way in the stall, flip the blue locking lever up.
7.
The unit may now be powered on.
7.
After Startup press the
STUP
key
8.
Select
INK
and press
↵
.
9.
Use the
↑
and
↓
keys if necessary to select the prompt for Current Ink Volume.
10.
Type in the volume of the ink cartridge (42 ml for standard cartridges, 370 ml for the bulk ink
system).
8.
When done press
↵
to save the changes and return to the previous menu.
Cleaning the Print Head
If streaks missing dots or other print quality issues occur the print head cartridge may need to be cleaned
as follows:
1.
Power off the QM2.
2.
Remove the ink cartridge from the cartridge stall.
3.
Moisten a Tex Wipe or similar lint free cloth with de-ionized water. Paper towels are not
recommended due to their abrasiveness. The scratches caused by paper towels will cause print
quality to suffer.
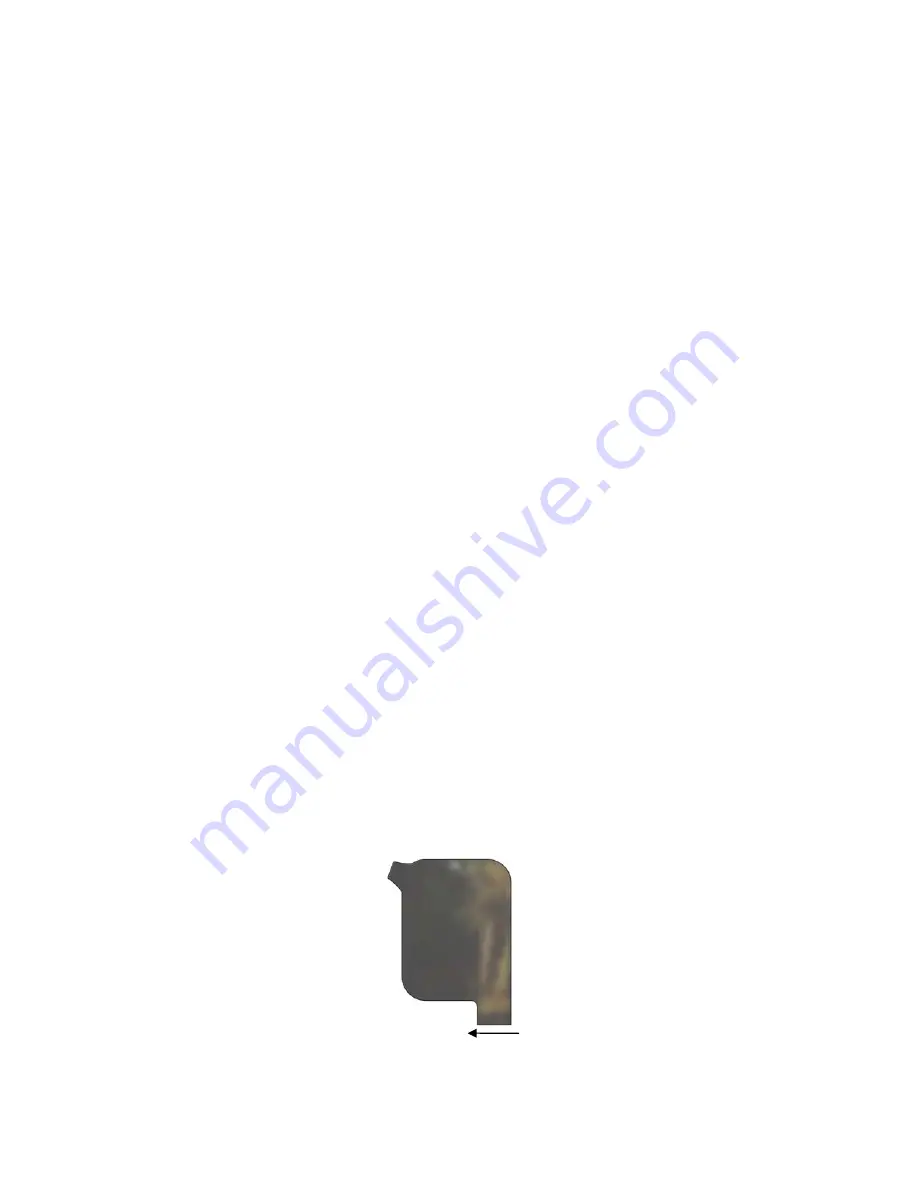
4.
With the nozzle pointed down, wipe the nozzle with the moistened wipe in the direction shown
in the figure below. Holding the cartridge in any other orientation could cause air to enter the
nozzle, causing streaks in printing.
5.
When finished wiping the nozzle, reinstall the print cartridge and test.
Wipe
Содержание QM2-101
Страница 22: ...21 MSSC LLC Collinsville IL USA Tel 618 343 1006 Fax 618 343 1016 55899 Rev 18210 www msscllc com...
Страница 23: ...22 MSSC LLC Collinsville IL USA Tel 618 343 1006 Fax 618 343 1016 55899 Rev 18210 www msscllc com...
Страница 24: ...23 MSSC LLC Collinsville IL USA Tel 618 343 1006 Fax 618 343 1016 55899 Rev 18210 www msscllc com...
Страница 25: ...24 MSSC LLC Collinsville IL USA Tel 618 343 1006 Fax 618 343 1016 55899 Rev 18210 www msscllc com...
Страница 35: ...MSSC LLC Collinsville IL USA Tel 618 343 1006 Fax 618 343 1016 55899 Rev 18210 www msscllc com...


