3
System Requirements
Windows® XP/Vista/7/8/8.1
Free USB port
CD-ROM driver
25MB free hard disk space
Installation
Step 1:
Plug the mouse into any free USB port on your computer.
Step 2:
Windows® will automatically detect the gaming mouse.
Step 3:
Start the installation process by clicking on the file “Setup.exe”
Step 4:
Windows® will prompt you if installation should continue despite
not passing Windows logo testing; install the driver despite this.
Note:
The driver will automatically uninstall older driver versions. For that
reason it may take a little while until the driver is installed and ready to use
then repeat step3.
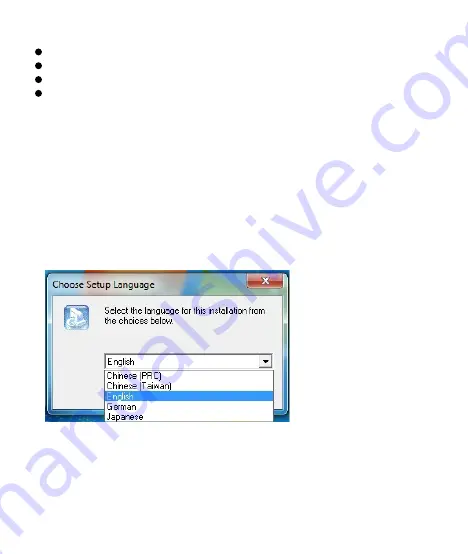
Step 5:
Select language
Step 6:
As soon as the installation process has completed click ‘OK’.
Step 7:
Reboot your PC.
Step 8:
The symbol will now appear in the right-hand side of the
Taskbar. You access the gaming mouse configuration menu by right
clicking it.
Содержание AY3
Страница 23: ...2 Mouse Buttons 1 6 CPI 2 7 CPI 3 8 Scroll up 4 9 Scroll down 5 For USB port installation 1 USB USB 2 3...
Страница 25: ...4 Mode Switch...
Страница 26: ...5 Click f Button off On To Go Windows...
Страница 28: ...7 exe file...
Страница 29: ...8 Assign Macro CPI CPI CPI CPI...
Страница 30: ...9 1 2 3...
Страница 31: ...10 4 OK Step 5 Note...
Страница 32: ...11 Integrate Mouse Clicks Note...
Страница 33: ...12...
Страница 34: ...13 Down UP Note Note...
Страница 38: ...17 1 11 Windows 1 11 Note APPLY Note default settings...
Страница 39: ...18 OSD CPU RAM Profile status Macro execute status New email Skype Msn t CPU CPU Skype Skype CPI CPI MSN Msn...
Страница 40: ...19 10 100 POP3 POP3 Set up your external mail server Port port...


