10
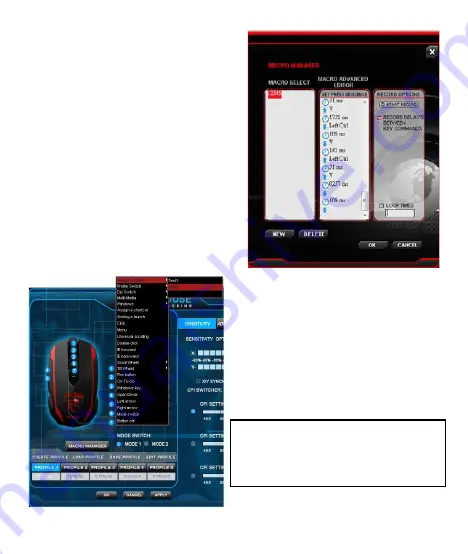
Step 4:
Click ‘Stop Record’ once you’re done
entering your key combination via the
keyboard. You can now either record
an additional macro in the macro set
you’ve created or create new macro
set. Click ‘OK’ when you’re done.
The macro can now be assigned to any
one of the six programmable buttons.
You can assign the macro to a button
by clicking onto the arrow next to the
box of the button you want the macro
to be assigned to. In the following
dropdown menu choose ’Assign Macro’.
All available macro sets are now
displayed. Select the one containing
your macro of choice and then click
on the respective macro.
Note: if you’ve edited a macro that is
already assigned to a particular button.
You’ll need to assign the macro to the
desired mouse button again.
Содержание AY3
Страница 23: ...2 Mouse Buttons 1 6 CPI 2 7 CPI 3 8 Scroll up 4 9 Scroll down 5 For USB port installation 1 USB USB 2 3...
Страница 25: ...4 Mode Switch...
Страница 26: ...5 Click f Button off On To Go Windows...
Страница 28: ...7 exe file...
Страница 29: ...8 Assign Macro CPI CPI CPI CPI...
Страница 30: ...9 1 2 3...
Страница 31: ...10 4 OK Step 5 Note...
Страница 32: ...11 Integrate Mouse Clicks Note...
Страница 33: ...12...
Страница 34: ...13 Down UP Note Note...
Страница 38: ...17 1 11 Windows 1 11 Note APPLY Note default settings...
Страница 39: ...18 OSD CPU RAM Profile status Macro execute status New email Skype Msn t CPU CPU Skype Skype CPI CPI MSN Msn...
Страница 40: ...19 10 100 POP3 POP3 Set up your external mail server Port port...


