Robotic Pod Quick Start Guide
20
2.
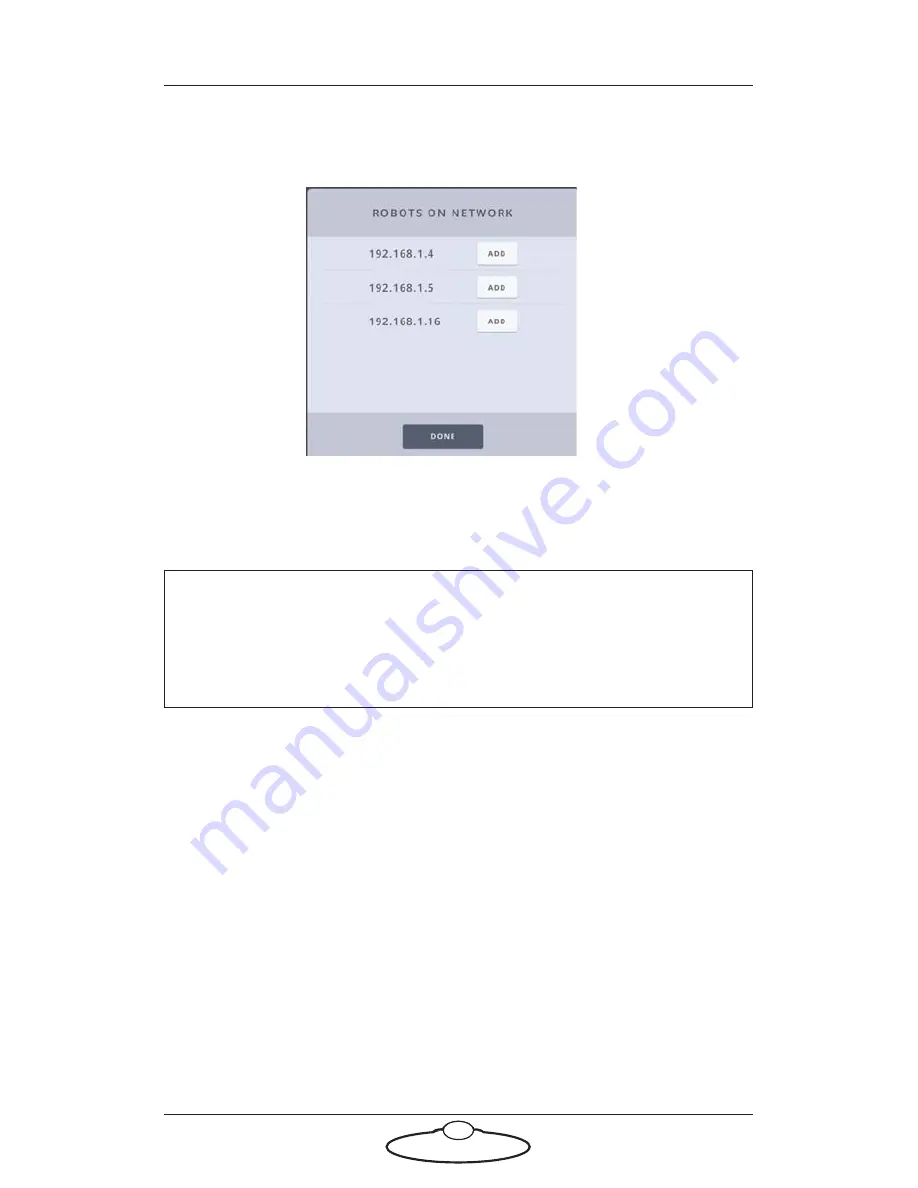
Select the Pod’s row that you want to connect to and click the
ADD
button. This will connect the Pod to the system, and move it to the
group of connected Pods (the green section).
Then, enter the
TYPE
of head and a
NAME
for it.The row for the Pod
stays grey until the Pod is actually present on the network.
Caution
Do not connect a Pod with the same IP address as another Pod on
the network. This would cause an IP address conflict and both Pods
will not function.
Adding the Type of Pod
It is important to choose the
Type
of head as
Pod
in MHC before
entering the robot IP address because once it is connected MHC will try
to change it to whatever it currently set to. Ensure that you choose the
correct head because if you chose the wrong one, the Pod either won’t
work as expected or won’t work at all.
Changing a Pod’s name
You can change the name of a connected or disconnected Pod. The name
appears in the
ROBOT NAME
column. To change the Pod’s name:
1.
Select the row for the Pod.
2.
Click or tap in the box representing the name of the Pod.
Содержание MRMC-1464-01
Страница 17: ...Robotic Pod Quick Start Guide 13 Notes...
Страница 18: ...Robotic Pod Quick Start Guide 14 Notes...
Страница 32: ...Robotic Pod Quick Start Guide 28 Notes...
Страница 33: ...Robotic Pod Quick Start Guide 29 Notes...
Страница 35: ...Robotic Pod Quick Start Guide 31 Notes...
Страница 36: ...Robotic Pod Quick Start Guide 32 Notes...
Страница 40: ...Robotic Pod Quick Start Guide 36 Notes...
Страница 44: ...Robotic Pod Quick Start Guide 40 Notes...
Страница 49: ...Robotic Pod Quick Start Guide 45...
Страница 50: ...Robotic Pod Quick Start Guide 46...
Страница 51: ...Robotic Pod Quick Start Guide 47 Notes...


