background image

Page 4

M-990i (Gen2) Digital Game Camera

Page 17

M-990i (Gen2) Digital Game Camera

PLAYBACK / QUICK START / CUSTOM START / AIM / OFF

Aim - 

When Aim is ON and the PIR Motion Sensor detects motion, the Status Indicator’s red LED on 

the front of the camera will come on and remain lit as long as motion is detected.

MENU BUTTON

The Menu Button selects Camera Setup or Main Screen. When camera mode is selected, the LEFT and 

RIGHT buttons navigate through the menu options. The Menu Button is also used to wake-up the 

camera and turn on the display when the camera is in power saving (or sleep) mode.

OK, UP/DOWN and LEFT/RIGHT BUTTONS

The OK button selects the item to be changed. The UP/DOWN and LEFT/RIGHT buttons are used 

to step through and modify the menu options. Pressing the OK button again, selects the option 

indicated on the display. The OK button is also used to manually take a picture.

BATTERY COMPARTMENT

The camera is powered by eight (8) AA alkaline or lithium batteries. Push the battery compartment 

release button to eject the battery tray. Install batteries as indicated on the engravings on the battery 

tray, taking care to note the correct polarity.

See Important Battery Information section on the back page of this manual.

SD CARD SLOT

Accepts up to a 32GB SD Card (Class 4 or higher) for photo and video storage.

NOTE:


A Class 4 or higher SD Card must be installed for the camera to operate (sold separately).

USB PORT

Download still pictures and video onto your computer by connecting a micro-B to USB cable 

(not included) to the USB port.

EXTERNAL POWER PORT

Accepts the Moultrie PowerPanel, Moultrie AC Adapter or Moultrie Battery Box accessories 

(sold separately) only.  Refer to 

www.moultriefeeders.com

 for more information.

NOTE: 

The use of any other power source will void your warranty and possibly harm your camera.

CAMERA OVERVIEW (cont.)

A

Memory & Storage

Your camera supports external SD memory cards ONLY and will accept up to a 32GB card 

(Class 4 or higher). Using large memory cards can slow the camera response. The camera 

cannot capture any photo or video without external memory. Please insert an SD memory card 

to operate camera. Estimates are based on the most common types of memory cards that can be 

purchased at electronic stores, office supply stores, or online. Estimates may vary based on camera 

settings or environmental conditions. 

Important 

Always turn the unit off when inserting or removing an SD memory card to avoid damage and ensure 

that the camera properly updates the memory information.
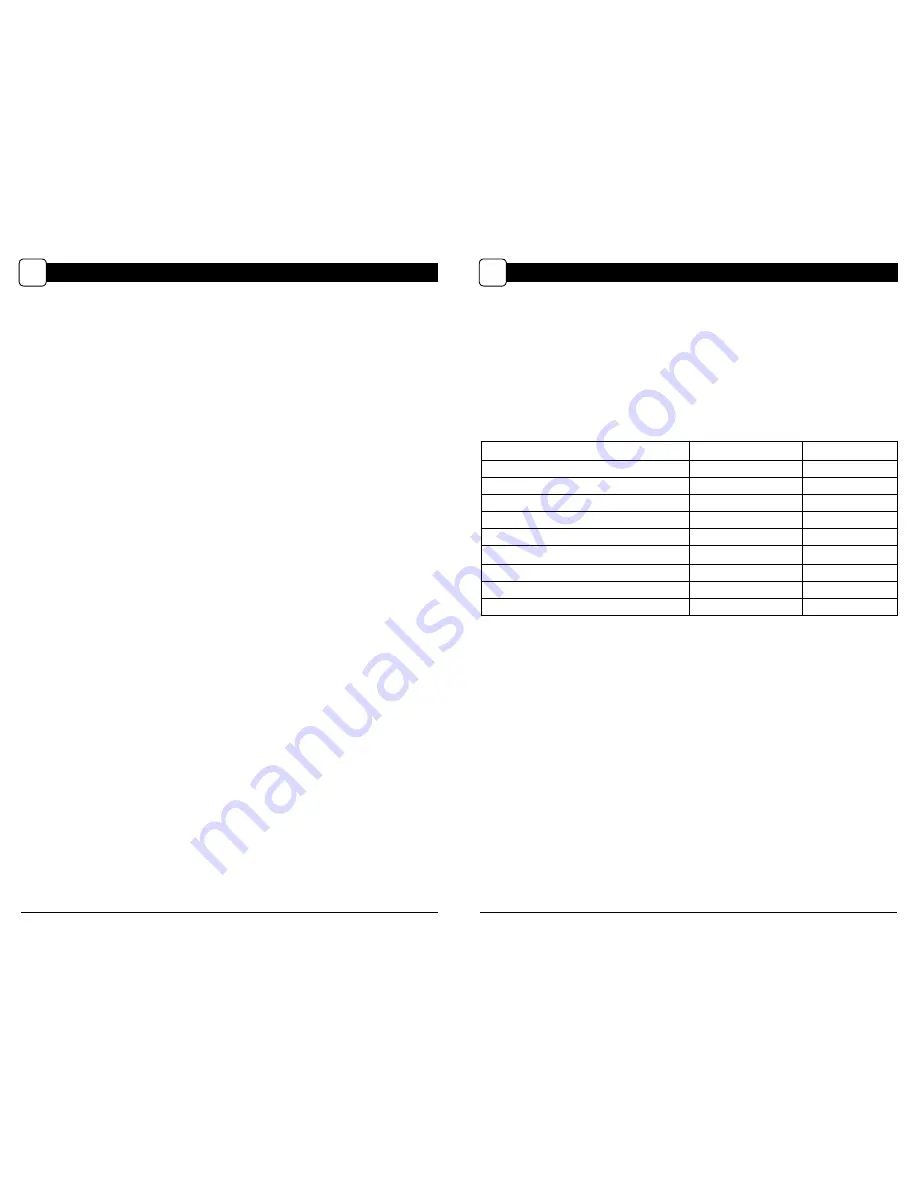
Photo Mode

SD Card Size:

2 GB

16 GB

ENHANCED 4224 x 2376

1500

12000

HIGH 2688 x 1512

3800

30400

MED 1920 x 1080

7500

60000

LOW 1280 x 720

19000

152000

Video Mode

SD Card Size:

2 GB

16 GB

HD 1280 x 720 (based on 10 sec video)

110

880

VGA 640 x 480 (based on 10 sec video)

230

1840

Actual capacity will vary based on image properties.

Specifications


       Operational Mode  

Motion Detect / Time Lapse /  Time Lapse

        Resolution 


10.0 MP

        Still Resolutions   

JPEG


Low 1280 x 720, Med 1920 x 1080,


High 2688 x 1512, Enhanced 4224 x 2376

        Video Resolutions   

VGA- 640 x 480, HD 1280 x 720

        SD Memory Card   

Up to 32 GB SD card, Class 4 or higher (not included)

        Format  


JPEG - Still pictures, AVI - Video clips

        Power Supply 


8 AA Alkaline or Lithium batteries (not included)

CAMERA SPECIFICATIONS

M

Содержание M-99Oi

Страница 1: ...irs Please visit http www moultriefeeders com return policy and complete the form or our Service Department will gladly answer any questions you have Call 800 653 3334 Monday Friday 8 00 AM to 5 00 PM CST www moultriefeeders com FCC Statements Moultrie Products MCG 12694 Note changes and modifications not expressly approved by the party responsible could void the user s authority to operate this de...

Страница 2: ...a to the tree mount using the tree mount socket located on the back of the camera Using the Moultrie Camera Power Panel Place near the tree where the camera is mounted Place for best exposure to sun To attach to a tripod secure the power panel to the tripod angled upward for best exposure Plug the power panel to the Power Panel Plug This will extend the life of your camera in the field Note Leave i...

Страница 3: ...ld or at another location Removing the SD Card To remove the SD Memory Card open the camera cover and push gently on the SD card and it will pop out slightly allowing you to remove it Load the SD card into the player or card reader to view or move stored images to another location Important Make sure that the camera is in the OFF position before removing SD card ln the Field You can download the p...

Страница 4: ...port EXTERNAL POWER PORT Accepts the Moultrie PowerPanel Moultrie AC Adapter or Moultrie Battery Box accessories sold separately only Refer to www moultriefeeders com for more information NOTE The use of any other power source will void your warranty and possibly harm your camera CAMERA OVERVIEW cont A Memory Storage Your camera supports external SD memory cards ONLY and will accept up to a 32GB c...

Страница 5: ...cess image captures with no subject false triggers STEP 5 Close cover The camera will operate using Default settings You may also customize the settings if desired in Custom Start STEP 4 Switch camera to Aim Aim camera using motion detection to determine target area Walk in front of the camera at the desired distance and the camera LED will flash showing the covered area Switch camera to Quick Sta...

Страница 6: ...ess OK to take test photo START 4 SYSTEM SETTINGS SECURITY CODE 0 0 0 0 0 Security Code Press the OK button Use the Up Down and Left Right buttons to select a 5 digit security code for your camera Press the OK button to confirm the selection Press the Right button to move to the next option NOTE Please remember your security code If the code is lost you can contact Moultrie customer support to res...

Страница 7: ...ons for Motion and Time Lapse can be set in their respective option menus MOTION DETECT TL MODE Note Adjust settings in MOTION DETECT and TIME LAPSE modes press OK to take test photo START 4 MEMORY OPTIONS J Erase Images Press the OK button Use the Up Down buttons to choose between Yes erase all images No does not change stored images Press the OK button to select When your selections has been mad...

Страница 8: ...s ideal for close range traps and deeply wooded areas Press the OK button Use the Up Down buttons to choose between HIGH or LOW Press OK to lock in your selection then press Left button to go to the next option MOTION DETECT MODE MULTI SHOT X 1 off 3 Triggered 3 Burst Setting Multi Shot Press the OK button Use the Up Down buttons to choose between settings Choose how many pictures you would like c...

Страница 9: ... 4 VIDEO RESOLUTION 4 VIDEO LENGTH 4 PHOTO VIDEO SETTINGS PHOTO RESOLUTION Low 0 9MP Medium 2MP X High 4MP Enhanced 10MP Setting Photo Quality Press the OK button Use the Up Down buttons to choose between 4 image resolution settings 1 Enhanced 4224 x 2376 2 High 2688 x 1512 3 Medium 1920 x 1080 4 Low 1280 x 720 Press the OK button to confirm the selection Press the Right button to move to the next...

Страница 10: ...ove steps for Program 2 to be set Press Left button to go to the Main Screen WARNING If Program 1 is set to Always On settings for Program 2 will be disabled GENERAL SETTINGS INFOSTRIP SETTINGS 4 PHOTO VIDEO SETTINGS 4 MEMORY SETTINGS 4 SYSTEM SETTINGS 4 INFOSTRIP SETTINGS DATE TIME 4 CAMERA NAME 4 TEMPERATURE UNITS 4 INFOSTRIP ACTIVE 4 INFOSTRIP SETTINGS DATE TIME 12 14 2014 10 23 pm INFOSTRIP SE...

Отзывы: