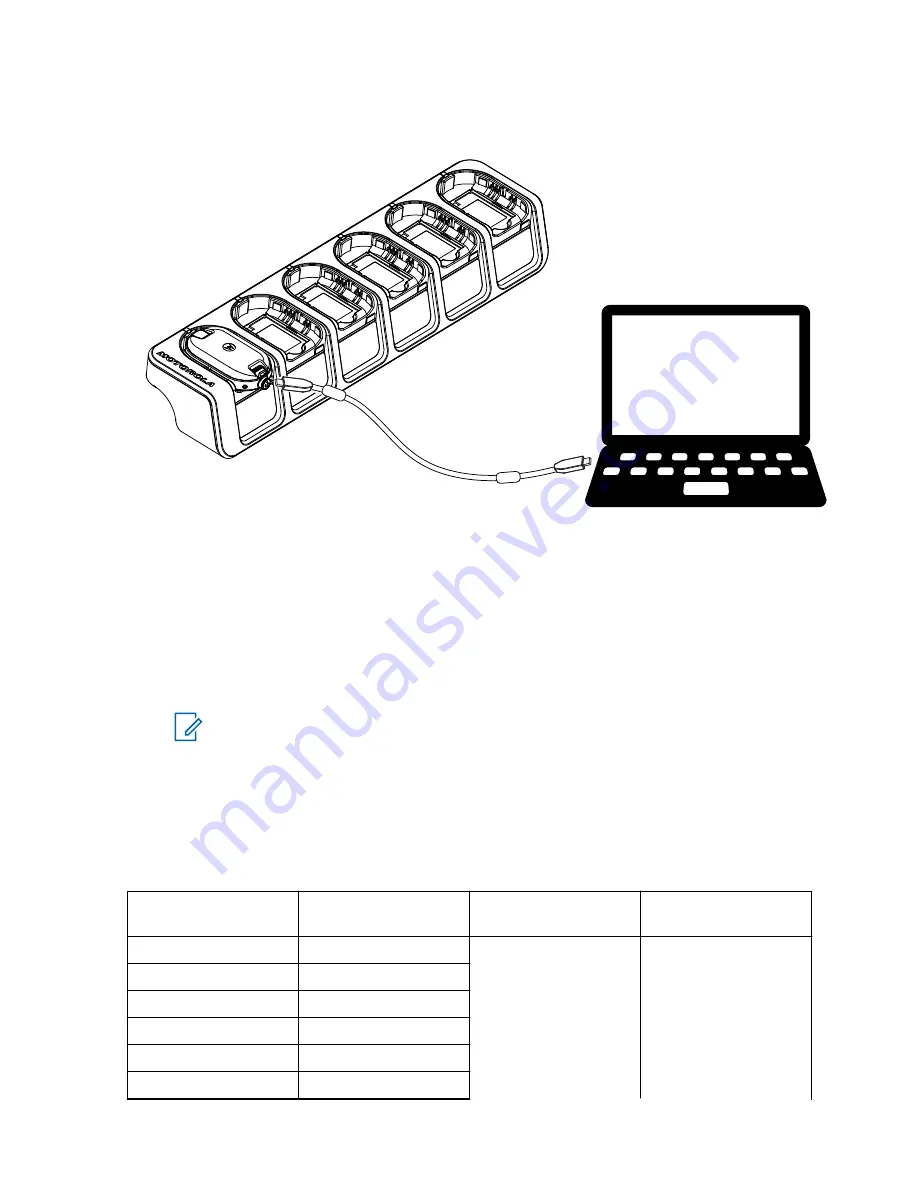
Figure 11: Programming the Radio through a Multi-Unit Charger
2
Set the cable switch to analog.
3
After the radio is connected, open the CPS and select
Read
on the toolbar to get the radio
profile.
You can change the general, audio, menu, channels, scan list, customized PL/DPL settings and
select frequencies and PL/DPL codes on each channel.
4
To save the settings, select
Write to radio
on the toolbar.
NOTICE:
For more information on the CPS, see
Help
menu in the CPS.
4.2
Factory Default Settings
Your radio is programmed at the factory to the following settings.
Table 8: CLP107e
Channel Number
Frequency Settings
(MHz)
Code Value (Hz)
Bandwidth (kHz)
1
464.55
67.0
12.5
2
467.925
3
467.85
4
467.875
5
461.0625
6
461.1125
MN007419A01-AA
Chapter 4: Radio Programming through CPS
29


