11
*Use moulded
lines to make
symmetrical
adjustments on
the left and right
mounting plates.
5.0 Matrx Mini Installation
9
Verify that the overall fit and alignment of the back is correct (make further
adjustments as needed).
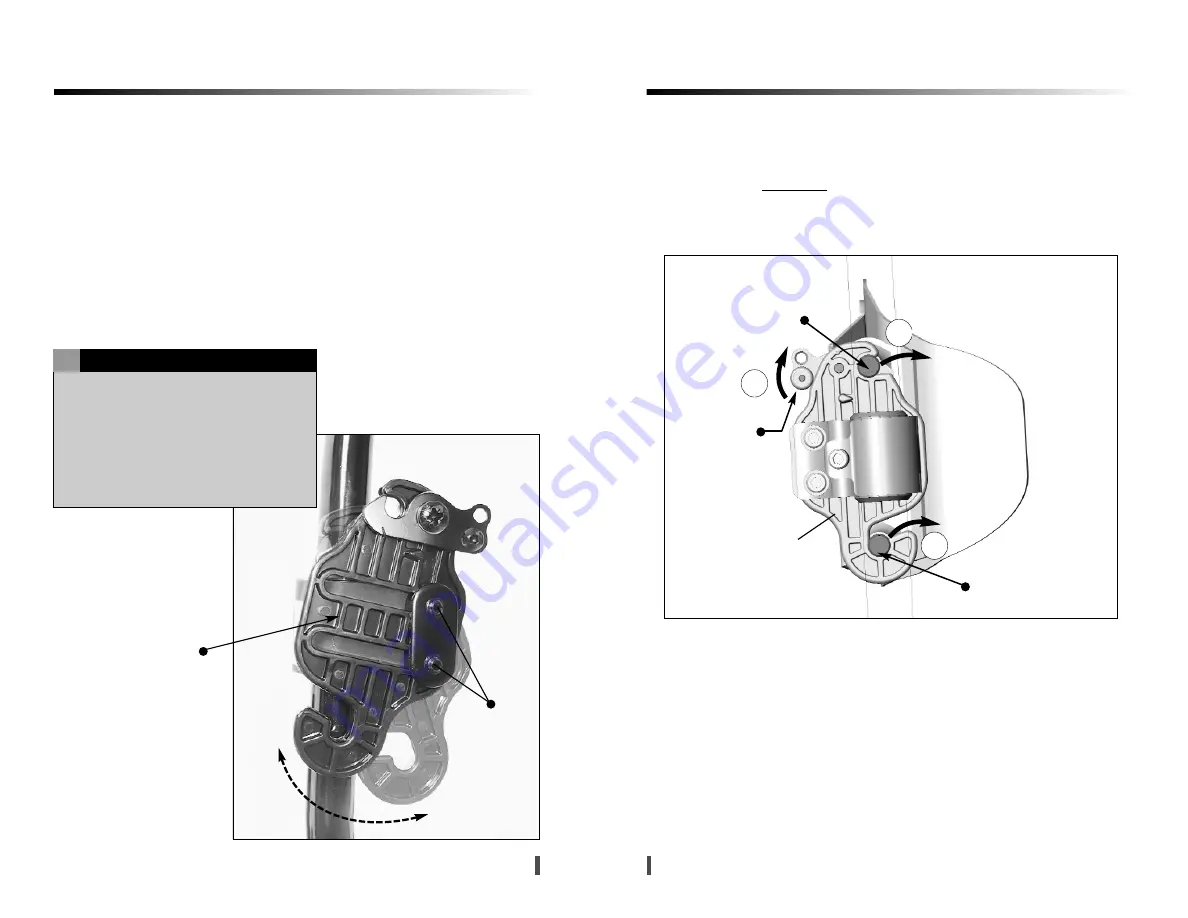
10 Fully secure the Cane Clamp assembly onto both back posts, and
ensure the mounting plates do not slip or rotate.
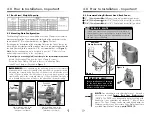
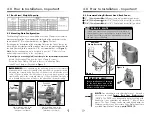
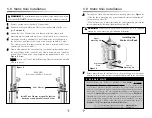
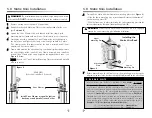
11 To best determine the optimal depth & angle settings for the back, the
user should be seated in the wheelchair. While seated, loosen the depth/
angle adjustment screws on the mounting plates and adjust the back to
the desired depth and recline angle (see
Figure 8
). Re-tighten all screws
to lock the back in position.
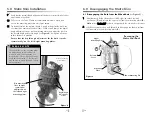
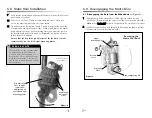
Ensure that the depth/angle adjustment for the back is made
symmetrically* on the left & right mounting plates.
The vertical lines on the mounting plates
are designed as a point of reference to
assist with symmetrical mounting (see
image below). The back position can be
angle adjusted/rotated, so that the lines
may be used to match the angle on both
mounting plates.
P L E A S E N O T E
!
Depth/Angle
Adjustment
Screws
(inside of mounting
plate shown)
Figure 8
12
6.0 Disengaging the Matrx Mini
6.1 Disengaging the Back from the Wheelchair
(
see
Figure 9)
:
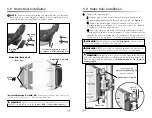
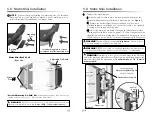
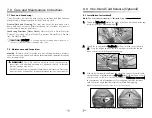
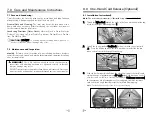
1
Simultaneously lift the release levers (left & right) to unlock the latch
mechanism (
1
) and release the upper pins from the mounting plates (
2
)
.
Note:
refer to Section 8.0 for backs equipped with the one-hand cord release
2
Lift the entire backrest up and forward to disengage the lower pins from
the lower slots in the mounting plates (
3
).
Release
Lever
2
1
Figure 9
3
Upper
Mounting Pin
Lower Mounting Pin
Mounting
Plate
Removing the
Matrx Mini Back


