3
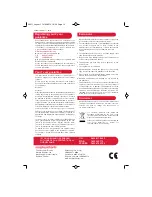
Thank you for your recent purchase of this Morphy Richards Accents Food Processor.
Please read the instructions throughly before use.
Remember to visit www.morphyrichards.co.uk to register your product’s two year guarantee.
Introduction
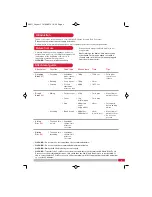
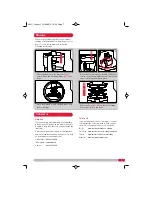
Attachment
Function
Food type
Max volume
Time
Tips
•
Chopping
Blade
(13)
•
Chopping
•
Vegetables,
meat, cheese,
chocolate
•
700g
•
15-20 sec
•
Pulse gives
control over
texture
•
Blending
•
Soup, drinks
•
700g
•
20 sec
•
Pureeing
•
Cooked
vegetables,
potatoes, fruit
•
600g
•
10-15 sec
•
Dough
Blade
(14)
•
Mixing
•
Pastry, scones
•
350g
•
1 min max
•
Max volume =
weight of flour
•
Cakes
•
1kg
(total weight)
•
1 min max
•
Icing
•
800g icing
sugar
4 egg whites
•
30 sec
•
Put sugar in
before adding
whites
•
Kneading
•
Bread dough
•
600g flour
400ml water
•
20 sec
(+ 2 min rest)
•
Max volume =
weight of flour
•
Do not over
process
•
Slicing
Disc
(15)
•
Thick and thin
slicing
•
Vegetables,
cheese, fruit,
potatoes,
chocolate
•
Grating
Disc
(16)
•
Thick and thin
shredding
•
Vegetables,
cheese, fruit,
potatoes,
chocolate
Attachment guide
•
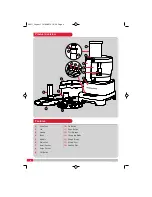
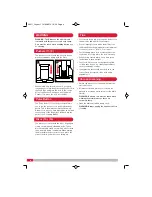
Carefully unpack your new appliance and all it’s
attachments and tools, checking them against the
illustrations at the beginning of this book to
familiarise yourself with the product.
•
WARNING: Take care - blades are sharp
Wash all parts except the Main Unit
(6)
in hot
soapy water.
Never immerse the Main Unit in water or any
other liquid. This may be wiped over with a
clean, damp cloth - but only when unplugged
from the electrical outlet.
Before first use
•
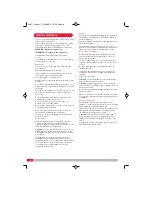
WARNING: Do not process for longer than the recommended time.
•
WARNING: Do not exceed the recommended maximum volumes.
•
WARNING: Always hold the blades by the centre grip.
•
WARNING: To protect the Food Processor from overload there is a thermal switch fitted. If the Food
Processor stops working whilst in use, first check that the Lid
(2)
and Bowl
(4)
are correctly fitted. If
this is correct and the Food Processor is still not working, switch off, unplug from the mains and allow
to cool for 35 minutes.
48911_Layout 1 19/04/2012 10:44 Page 3
Содержание Accents 48911
Страница 9: ...9 Notes 48911_Layout 1 19 04 2012 10 44 Page 9...
Страница 10: ...10 Notes 48911_Layout 1 19 04 2012 10 44 Page 10...
Страница 11: ...11 Notes 48911_Layout 1 19 04 2012 10 44 Page 11...


