


Owner’s Manual
11
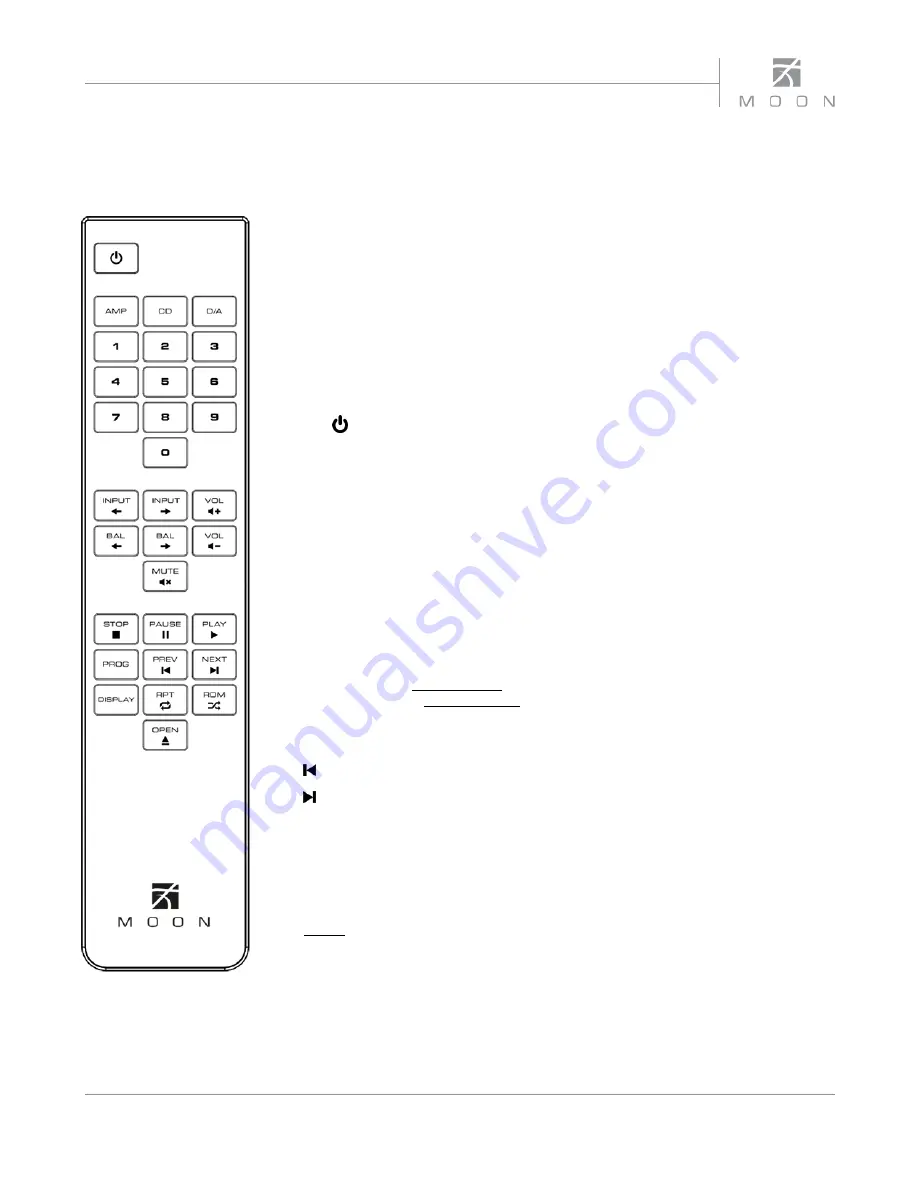
Remote Control Operation
The
Nēo MiND
Network Player uses the
‘CRM-3’
full-function remote control (figure
3). It operates on the Philips RC-5 communication protocol and can be used with
other MOON components.
The
‘CRM-3’
remote uses two CR-2032 batteries (included). To install them, simply
slide the back plate off; insert the batteries in the correct direction and then replace
the back plate.
To engage the
‘CRM-3’
remote for use with the
Nēo MiND
,
you must first press the
button labeled
D/A
.
The
(
Power) button, located on the upper left, will switch the Digital-to-Analog
Converter to either ‘Standby’ or ‘On’ mode.
The 2 buttons labelled
INPUT
allow you to toggle between the 2 types of
inputs: Bluetooth and Network (Ethernet and wifi). It functions the exact same way as
the “Input” button on the front panel. Pressing and holding down this button results
in only a single change to the selected input.
The
MUTE
button turns off the output volume. Pressing the “Mute” button a second
time will reinstate the output volume level back to its current setting.
Pause the track currently playing in the MiND QUEUE.
X
From the paused position, resumes playback of the paused track in the MiND QUEUE
or from the stopped position begins playback from the top of the MiND QUEUE.
Stop the track currently playing in the MiND QUEUE and resets position to the top of
the MiND QUEUE.
Go back to previous track in the MiND QUEUE.
Skip forward to next track in the MiND QUEUE.
When your selected input is Bluetooth
®
with a paired smart device (iPhone, iPad,
Android, etc.) that is playing music, you may be able to use the above (five) 5 buttons
on the
CRM-3
to navigate the music stored on your smart device. This is dependant
on both the App and the smart device, as there may be compatibility issues.
NOTE:
The buttons labelled
BAL
don’t affect the operation of the
Nēo MiND
.
Figure 3: CRM-3
Remote Control
Содержание mind neo series
Страница 1: ...Streaming Network Music Player Owner s Manual MiND Series...
Страница 2: ...MiND N o Series...


