background image

SEARCH PRESETS

Use the SEARCH field (upper right 
of the PRESETS LIBRARY) to find 
(by name) an existing preset in the 
selected folder.

SYNTHESIZER FEATURES:

Your Moog Minitaur is a monophonic Analog Bass Synthesizer. Based on the legendary Taurus I and Taurus 3 
Synthesizers, the Minitaur offers a true 100% analog audio path. Aside from the benefits of preset manage-
ment  and  DAW  integration,  the  Minitaur  Editor  also  provides  powerful  editing  features  used  to  create  and 
modify sounds with exacting detail. In addition to the front panel controls available on the Minitaur, the Editor 
unlocks quick access to an enhanced set of parameters using the Under The Hood controls.

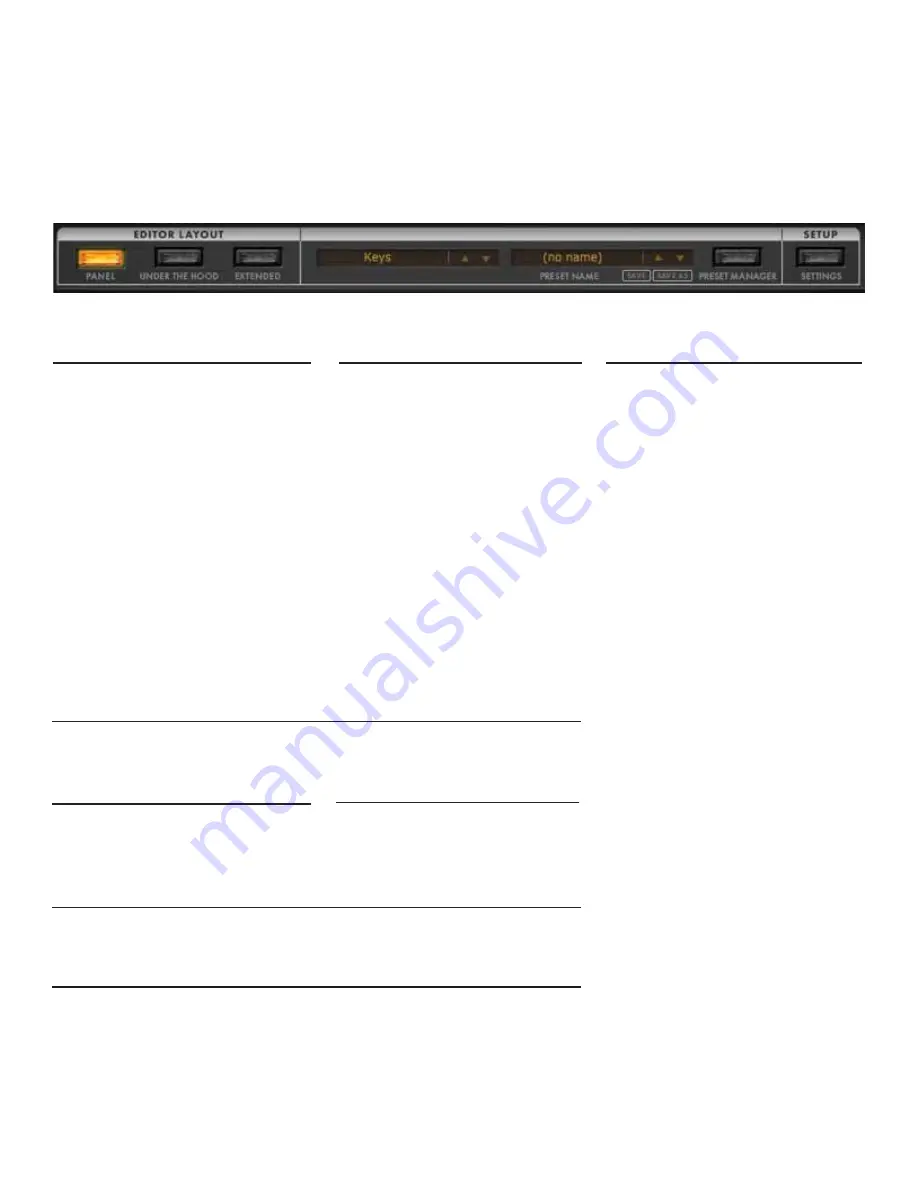
Begin by selecting one of the Editor Layouts  available in the Minitaur Editor:

PANEL

This  mode  recreates  the  look  and 
feel of your Minitaur’s front panel

UNDER THE HOOD

This mode provides quick access 
to  additional  sound  creation 
features in the Minitaur that can 
only be accessed by a MIDI con-
trol source, such as this software 
or a hardware control surface

EXTENDED

This  mode  provides  access  to  all 
features—Panel  and  Under  the 
Hood—in  one  convenient  screen. 
Additional individual control of the 
Envelopes’ Release stages can also 
be accessed here.

In this Editor Guide, we will refer to the Panel controls first, followed by the Under the Hood parameters.

For detailed information regarding Minitaur synthesizer features and functions, please refer to the Minitaur
User’s manual. For your convenience, each function’s associated manual location has been notated.

EDITING TIPS:

Here are a few tips to assist you when using the Minitaur Editor.

ROTARY 

Click and hold on the knob, while 
moving the mouse clockwise or 
counterclockwise to edit the knob

VERTICAL

Click and hold on the knob, while 
moving the mouse up or down to 
edit the knob

9

KNOB RESPONSE

Set  to  ROTARY  or  VERTICAL  using  the  EDITOR  SETTINGS  in  the 
SETUP screen.

FINE TUNING

To  make  fine  parameter  adjustments,  hold  Command  (Ctrl  on  a  Win-
dows PC) and drag any knob.

ZERO OUT A PARAMETER 

 Click any knob and it will return to its zero position. (Alt + Click 
on a Windows PC.)

Содержание Minitaur

Страница 1: ...EDITOR USER S MANUAL MINITAUR ANALOG BASS SYNTHESIZER ...

Страница 2: ... panel Here you will also find buttons to access the PRESET MANAGER and the SETTINGS page Note This software is for MIDI control only It does not make or process sound For detailed feature descriptions please refer to the Minitaur Manual http www moogmusic com products taurus minitaur downloads tab UNDER THE HOOD This mode provides quick access to additional sound creation features in the Minitaur...

Страница 3: ...r User s manual Page 4 5 INSTALLATION Mac users Click on the pkg file select which versions of the editor you want to install and click the CONTINUE button Windows users Manually place the dll files in your default VST plugin directory 32 Bit C Program Files x86 Name of DAW manufacturer Vst Plugins 64 Bit C Program Files Name of DAW manufacturer VST Plugins for 64 bit RTAS C Program Files x86 Comm...

Страница 4: ... editor will update to reflect the current status of the connected Minitaur s internal global settings Note Changes made to the editor s global settings are saved to the connected Minitaur s internal memory This page also provides access to the MINITAUR CV MAPPING settings and the MINITAUR CV CALIBRATION UTILITY See pages 17 Editor Manual for detailed information on the SETTINGS window Your Minita...

Страница 5: ...may wish to run the Minitaur Editor as a virtual instrument occupy ing its own individual track Some DAWs allow the Editor and MIDI data to exist on the same track others require them to be on separate tracks Please refer to your DAW s manual for more information Note to Windows Users The Minitaur Editor requires bi directional MIDI communication with the Minitaur via the Minitaur s USB MIDI conne...

Страница 6: ...n launching the Plugin or Standalone version for the first time OSX Users username Library Application Support Moog Music Inc Minitaur Presets Library Windows 7 C Users Administrator AppData Roaming Moog Music Inc Minitaur Presets Library Windows XP C Documents and Settings USERNAME Application Data Moog SAVE AS Opens the Save Preset As window allowing you to name and save the current Editor setti...

Страница 7: ...gory name to Change the Category assigned to the Preset The list of available Categories will appear as shown below Select any Category from the list Copy the Preset Paste the Preset Reveal the location of the Preset s source file in your computer Delete the Preset 6 ...

Страница 8: ...re bank of presets that have been previously saved to your computer These can be a bank of Factory Presets a bank of presets you created on your own or a bank of sounds you received from another Minitaur user moogconnect net etc EXPORT BANK This command saves the current bank of presets shown in the Presets Library window to your computer NEW FOLDER Click on the New Folder button to create a new p...

Страница 9: ... how you load presets to the Minitaur s hardware memory With AUTO SEND checked these changes are automatically sent to the hard ware With AUTO SEND unchecked use the SEND command to update the information in the Minitaur hardware GET This command will load all the presets currently stored in your connected Minitaur into the editor s HARDWARE PRESETS buffer SEND Click this button to send all the pr...

Страница 10: ...ontrol surface EXTENDED This mode provides access to all features Panel and Under the Hood in one convenient screen Additional individual control of the Envelopes Release stages can also be accessed here In this Editor Guide we will refer to the Panel controls first followed by the Under the Hood parameters For detailed information regarding Minitaur synthesizer features and functions please refer...

Страница 11: ... FREQ VCO 1 is the master oscillator This knob sets the Frequency offset musical interval of VCO 2 from VCO 1 The offset range is 1 octave The center position tunes VCO 2 in unison with VCO 1 VCO 2 BEAT This knob allows you to set a fixed frequency offset in Hz cycles per second for VCO 2 The range is 3 5 Hz the default value is zero no offset NOTE SYNC Forces both oscillators to start at the same...

Страница 12: ...ant Rate Rate of gliding between notes remains constant LCT Linear Constant Time Time interval of gliding between notes remains constant EXP Exponential This is the default setting and most closely captures the behav ior of the original Moog Taurus The glide rate slows as the target note is approached LEGATO When this switch is On LED ON the Glide effect is only introduced when notes are played le...

Страница 13: ...ound by removing and or emphasizing certain harmonic elements of the sound FILTER PARAMETERS CUTOFF The Cutoff selects the frequency at which the Filter begins to attenuate the sound RESONANCE Also called Emphasis this control adds a boost to the signal at the Cutoff level and can be used to make the filter self oscillate for additional effects EG AMOUNT The Cutoff frequency can be changed by hand...

Страница 14: ... to the Independent Decay Release and use the Extended Editor Layout FILTER SUSTAIN The Filter Sustain knob determines the sustained level of the VCF Cutoff Frequency while the note is being played AMPLIFIER ATTACK The Amplifier Attack knob determines how much time is required for the VCA to reach its peak programmed level AMPLIFIER DECAY RELEASE Decay determines how much time is required to go fr...

Страница 15: ...o continuously restart each time the Envelopes have completed their entire cycle This allows the Enve lopes to serve a multi stage modulation source EXTENDED ENVELOPE PARAMETERS In the Extended Parameters all four Envelope stages are shown individually The behavior of these knobs will change based on the ENV RELEASE MODE in the MINITAUR GLOBAL SETTINGS With the ENV RELEASE MODE set to linked decay...

Страница 16: ... pitch This knob controls how deeply the LFO is applied to the Oscillators VCF LFO AMT When applied to the Filter the LFO produces a cyclic change in the Filter Cutoff Frequency This knob con trols how deeply the LFO is applied to the Filter UNDER THE HOOD LFO PARAMETERS MIDI SYNC By selecting MIDI SYNC LED ON the LFO can be controlled by an external MIDI clock allowing the Modulation provided by ...

Страница 17: ...ve trills plus respond to different playing techniques and styles KEY PRIORITY LOW NOTE The Lowest note played takes priori ty over all other notes HIGH NOTE The Highest note played takes prior ity over all other notes LAST NOTE The most recent note played takes priority over all other notes PITCH BEND While many MIDI controllers are equipped with Pitch Bend Wheels there is no set amount of bend t...

Страница 18: ...itor will update to reflect the current status of the connected Minitaur s internal global settings Note Changes made to the editor s global settings are saved to the connected Minitaur s internal memory ENV RELEASE MODE The Envelopes Decay and Release stages can be linked together or function independently based on this setting KEY PRIORITY The Key Priority can be set as a Global function or as a...

Страница 19: ... to choose how the Minitaur s physical knobs respond when turned SNAP The value jumps to the knob s current position as soon as you begin turning it PASS THROUGH Turning the knob has no effect until the current preset value is reached and then behaves normally RELATIVE Turning the knob up or down slightly causes minor changes in value while turning it further causes an increasingly greater change ...

Страница 20: ...N MIDI Input is used exclusively by the Minitaur itself When this function is set to On data received by the DIN MIDI input is also added to the USB MIDI out data stream MIDI NOTE TRANSPOSE Note data received by the Minitaur can be transposed up or down over a two octave range in half step increments MIDI CC FILTER The Minitaur can be set to ignore not respond to MIDI Continuous Controller data ED...

Страница 21: ...ll then automatically stop NOTE CALIBRATION STOP Because the Note Calibration takes a few minutes to complete you may find yourself in a situation where you want to stop the Note Calibration before it is completed Simply select Note Calibration Stop to halt the calibra tion procedure In addition the Minitaur is designed to interface with electronic music equipment using either MIDI or the CV Contr...

Отзывы: