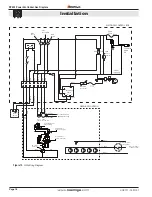


RP620 Power Vent Indoor Gas Fireplace
Page 32
XG0777 - 100113.1
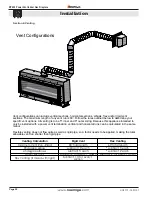
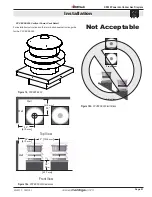
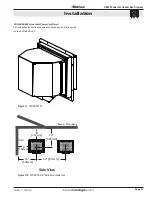
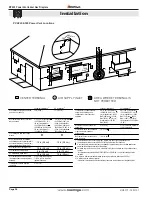
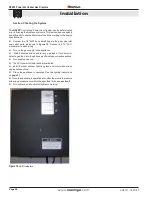
Installation
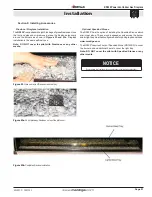
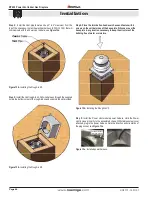
Optional Log Set
The RP620* has the option of installing a drift wood log set. Once the
firestones have been installed the log set can be installed.
Ensure logs are securely placed and will not tip or fall. Remove beads
where logs touch the burner tray to ensure a more secure position.
Lean the logs against the back panels. NO LOGS SHOULD LAY
ACROSS OR OVER TOP OF THE BURNER PORTS ON THE
SURFACE OF THE BURNER.
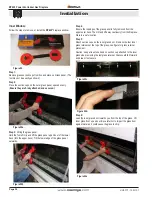
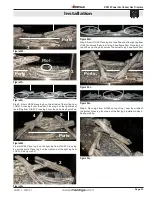
RP620N-I Log Kit Installation
Log kits used to create sequence shown: 1 LGS57, 2 LGS58, 1 LGS59
LGS57
Step 1: Remove both logs in kit LGS57. Both logs are identical.
Place each log in the location shown in figure 24a . Use the porcelain
panel joints as reference. The logs should be behind the burner ports
and leaning against the porcelain panel.
The log placed on the right should be orientated 180
°
compared to
the left log.
Pilot
Step 2: Identify logs in kit LGS58
LGS58
1
2
3
4
5
6
Place Log 1 behind the burner port next to the right log of LGS57. .
Place log 2 on top of log 1. see figure 24e.
Ports
Step 3: Place log 1 from the second LGS58 kit in front of the ports
left of the log from LGS57, see figure 24g.
Ports
1
2
3
Take log 3 from each LGS58. place one in front of the ports near the
middle of the appliance, see figure 24f. Place the other in front of the
ports and pilot, see figure 24g.
Figure 24.
Figure 24a.
Figure 24b.
Figure 24c.
Figure 24d.
Figure 24e
.
Figure 24f.
Figure 24g.


