26
MAIN BURNERS
The connection for the burners is accessed by
removing the Venturi cover. The burners are
accessed by removing the grids and carriage.
The burner valves are accessed by removing
the control panel cover.
CAUTION: Turn off the gas supply at the
main shutoff valve that is next to the broiler
before attempting to loosen any gas
connections.
Burner Assembly, Orifice, and Venturi
1. Remove the Venturi cover as described in
COVERS AND PANELS.
2. Remove the ceramic radiants from each
side of the main burner to be replaced.
3. Loosen the set screw that attached the main
burner to the Venturi assembly.
4. Slide the main burner out of the broiler.
5. If the Venturi or orifice is to be replaced,
disconnect the gas input to the Venturi.
Remove the gasket. Replace the gasket
every time the Venturi or burner is removed.
6. Loosen the lock nut so that the Venturi can
be removed from the bracket.
Figure 8. Burner pilot assembly
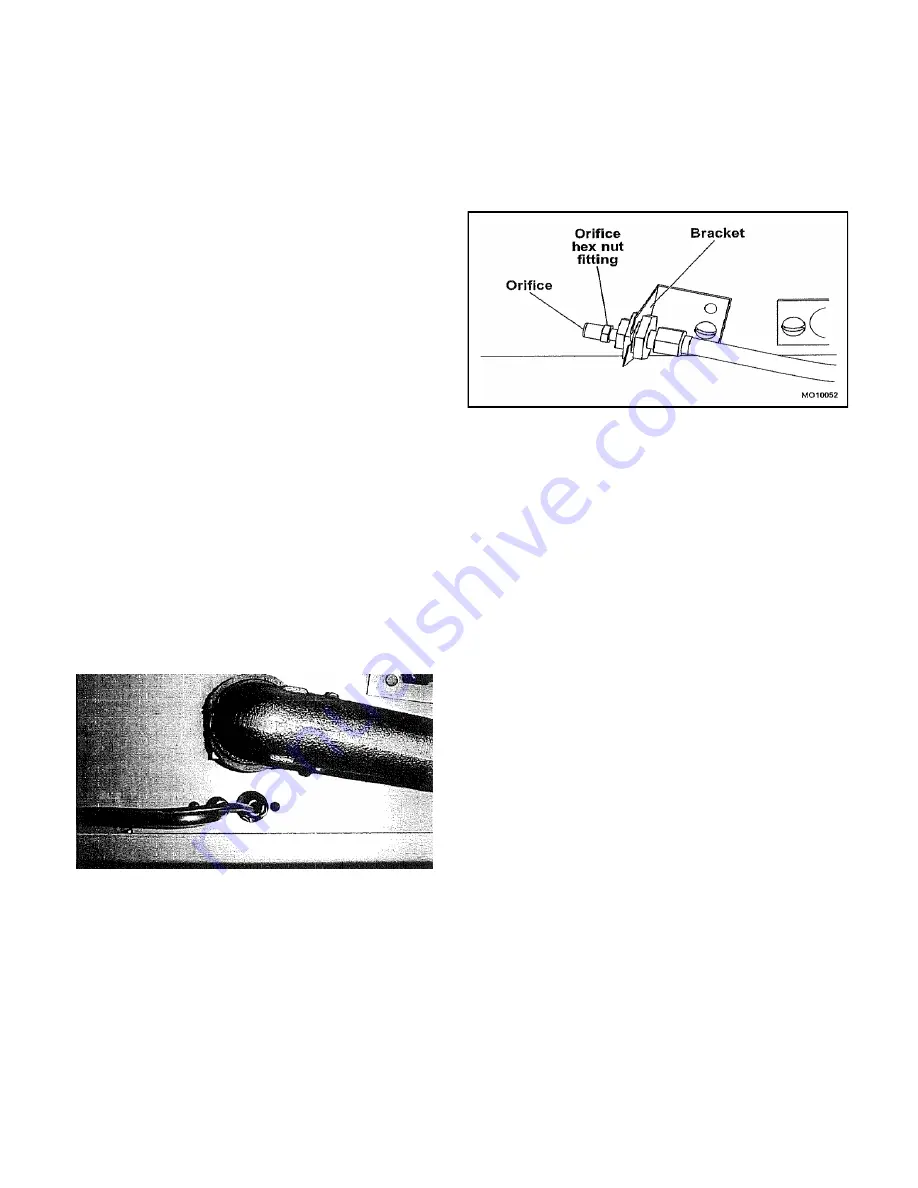
7. Remove the orifice hex nut fitting from the
Venturi.
8. Remove the orifice from the hex nut fitting.
NOTE: Make sure the pipe joint compound or
pipe thread sealant that is being used is
resistant to the corrosive actions of liquefied
petroleum gases.
9. Reassemble by reversing procedure.
WARNING!
All gas joints disturbed during servicing
must be checked for leaks. Check with a
soap and water solution (bubbles). DO NOT
use an open flame.
Figure 9. Orifice Assembly
Burner Valve Removal/Replacement
The burner valves are located on the manifold
behind the control panel cover.
CAUTION: Turn off the gas supply at the
manual shutoff valve that is next to the
broiler before attempting to loosen any gas
connections.
1. Remove the control panel cover as
described under COVERS AND PANELS to
access the burner valve.
2. Disconnect the gas line, pilot line, and ther-
mocouple from the back of the burner valve.
3. Unscrew the burner valve from the manifold.
4. Install the new burner valve.
NOTE: Make sure that the pipe joint compound
or pipe thread sealant that is being used is
resistant to the corrosive actions of liquefied
petroleum gases.
5. Connect the gas line, pilot line, and
thermocouple to the back of the valve.
6. Turn the main gas shutoff valve to the
broiler to the ON position.
WARNING
All gas joints disturbed during servicing
must be checked for leaks. Check with a
soap and water solution (bubbles). DO NOT
Содержание E136W36
Страница 19: ...19 C36 C45 EXPLODED VIEW...
Страница 21: ...21 36W366 43W36 EXPLODED VIEW...
Страница 33: ...33...
Страница 36: ...36...


