6
ASSEMBLY
1.
Ensure that the blender is unplugged from its power source.
2.
Put food and/or liquid into the blending/drinking cup. Food should be cut into 3/4"
to 1" sizes. Do not fill the cup beyond the Max line.
3.
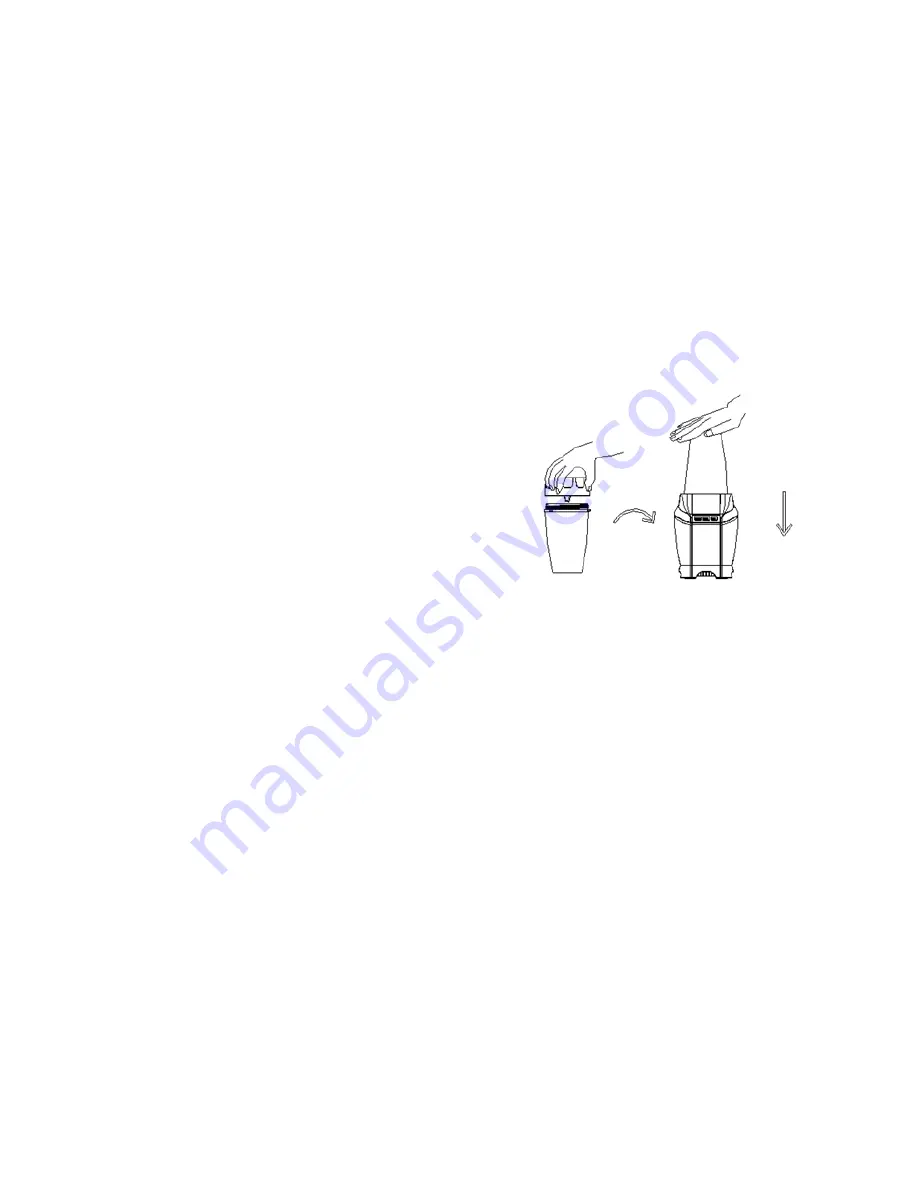
Screw the blade base onto the blending/drinking cup.
4.
Invert the cup/blade base assembly, line up the tabs on the outside of the cup with
the openings at the edges of the hole on the motor base, then insert it into the
motor base.
5.
Press down on the cup and twist clockwise
to lock it into place.
6.
Plug the blender into a nearby AC power
outlet. The ON/OFF button will blink red,
indicating that the blender is in standby
mode.
DISASSEMBLY
1.
Unplug the blender from its power source.
2.
Press down on the cup, then twist counterclockwise to unlock the cup/blade base
assembly from the motor base.
3.
Remove the cup/blade base assembly from the motor base, then invert it.
4.
Unscrew the blade base from the cup.
5.
Use the storage lid or drinking lid, as appropriate.
6.
Immediately clean the blade base. When the blending/drinking cup is empty,
immediately clean the cup and lid. Note that the blending/drinking cups, lids, and
blade base are dishwasher safe.


