Moneris Go®: Setting up Your Terminal
5
Use the charging cable
1.
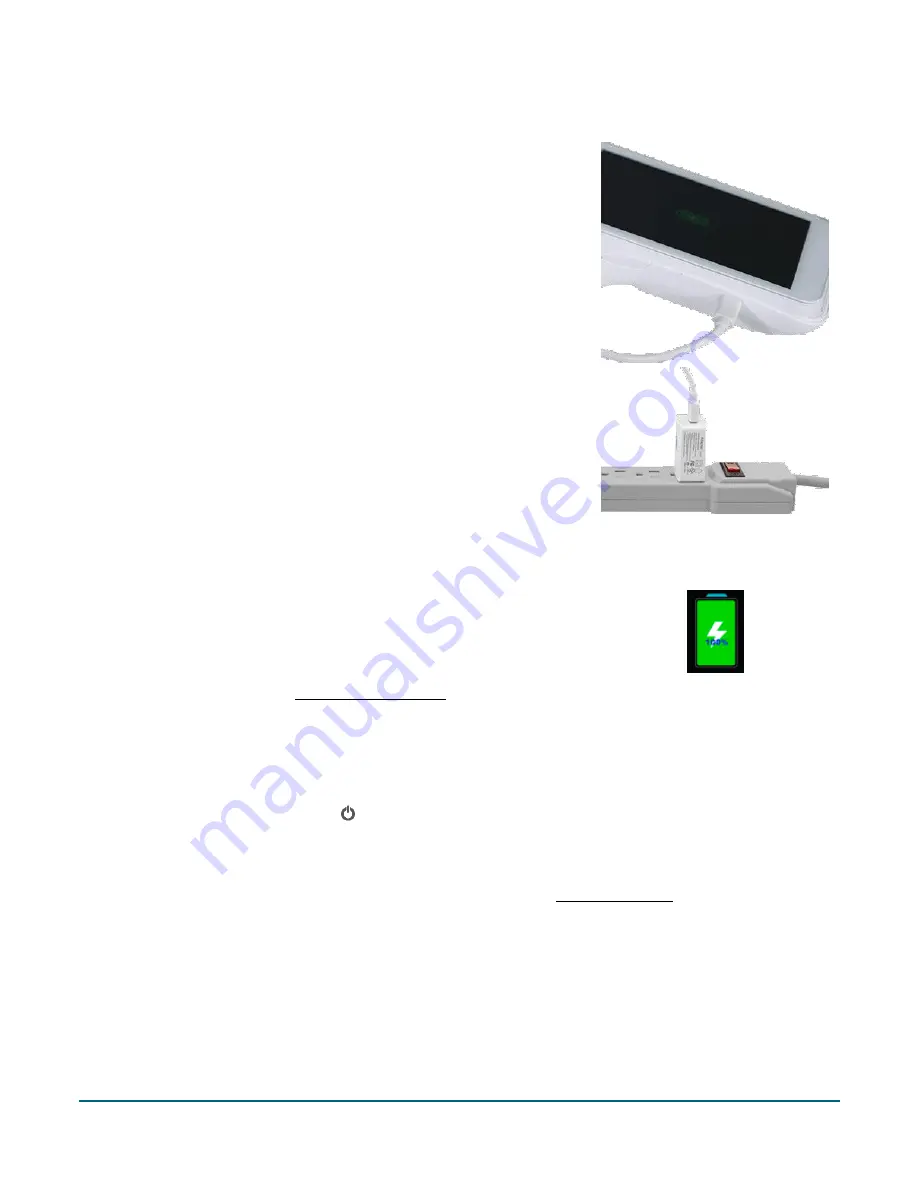
Un-fold the charging cable and insert the micro-USB connector into
the USB port on the left side of the terminal.
2.
Make sure the AC adaptor is connected to the other end of the
charging cable. Plug the AC adaptor into a working electrical outlet on
a power bar.
3.
The terminal displays the charging screen.
a.
Wait for the battery icon to display the lightning bolt symbol. This
indicates that the terminal is receiving power and the battery is
charging.
b.
Continue charging the terminal during the rest of the setup
procedures.
c.
Go to the next section Power on the terminal.
Power on the terminal
1.
Locate the thin rectangular power button on the right side of the terminal.
2.
Press and hold the power button for about 2 seconds until the screen illuminates.
The terminal powers on.
The hardware setup is complete. Continue to the next section Application setup.


