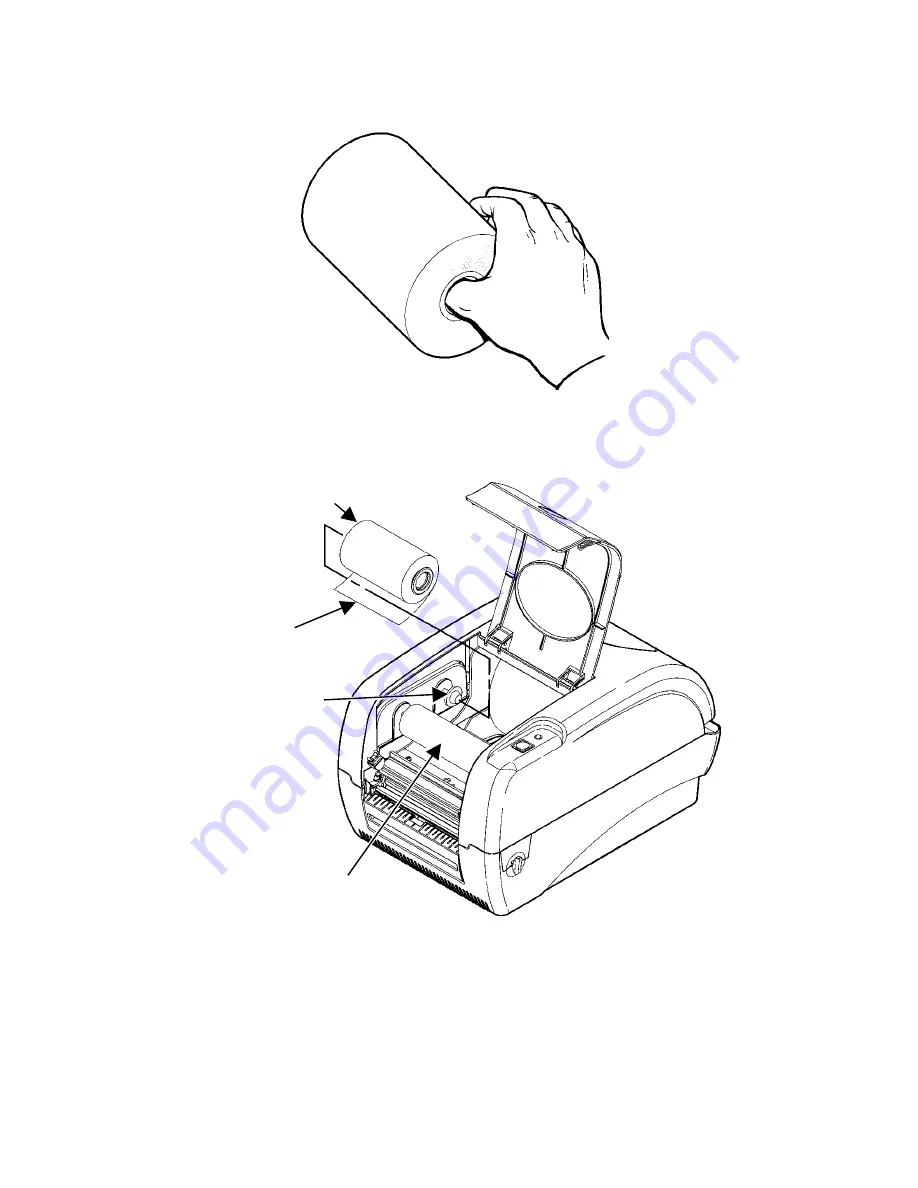
Monarch 9416 XL Скачать руководство пользователя страница 5

3. 

Open a package of new ribbon, taking care not to wrinkle or 
crush the ribbon. 

4. 

Slide the ribbon onto the ribbon reel as far as it will go.  

Take-up Core 

Back Hub 

Ribbon 
Leader 

Ribbon on 
Ribbon Reel 

5. 

Attach the ribbon reel to the back hub.  

6. 

Peel and carefully unwind a few inches of ribbon from the 
bottom of the roll. 

7. 

Press the release levers towards the front of the printer to 
release the supply door.   

Содержание 9416 XL

Страница 1: ...r Press the switch on the back of the printer to the OFF position O 2 Plug the three hole end of the AC adapter cable into the three pronged outlet in the power supply 3 Plug the round end of the powe...

Страница 2: ...rial Port Parallel Port USB Port 3 Secure the cable with the connecting screws serial connection or with the spring clips parallel connection If you are communicating through the serial port make sure...

Страница 3: ...nter is on and ready to use FLASHING GREEN Printer is paused Press the FEED button to resume printing FLASHING RED Printer error condition See Troubleshooting for error conditions and solutions ORANGE...

Страница 4: ...mode Note Make sure the ribbon window and the supply door are closed when you turn on the printer 1 Push down on the ribbon window to unlock it and raise the window 2 The ribbon take up core should a...

Страница 5: ...he ribbon reel as far as it will go Take up Core Back Hub Ribbon Leader Ribbon on Ribbon Reel 5 Attach the ribbon reel to the back hub 6 Peel and carefully unwind a few inches of ribbon from the botto...

Страница 6: ...re until the ribbon leader is firmly wrapped around the take up core and the black portion of the ribbon is exposed 12 Close the supply door by lifting the supply door slightly and pulling the bottom...

Страница 7: ...pe See Adjusting the Black Mark Die Cut Sensor for more information Note If you run out of supply while printing do not turn off the printer when reloading the supply You may lose your data The printe...

Страница 8: ...ply Holder Supply Holder Guides 5 Slide a roll of supply onto the supply holder Note If the core diameter on your roll of supply is 1 inch in diameter remove the 1 5 inch supply core adapters from the...

Страница 9: ...ORTANT Make sure the plastic line attaching the supply holder to the printer is tucked down out of the way of the supply holder and supply holder guides Otherwise the plastic line may wrap around the...

Страница 10: ...s feed the supply printing side up under the white roller under the supply guides and over the platen roller 10 Press the supply under the supply guides Thermal Direct Printer Platen Roller Thermal Tr...

Страница 11: ...f the supply door support forward towards the front of the printer Close the supply door slowly and make sure it latches securely Note If you do not latch the cover or supply door completely poor prin...

Страница 12: ...peel door located on the front of the printer to display the peel roller and the peel bar 4 Remove the supply holder guide from one end of the supply holder The supply holder is normally attached wit...

Страница 13: ...er printers feed the labels printing side up under the white roller under the supply guides and over the platen roller 11 Press the labels under the supply guides 12 Move the supply guides so that the...

Страница 14: ...er 2 Press and hold the FEED button while turning on the printer 3 To calibrate the supply release the FEED button after the indicator light starts flashing ORANGE The printer calibrates the black mar...

Страница 15: ...sensor to the left or right depending on where the black marks are on the supplies The black marks on the supply should cover the square lens inside the sensor Printing Before you print make sure the...

Страница 16: ...e supply holder and remove one of the supply holder guides 5 Slide the supply off the holder 6 Remove the jammed supply Caution Do not use sharp or pointed objects to remove labels or damage to the pr...

Страница 17: ...the back of the printer to the OFF position O 2 Press the release levers towards the front of the printer to release the cover or supply door 3 Lift open the cover or supply door 4 Moisten a cotton s...

Страница 18: ...ndicator light is off when the printer is turned on Check the power connections from the power supply to the printer and the AC outlet See Connecting the Power Supply for more information Check the ca...

Страница 19: ...nual for more information Supply might be caught in the printer Make sure the supply and ribbon thermal transfer printers are loaded correctly Supply exits partially out of the printer or skips For th...

Страница 20: ...nce Manual available on our Web site for more information The second label shows the model number software version communication settings speed contrast gap sensor die cut sensor setting label length...

Страница 21: ...condensing Printhead 4 09 104 mm 203 dpi 8 0 dots per mm Printing Method Thermal Direct Thermal Transfer Printer Specifications Height 7 4 188 mm Width 8 4 213 mm Depth 12 4 315 mm Weight 6 3 lbs 2 9...

Страница 22: ...0 25 6 3 mm minimum 10 0 254 mm maximum for peel 0 75 19 mm minimum 10 0 254 mm maximum Note Hold the leading edge of peeled labels when printing on supply longer than six inches Ribbon Specification...

Отзывы: