19
Note that compression displays peak values (both high and low). Thus even though data is
compressed, all amplitude information is present on the display. At compressions of 16 times
or greater, the redraw time of data on the screen slows down due to the large amounts of
data that must be manipulated.
At any stage during the compression or expansion process, the screen can be
restored to current or real time display by pressing the
MENU
button.
When the data on screen is compressed, a
→←
appears on the status line to
indicate that the compress mode is active.
3.4 ZOOMING
DATA
(AMPLIFICATION)
As a result of the small display area available, it is not always possible to see small changes
in amplitude of the recorded signals even though the resolution of the internal converters can
measure it. To overcome this problem you can ZOOM in on a portion of the graph and get
increased resolution.
To ZOOM in and amplify the graph, press and hold the
MENU
key, press the ZOOM+ (
▲
)
button and then release both buttons. The display will zoom in by 2. Note that the scale units
change to reflect the increased zoom level. There are three zoom levels available: x1, x2 and
x4.
To decrease the zoom level (or zoom out), press and hold the
MENU
key, press the ZOOM-
(
▼
)
button and then release both buttons.
Note that when zoomed in at any zoom level, the (
▲
)
and (
▼
)
buttons will move the graph
relative to the window enabling viewing of any part of the graph within the zoom window.
Once in a zoom level, all functions are operational on the zoomed display.
When in a zoom mode, the zoom level is indicated by a
↑↓
icon on the status line.
No indication indicates Real Time (X1).
To exit the zoom mode, zoom out as far as possible until the
↑↓
icon disappears.
3.5 MENU
MODE
At any time when in normal view mode, pressing the
MENU
button will
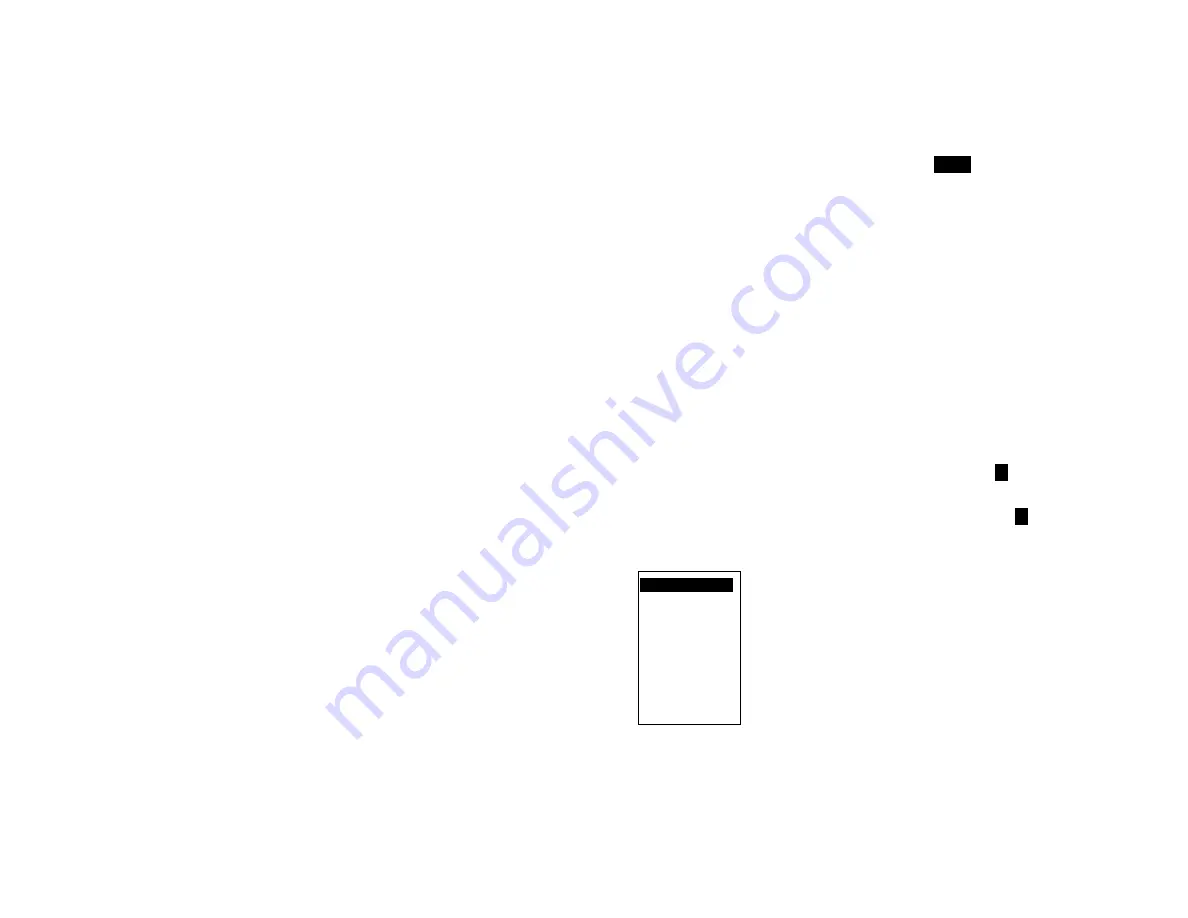
bring up the user menu as shown to the right. Note that the menu "pops
up" over the graphics display. The unit continues to record and will not
lose data. There is also a time out option that will return a menu display
back to a graphic display after a period of inactivity. (Refer to Section
4.4 DISPLAY - MENU TIMEOUT).
When the menu is active, the Left Arrow (
◄
) and Right Arrow
(
►
) buttons act as ESCAPE keys to return to a previous level without
activating any function.
The user moves about the menu using the Up Arrow (
▲
) and Down Arrow (
▼
) buttons. The
current selection is always highlighted in reverse. To select a function, simply move to it with
the (
▲
) and (
▼
) buttons and then press the
MENU
button once. To go back a level without
activating any function, simply press the (
◄
) or (
►
) buttons. Note that the menu has more
options than can be displayed at once on the screen. When a selection gets to the top or
bottom of the menu list, the list will scroll until the last entry is reached then cycle around.
Pressing and holding the (
▲
) and (
▼
) buttons will activate an Auto Repeat function and
cause the highlight bar to scroll automatically.
EXIT!
….. .
ALARM RESET!
RECORD MODE..
CURSOR ID!
VIEW FILE..
CARD STATUS!
SAMPLE RATE..
PASSWORD..
ADV.SETUP..
DISPLAY ADJ..
Содержание Data Chart 1250
Страница 1: ......


