Page 14
Page 7
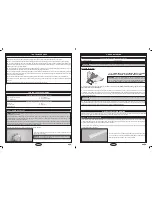
STeP 3: iNSTAlliNG The FliGhT bATTery
IMPORTANT
The final location that the flight battery is mounted in will
depend on where the aircraft balances, as described in the next section.
q
Carefully solder matching plugs onto the two battery wires on your battery
and the two battery wires on your ESC.
q
Mount your flight battery to the front of the radio compartment floor, using
the strip of hook and loop material provided.
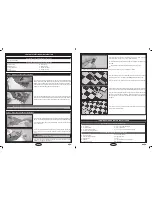
STeP 4: iNSTAlliNG The CANoPy ANd The hATCh CoVer
q
Carefully cut out the canopy along the moulded scribe line, then sand the
edges of the canopy smooth.
q
Set the canopy onto the hatch cover and align it. When aligned properly,
the sides of the canopy should be centred between the sides of the hatch cover
and the front of the canopy should be approximately 3/8" (10mm) behind the
front of the hatch cover.
q
When satisfied with the alignment, glue the canopy to the hatch cover, using a thin layer of Formula 560 Canopy Glue.
PRO TIP
To enhance the appearance, apply a strip of 1/4" (6mm) wide black striping tape around the base of the canopy.
q
Install the hatch cover onto the wing, making sure that the magnets hold the back of the hatch cover firmly in place.
STeP 5: iNSTAlliNG The ProPeller
q
Install your propeller onto your motor, making sure that it's securely in place
and doesn't touch the front of the cowling.
IMPORTANT
To make sure that the motor can't accidentally be turned on
while you're installing your propeller, unplug the flight battery from the ESC
before installing the propeller.
q
Cut away the covering material from over the air exit hole in the back of the
radio compartment.
q
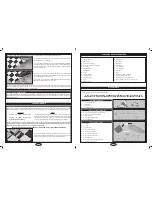
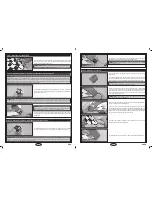
Push the elevon and hinges into the corresponding three hinge slots in the
trailing edge of the wing.
q
Slide one hinge into each of the three hinge slots in the elevon, making sure
that you push each hinge in up to the T-Pins.
IMPORTANT
Don't glue the hinges into the elevon yet.
q
Allow the C/A to dry for about 15 minutes, then pivot the elevon up and down several times to free up the hinges.
q
Remove the T-Pins and push the elevon up against the trailing edge. There
should be no more than a 1/32" (.7mm) wide hinge gap and the outer end of
the elevon should not touch the wing when the elevon is deflected.
q
While holding the elevon tight against the trailing edge, pivot the elevon
down 45º and apply 5-6 drops of thin C/A to the exposed area of each hinge,
then turn the wing over and repeat for the other side of the hinges.
IMPORTANT
Check the integrity of the hinges after the C/A fully cures by gently pulling on the elevon. If one or more hinges feels
loose, apply more C/A to the hinge(s) and allow it to completely cure. The last thing you want is for a hinge to come loose
during flight.
q
Repeat the previous procedures to hinge the second elevon to the other
side of the wing.
q
Thin C/A
q
# 1 Philips Head Screwdriver
q
Needle Nose Pliers
q
Modeling Knife
q
Electric or Hand Drill
q
(2) 5-3/4" (146mm) Threaded Wires with Z-Bends
q
(2) Nylon Control Horns with Backplates
q
(2) Nylon Clevises
q
(6) M2 x 16mm Machine Screws
q
1/16" (1.6mm) and 5/64" (2mm) Drill Bits
q
Straight Edge Ruler
q
Pencil
q
Masking Tape
eleVoN CoNTrol SySTeM iNSTAllATioN
you'll Need The FolloWiNG PArTS FroM The KiT:
you'll Need The FolloWiNG ToolS ANd SuPPlieS:


