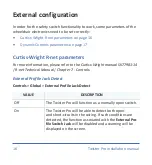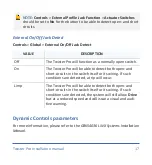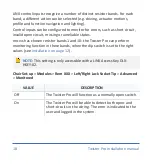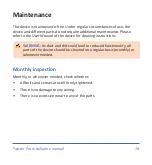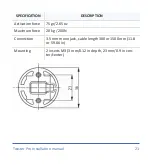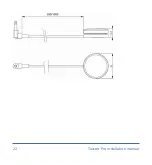
Adjusting the dip switch
Adjust the dip switch by following these steps:
1
Disconnect the switch.
2
Remove the rubber insert on the bottom of the device.
3
Configure the dip switch by using a small screwdriver (see positions
below).
4
Reapply the rubber insert.
CAUTION:
If the rubber insert is not fitted correctly or even at all,
this can compromise the waterproofness of the device.
POSITION
FUNCTIONALITY
Default position
: compatible with
default systems which require a
normally open connection.
R-net resistor values
: Compatible
with Curtiss-Wright specifications
for the CJSM II and Omni II.
14
14 Twister Pro Installation manual
Содержание P030-11
Страница 23: ...22 Twister Pro Installation manual ...
Страница 24: ...Twister Pro Installation manual 23 ...


