Mitsubishi LT2-250 - техническая информация и инструкция по эксплуатации доступны для скачивания бесплатно на manualshive.com. Получите свой руководство пользователя прямо сейчас, чтобы максимально эффективно использовать данное устройство.
From the library of: Superior Sewing Machine & Supply LLC
Страница 1: ...chnical information Model LT2 250 Auto changer Double Needle Lockstitch Needle Feed Automatic Corner Stitching Machine with Automatic Undertrimmer ET 020A MITSUBI ELECTRiC A MITSUBiSHI From the librar...
Страница 2: ...switches and counters on the control panel 9 2 Retracing of corner stitching step 10 3 Continuous single needle stitching 10 4 Compensation stitching 10 5 Example of corner stitching patterns 10 6 St...
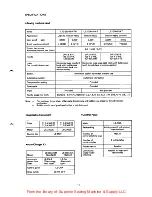
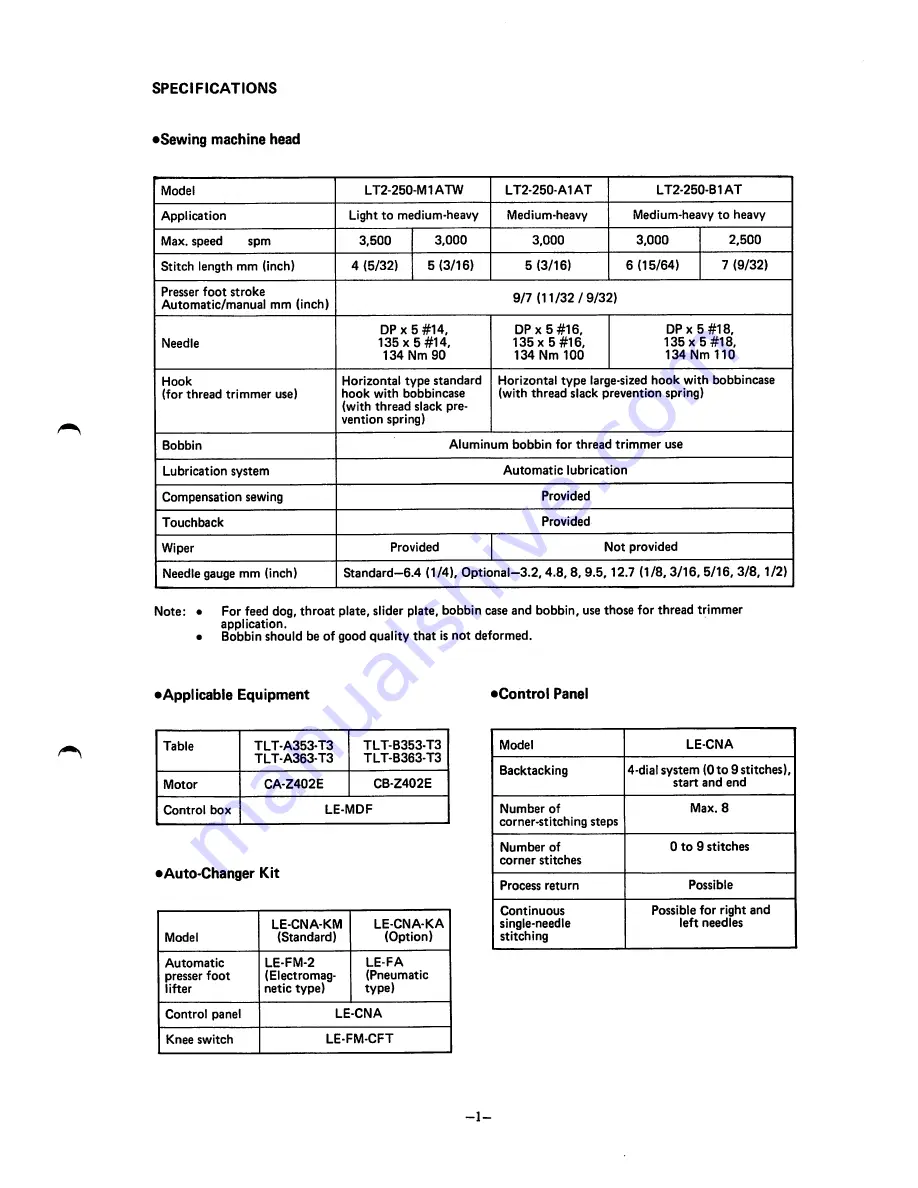
Страница 3: ...ovided Touchback Provided Wiper Provided Not provided Needle gauge mm inch Standard 6 4 1 4 Optional 3 2 4 8 8 9 5 12 7 1 8 3 16 5 16 3 8 1 2 Note For feed dog throat plate slider plate bobbin case an...
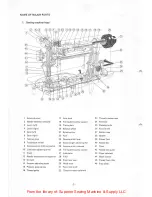
Страница 4: ...e up lever 23 Revers 8 Touchback switch 24 Stitch 9 Compensation stitching switch 25 Rever 10 Lubricant adjusting screw 26 Timini 11 Crank 27 Lubrk 12 Needle thread tension regulator 28 Filter 13 Oil...
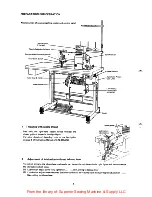
Страница 5: ...oid 9 Thread trimmer solenoid 10 Motor 11 Drive pulley 12 Automatic presser foot lifter LE FM 2 13 Machine connector 14 Presser foot connector 15 Option 2 connector 3 B 16 Operation box connector 17 O...
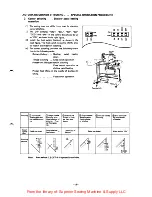
Страница 6: ...tion Manual of LT2 230 250 2 Adjustment of lubrication to thread take up lever To restrict oilingto the takeup leverand needlebar loosenthe nut shown inthe right figureand turn clockwise the lubricati...
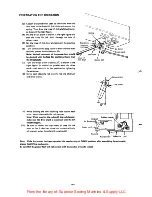
Страница 7: ...ght figurt tall the knee switch arm and icket stion of solenoid driven pressei tall the solenoid bracket to the ng wood screws See the right move the knee switch pad fro ift the lift Dad is not used e...
Страница 8: ...at position by tightening the set screw 8 Screw each adjusting rod into the rod end of driven and drive cranks 9 While drawing the two adjusting rods toward each other secure them with the rod clamper...
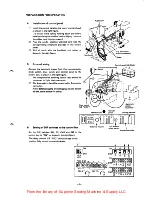
Страница 9: ...sation stitching switch cable should be connected to 2 pin black connector 2 The knee switch should be connected to 2 pin white connector Note Before plugging or unplugging be sure to turn off the pow...
Страница 10: ...plug in the motor end cover remove the plug turn it 180 and setto the plug socketagain For single phasemotor operate the switch after the motor has completely stopped it will take about 2 min Be sure...
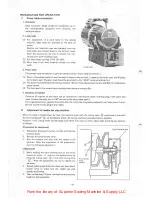
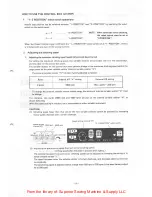
Страница 11: ...thin a range from 1 step to 8 steps on counter o The number of the next corner stitching steps is displayed by LED When all preset steps are completed the counter is reset to 1 5 Set number of stitche...
Страница 12: ...ch to OFF and toe down the pedal 4 Compensation stitching Compensation stitching is made before starting corner stitching or when one stitch is added in corner stitch ing 1 By once depressing the comp...
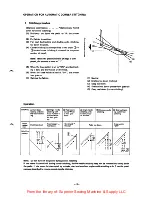
Страница 13: ...Deep toe down 4 Shallow heel down presser foot goes up 5 Deep heel down corner stitching Stitching j Start back tacking and dou ble needle stitch ing Single needle stitching with fixed number of stit...
Страница 14: ...r stitching Knee switch operation Thread trimming Deep pedal heeling down switch Presser lifter UP Shallow pedal heeling down Stitching Pedal opera tion Stitching pattern 0 Start back tacking and dou...
Страница 15: ...d trimming Knee switch operation Presser foot lifting at start of stitching Knee switch operation or shallow pedal heeling Presser foot lifting in the middle of shallow sti tching Foot switch operatio...
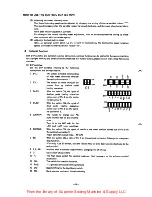
Страница 16: ...As the following DIP switches are provided in the control panel LE CNA utilize them according to their pur poses For reference all these switches are turned OFF when shipped 1 CSH switch When turned...
Страница 17: ...rnal VR setting 2 poles 3000 spm Max speed 250 spm To change die external variable resistor setting range the setting of internal variable resistor H must be change For reference two marks 2500 rpm an...
Страница 18: ...forbid lifting of the m presser foot by shallow pedal SW3 to to yj heeling operation 3 S4 S3 With this switch ON the signal of shallow pedal heeling operation CO to to s 4 rTTTTTm comes out of Pin 9 o...
Страница 19: ...e used by connecting external signal to the option connector For contacts necessary for input signal use reliable one D Speed Clutch aa Power Brake connector Option 1 Stitching High speed 9 Stitching...
Страница 20: ...unning 4 Adjusting the pedaling forces 1 Adjusting the pedal pressing down force Force necessary to pressing down the pedal can be changed by chaning position of the spring hooked to the lever Note th...
Страница 21: ...on Remove the phase reversing plug turn it 180 and set again 7 on page 8 E Needle does not stop at DOWN position The pedal switch and its lever are misaligned and S1 remains closed Adjust the pedal sw...
Страница 22: ...ps 1 on page 9 The control box or the operation panel is defective Replace the control box or the operation panel L Single needle stitching Is Impossible The operation paneni Is defective Replace the...
Страница 23: ...le Replace the synchronizer 8 on page 8 R The presser foot does not goes up after the needles stop at UP po sition Refer to the description at item N Operation panel is trouble Replace the operation p...
Страница 24: ...A MITSUBISHI ELECTRIC CORPORATION HCAO OmCE MfTSUBISKI DENKI BLOG MARUNOUqKI TOKYO 100 laEX J24S32 CABLE MaCO TOKYO 8505 ROD Printed in Japan From the library of Superior Sewing Machine Supply LLC...