43
ENGLISH
••••••••••••••••••••••••••••••••••••••••••••••••••••••••••••••••••••••••••••••••••••••••••••••••••••••••••••••••••••••••••••• Operations
Using the Timer
Using the Timer
■
Setting the timer
When using the Timer to initiate operation, the SETTING
P1 – P3 screens can be used to set different patterns of
operation as desired. Recording patterns will then conven-
iently change according to the settings you have entered.
Reset the date and current time before recording.
Refer to page 11 for details on how to set date and time.
Example: Using Program #1 in SETTING P2, mode A cameras
will record at intervals of 25F from 12:00 to 15:00 each day.
1. Press the SET UP button to display the <MENU SETTING> menu.
2. Turn the JOG dial to move the cursor to TIMER PROGRAM
then turn the SHUTTLE ring to the right.
• The <TIMER PROGRAM> menu will appear.
3. Check that the cursor is next to SELECTED PATTERN,
then turn the SHUTTLE ring to the right to fix setting.
<TIMER PROGRAM>
@SELECTED PATTERN
SETTING P1
SETTING P2
SETTING P3
P1
4. Turn the JOG dial to the right to flash P2, then turn the
SHUTTLE ring to the right.
• Timer program pattern 2 is selected now.
5.Turn the JOG dial to move the cursor to SETTING P2 and
turn the SHUTTLE ring to the right.
• The <TIMER PROGRAM> P2 will appear.
<TIMER PROGRAM> P2
DW START END MODE
@ ––– ––:–– ––:–– ––––––
2 ––– ––:–– ––:–– ––––––
3 ––– ––:–– ––:–– ––––––
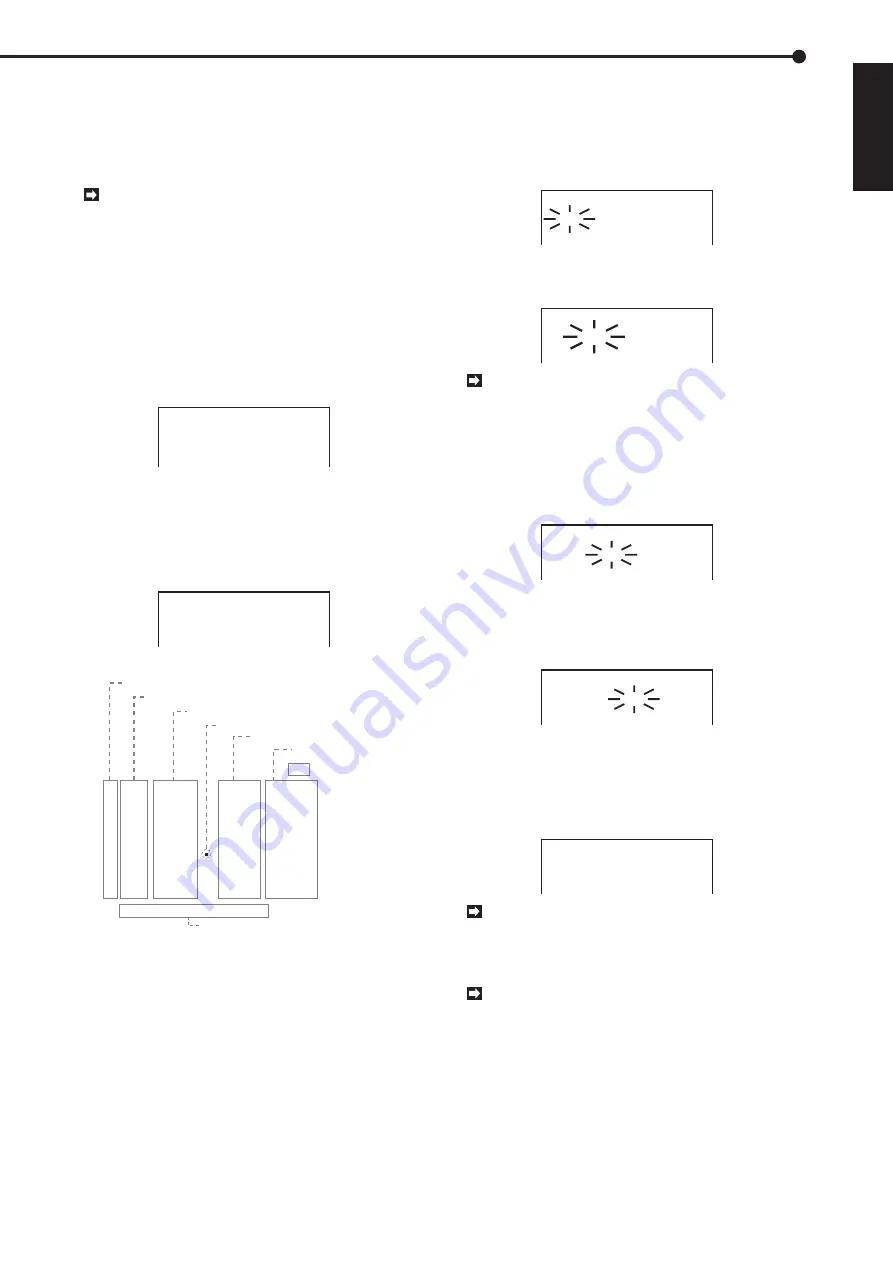
TIMER SETTING screen
7) Special Day of the Week setting
<TIMER PROGRAM> P1
DW START END MODE
1 ––– ––:–– ––:–– ––––––
2 ––– ––:–– ––:–– ––––––
3 ––– ––:–– ––:–– ––––––
4 ––– ––:–– ––:–– ––––––
5 ––– ––:–– ––:–– ––––––
6 ––– ––:–– ––:–– ––––––
7 ––– ––:–– ––:–– ––––––
8 ––– ––:–– ––:–– ––––––
SPECIAL DW:SUN–SAT
6) Recording Mode
5) Recording End Time
2) Day of the Week Display
1) Program Number
3) Recording Start Time
4) Next Day Indicator
1) Settings for up to 8 programs can be made per screen.
2) Settings for the DW column include:
• The days of the week from Monday to Sunday (SUN-SAT).
• DAY (to record at the same time every day).
• SPL (to record on the days displayed at the bottom of the screen).
3) Time is displayed in 24-hour format. When settings for
recording times overlap, the unit will give priority to the
higher-numbered Program.
4) This symbol indicates that recording time overlaps into
the following day. Continuous recording is programmed by
selecting “DAY” in the DW column and entering the same
time in both the start-time and end-time settings.
5) Display of the program’s end-time.
6) Display of the selected setting for recording interval.
7) Display of the user-specified days for a program. When
“SPL” is selected in the DW column, the unit will initiate the
program on the days specified.
5. Check to see that the cursor is on Program #1, then turn the
SHUTTLE ring to the right to select the DW column.
<TIMER PROGRAM> P2
DW START END MODE
@ ––– ––:–– ––:–– ––––––
2 ––– ––:–– ––:–– ––––––
3 ––– ––:–– ––:–– ––––––
6. Turn the JOG dial until “DAY” is displayed on-screen, then
turn the SHUTTLE ring clockwise to complete this setting.
• The cursor will move to the start-time column.
<TIMER PROGRAM> P2
DW START END MODE
@ DAY ––:–– ––:–– ––––––
2 ––– ––:–– ––:–– ––––––
3 ––– ––:–– ––:–– ––––––
If the wrong day has been selected, turn the
SHUTTLE ring counterclockwise to return to the Day
of the week(DW) column. Use the JOG dial to cor-
rect the entry, then once again turn the SHUTTLE
ring clockwise to complete this setting.
7. Use the JOG dial to select “12” in the hour column, then
turn the SHUTTLE ring to the right to complete this setting.
• The cursor will move to the left half of the minutes column.
<TIMER PROGRAM> P2
DW START END MODE
@ DAY 12:–– ––:–– ––––––
2 ––– ––:–– ––:–– ––––––
3 ––– ––:–– ––:–– ––––––
8. Use the JOG dial to select “00” in the minutes column, then
turn the SHUTTLE ring clockwise to complete this setting.
• The cursor will move to the right half of the minutes column.
Using this same process, complete the setting for the
program’s end-time.
<TIMER PROGRAM> P2
DW START END MODE
@ DAY 12:00 ––:–– ––––––
2 ––– ––:–– ––:–– ––––––
3 ––– ––:–– ––:–– ––––––
9. Set the MODE column.
• The first field is for selecting the cameras. Use the JOG dial
to select “A–”, and turn the SHUTTLE ring clockwise to
complete this setting.
• The next field is for setting the recording interval. Use the
JOG dial to select the desired interval, then turn the SHUTTLE
ring clockwise to complete this setting.
<TIMER PROGRAM> P2
DW START END MODE
@ DAY 12:00 15:00 A- 25F
2 ––– ––:–– ––:–– ––––––
3 ––– ––:–– ––:–– ––––––
For effective multiplication, various settings for
operational cameras and recording intervals can be
selected in the Action fields. Refer to page 38 for
details on CAMERA SETTING.
If entries for one or more fields in a program are
left empty, the cursor will return to the DW column.
complete the program setting.
10. To set other programs, repeat steps #5 through #9.
• Up to 8 programs can be set per screen.
• To erase a program entry, press the “WARNING RESET”
button during the programming procedure.
11. Turn the SHUTTLE ring to the right or press the SET UP button.
• Turning the SHUTTLE ring to the left moves the cursor to
the previous entry. Pressing the SET UP button closes the
<TIMER PROGRAM> menu.
Содержание DX-TL930E
Страница 77: ...872C199C7 PRINTED IN JAPAN...


