9 |
P a g e
Programming
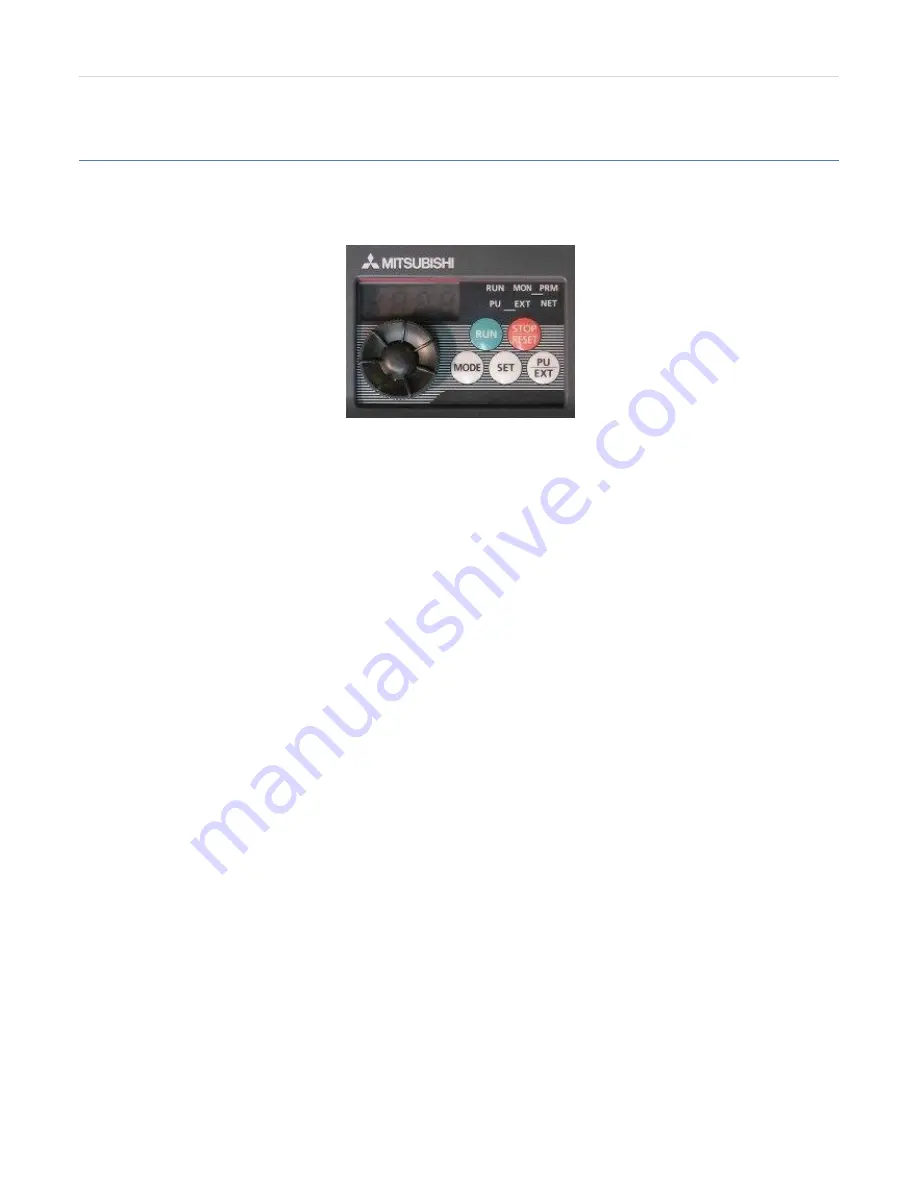
To setup your VFD, you will have to learn how to program it. The VFD user interface consists of a small screen, 5
buttons, a few status LEDs, and a scroll wheel as shown below.
Figure 5 VFD User Interface
To change any settings you must enter PU mode. Press the
PU/EXT
button once and the LED by PU should light
up. When you are finished changing the settings, you must put the VFD back into EXT mode by pressing
PU/EXT
again. If the LED by EXT is not on, then the VFD will not work.
You can setup parameters by following the procedure below:
1.
Make sure the VFD is in PU mode (LED by PU is on). If not press the
PU/EXT
button to turn it on.
2.
Press the
Mode
button until you see “P 0”. This is parameter 0.
3.
Use the scroll wheel to go to your parameter number (P18 for example).
4.
Press the
Set
button once. The current value of the parameter should display.
5.
Change the value by using the scroll wheel.
6.
Press the
Set
button again. The screen will start to flash between the parameter and the value.
7.
Repeat steps 3 to 6 until all your parameters are set up correctly.
8.
Put the VFD back into EXT mode by pressing the
PU/EXT
button. Make sure that the LED near EXT is on.
9.
Cycle the power to the VFD. Make sure to wait until the VFD completely turns off before repowering it.
Now you should be ready to run the VFD.
Note: If you see an Er1, Er2, Er3, or Er4 error, make sure to put the VFD in PU mode before changing the
parameters!


