α
2 Simple Application Controllers
Let’s Make a Program 7
7 - 5
7.4
Set up the Function Block Parameters (Section 4.5.1)
The options for the Function Blocks now need to be Set.
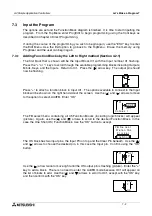
Move left until the SR Function Block number (03) is flashing. Press the “OK” to enter the FB
Edit Menu and press “OK” again to enter the Setup FB option. Choose the Reset option and
enter the data into program memory with the “OK” button.
This is the only option in the SR Function Block. Use the “ESC” key to return to the Function
Block Diagram board.
The OR Block, like all the Logic Blocks, does not have any parameters that can or need to be
set.
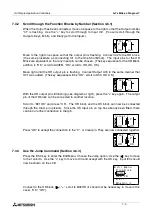
Proceed to the One Shot Function Block. Use either the Jump command, trace the path
through the Set pin, or simply press the “+” key to scroll through the Function Blocks. When
the One Shot Function Block number (01) is flashing, press the “OK” key once to enter the FB
Edit Menu.
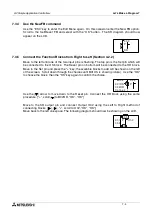
Select the Time unit option from the menu using the “OK” button. The One Shot Function Block
allows for three different time increment settings: 10ms, 100ms or 1s.
Select the 100ms time increment using the “OK” button. The controller will return to the FB Edit
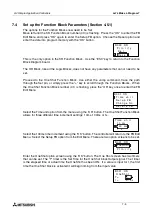
Menu. Select the Setup FB option from the Edit Menu. There are two option screens to be set.
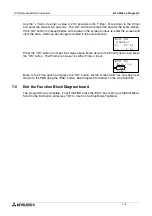
Enter the OneShot option screen using the “OK” button. The One Shot screen has two timers
that can be set. The “T” timer is the Set Time for the One Shot block Output signal. The t timer
is the elapsed time or actual time the OneShot has been ON. If a value is input for t, the first
time the One Shot block is activated it will begin timing from the input value.
R
S
:
3
0
B
t
i
r
o
r
P
i
t
e
S
s
e
R
0
e
y
t
S
O
:
1
0
B
0
i
n
u
e
i
T m
t
S e t u p
F B
C h a n g e
N o
D e l e t e
F B
i
n
u
e
i
T
m
0
m
1
s
0
0
1
1
s
t
m
s
S
O
:
1
0
B
t
o
h
S
n
O e
o
i
r
0
P
y
t
i
r
S
O
:
1
0
B
t
o
S
n
O e
0
T =
h
0
s
1
.
0
t =
s
0
.

