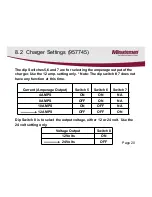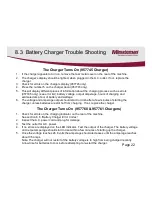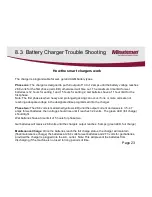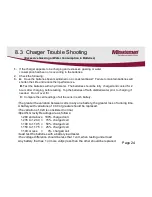
8.5 Programming the Battery Charger
(957760 & 957761 only)
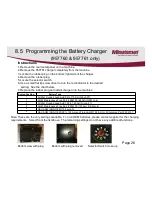
1. Remove the rear metal panel on the machine.
2. Remove the 957761 charger completely from the machine.
3. Locate the rubber plug on the bottom right side of the charger.
4. Remove the rubber plug.
5. Locate the selector switch.
6. Use a small flat tip screw driver to turn the red indicator to the desired
setting. See the chart below.
7. Replace the rubber plug and install charger into the machine.
Switch Position
Battery Type
1
All Wet Flooded Lead Acid 95 to 115 AH (Group 27)
1
AGM Maintenance Free Part # 956100 (95 AH) (OEM only)
2
All Wet Flooded Lead Acid 130 to 140 AH (Group 31)
2
AGM Maintenance Free Part # 956135 (135 AH) (OEM only)
3
GEL/AGM (NON OEM) 135 amp hr
4
GEL/AGM (NON OEM) 95 to 100 AH and Trojan AGM 102 (AH) hr. Minuteman Part # 956157
Note: These are the only settings available. For non OEM batteries, please contact supplier for the charging
requirements. Select from the list above. The remaining settings do not have any additional functions.
Bottom view with plug Bottom with plug removed Selector Switch close up
Instructions
Page 26
Содержание E17BD
Страница 6: ...2 Technical Specifications E17BD E20 Page 6 ...
Страница 7: ...2 1 Dimensions E17BD E20 BD With a Straight Squeegee Page 7 ...
Страница 8: ...2 2 Dimensions E17 E20 With Curved Squeegee Page 8 ...
Страница 11: ...3 2 Minuteman System Maintenance I Page 11 ...
Страница 12: ...3 3 Minuteman System Maintenance II Page 12 ...
Страница 13: ...3 4 Minuteman System Maintenance S Page 13 ...
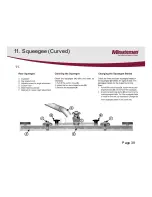
Страница 39: ...11 Squeegee Curved 11 Page 39 ...
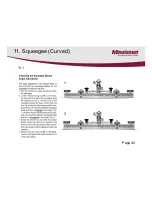
Страница 40: ...11 Squeegee Curved 11 1 Page 40 ...
Страница 52: ...17 1 Solution Filter Version 1 17 1 Page 52 ...
Страница 64: ...20 Notes Page 64 ...

