


LOGGING
31
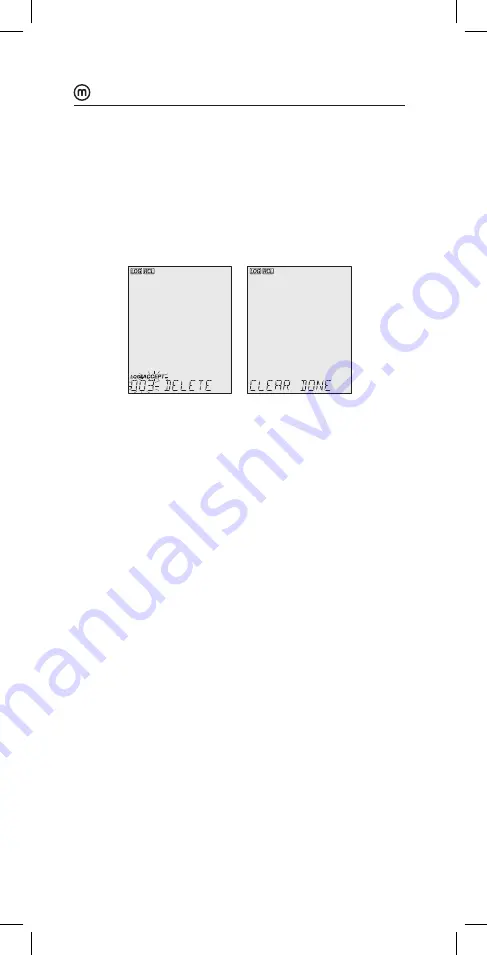
6. With desired log record selected, press LOG/CLEAR to delete.
“DELETE” is displayed with ACCEPT tag and log ### blinking.
7. Press GLP/ACCEPT to confirm (to exit, press ESC or CAL/EDIT
or LOG/CLEAR). “DELETE” and Log ### blinking is displayed,
until the log is deleted. After the log has been deleted
“CLEAR DONE” message displays briefly.
Display shows logged data of the next log ###.
Note: Logs in an interval lot can not be deleted individually.
Log on Interval
1. Press RCL to access the logged data.
LCD displays “PLEASE WAIT” followed by “LOG RECALL” with
ACCEPT tag blinking and the total number of logs.
2. Press GLP/ACCEPT to confirm.
3. Use
keys to select an interval logging lot number.
The LOG ### LOT ### screen displays selected lot number
(bottom right) and total logs stored in lot (bottom left).
4. Press GLP/ACCEPT to confirm (to exit, press ESC or CAL/EDIT;
or LOG/CLEAR).
5. With the lot selected, press LOG/CLEAR to delete entire lot.
“CLEAR” is displayed with ACCEPT tag and lot name blinking.
Note: Use
keys to select a different lot number.
6. Press GLP/ACCEPT to confirm (to exit, press ESC or CAL/EDIT
or LOG/CLEAR).
“PLEASE WAIT” with ACCEPT tag blinking is displayed, until the
lot is deleted. After deletion “CLEAR DONE” message displays
briefly. Display shows the previous lot ###.


