Operator's Manual: Millcreek
6700P &
8700P PTO Spreaders
Procedures for Spreader Adjustment (continued)
Adjusting the Drive Chains
NOTE:
The drive chains are factory-set for the proper operating tension and should not require adjustment.
The following instructions are provided for reference only, in rare cases where re-adjustment orrep lacement
may become necessary.
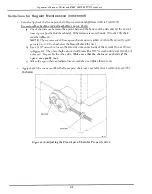
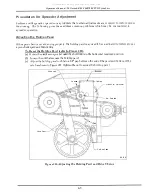
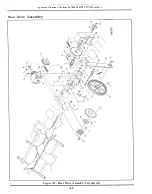
Refer to Figure 4B
on the previous page for an illustration of the drive chains and related components. The
chains should be snug, but not too tight.
If
the chains are too tight, they may cause excessive wear on the
bushings in the crank arm sprocket (resulting in premature failure).
If
the chains are too loose, they can slip and
jump sprocketteeth when the spreader is operating with a full load.
•
Check the
drive chains in two positions:
( a)
Gearbox to
Beater Chain:
check the bottom span.
(b)
Ratchet Drive Chain:
check top or bottom span.
NOTE:
Whenpushingonthemiddleofthespanwithonefinger(about20lbs.pressure),
the chain should deflect about 3/8 to 1/2 inch. A straight-edge ruler maybe helpful in
verifyingthepropersetting.
•
Adjust the
drive chains
according to Figure 4B and the following guidelines:
( a)
Gearbox to Beater Chain:
adjust the
idler sprocket
as indicated.
(b)
Ratchet Drive Chain:
adjust the
bracket position
by loosening the two (2) 1/2"
bracket bolts and sliding the bracket forward or backward as shown.
4-4
All manuals and user guides at all-guides.com


