Before using for the first time
The stainless steel trim to the interior
shelves and the door shelves has a
layer of protective foil to prevent
damage during transportation. Please
remove this carefully after installation.
^
Clean the inside of the appliance and
the accessories with lukewarm water
and a little washing-up liquid, and
then dry with a soft cloth.
^
Carefully remove the protective foil
from the stainless steel trim.
Important:
To ensure the correct functioning of
the appliance, let it stand for
between 1½ and 2 hours after
transporting it to its final location
before connecting it to the mains.
Switching on
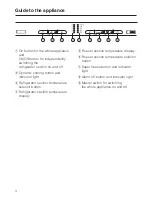
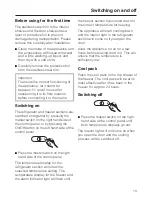
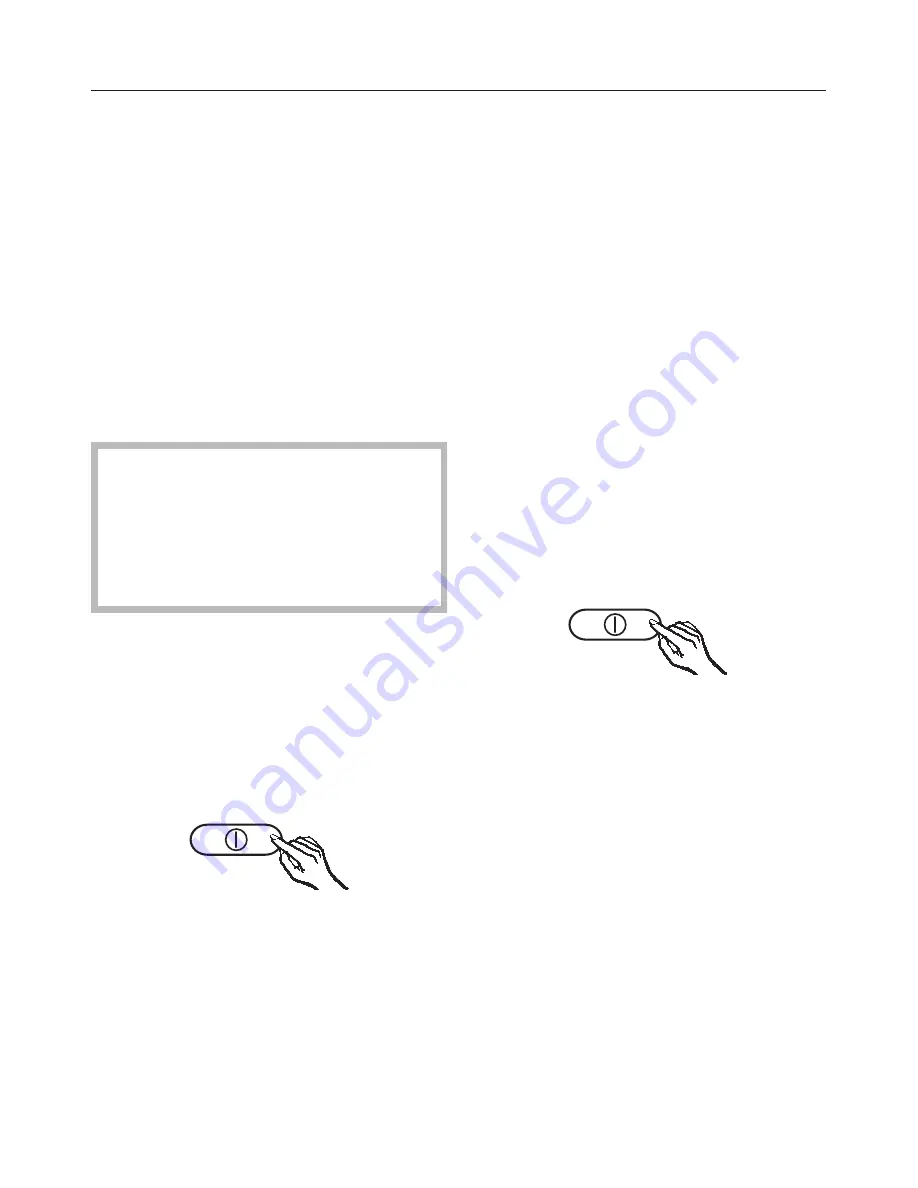
The refrigerator and freezer sections are
switched on together by pressing the
master switch on the right hand side of
the control panel, or by pressing the
On/Off button on the left hand side of the
control panel.
^
Press the master switch on the right
hand side of the control panel.
The temperature display for the
refrigerator section will show the
selected temperature setting. The
temperature display for the freezer and
the alarm indicator light will flash until
the freezer section has cooled down to
the correct temperature for freezing.
The appliance will start cooling down
and the interior light in the refrigerator
section will come on if you open the
door.
Allow the appliance to run for a few
hours before placing food in it. This will
ensure that the temperature is
sufficiently low.
Cool pack
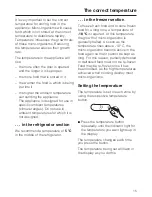
Place the cool pack in the top drawer of
the freezer. The cool pack will be at its
most effective after it has been in the
freezer for approx. 24 hours.
Switching off
^
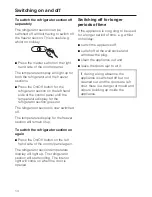
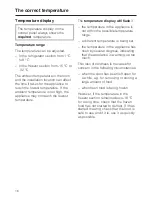
Press the master switch on the right
hand side of the control panel until
both temperature displays go out.
The interior light will not come on when
you open the door and the cooling
process will be switched off.
Switching on and off
13

