


7
“beatloop”, turning will adjust the position of the playback cursor to repeat or skip
beats/measures. Settings are visualized with the nearby LEDs and if neither
transposition nor beatloop is active, two illuminate center LEDs will indicate a
“zero” effect.
●
VALUE
Used for entering command and parameter data. A command/operation is first
selected by pushing an upper-row key, then the VALUE is adjusted with the knob.
For example, choose the “track length” command from the Clip screen, and then
turn this knob to select a clip step length equivalent (e.g. 64 steps).
Pushing the knob knob while simultaneously turning it will usually accelerate inputs
(“EXPEDITE”), but is also useful in certain situations to “lock” the input to useful
increments. An example is adjusting track transposition in the “clip” screen, where
pushing and holding while turning this knob will transpose in octaves rather than
semitones.
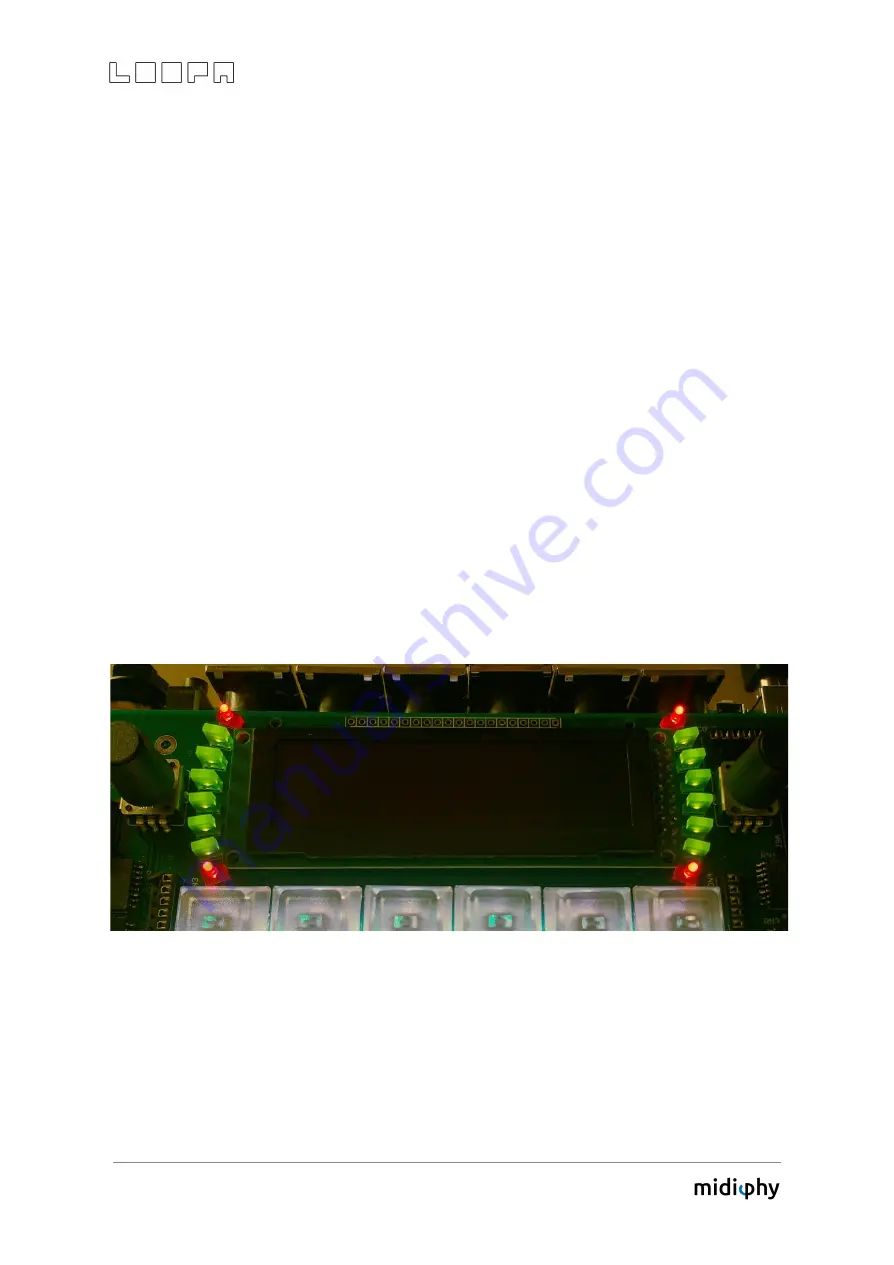
4.3 Status LEDs
Both SCENE and LIVE encoders are partially encircled by status LEDs, which probably look
a bit differently (LED sizes and color scheme) in your LoopA, but are arranged in this
orientation:
●
The six middle LEDs around the SCENE knob indicate which scene is currently
active. An upcoming later feature will allow the LoopA to cycle between the
default "full-scene switching" mode (which just jumps to a new scene with six new
clips active when you turn the SCENE encoder) and single-clip progression within a
track - the upper and lower different-color LEDs are used to indicate that mode -
described as "ALL" and "TRACK" respectively on the frontpanel.


